Introdução
Use this guide to remove the CMOS (Complementary Metal-Oxide-Semiconductor) battery from a Lenovo ThinkPad T14s Gen 1. This is a small, coin-cell battery attached to the motherboard that powers the CMOS chip when the laptop is unplugged. The CMOS chip stores essential system settings, such as the date, time, and BIOS configuration. This ensures that these settings are maintained even when the laptop is powered off. A failing CMOS battery can cause issues such as an incorrect date and time, boot errors, or beeping sounds.
Other notable CMOS battery failure symptoms:
- Hardware drivers are missing or have disappeared
- Can’t connect to the Internet
- Error Messages During Boot
If your device is experiencing these symptoms, it may be time to replace the CMOS battery. Follow the instructions below to remove and replace the CMOS battery in the Lenovo ThinkPad T14s Gen1.
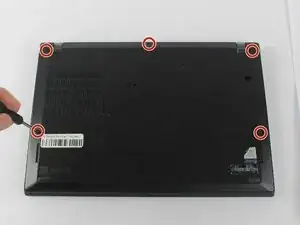
Before beginning, be sure to unplug and power off your laptop.
-
-
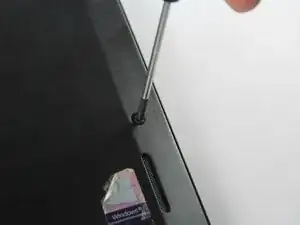
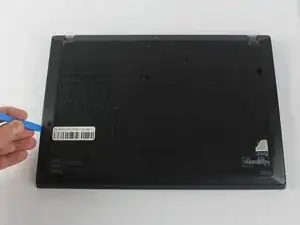
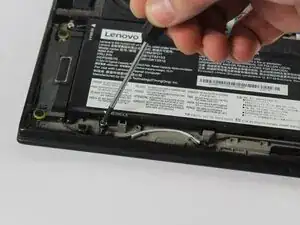
Insert the end of an iFixit opening in the space between the bottom and top case and move it around the perimeter to release the clips that hold the bottom case to the device.
-
Remove the back panel.
-
-
-
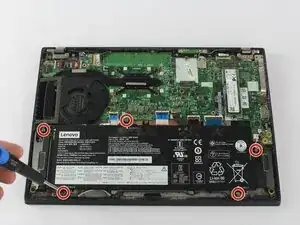
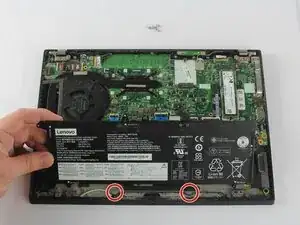
Use a Phillips #0 screwdriver to remove the five 5.0 mm screws holding the battery to the chassis.
-
-
-
Gently lift the top corner of the battery and slide it towards the back of the laptop so it clears the tabs at the front of the device.
-
-
-
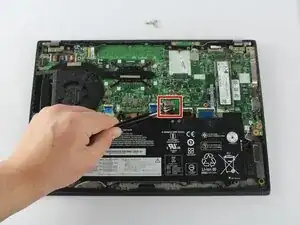
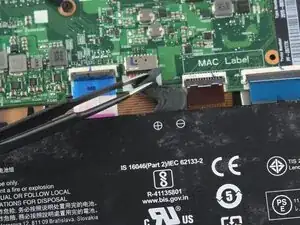
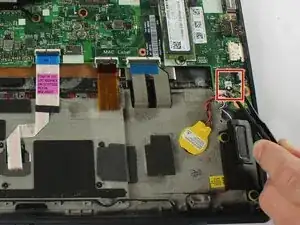
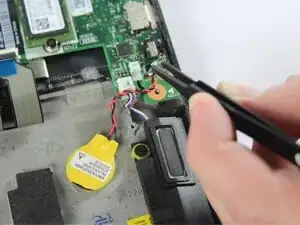
Use the point of a spudger to push on alternating sides of the connector to "walk" it out of its socket.
-
If that doesn't work, use a pair of tweezers to firmly grip the sides of the connector and pull straight away from the socket.
-
-
-
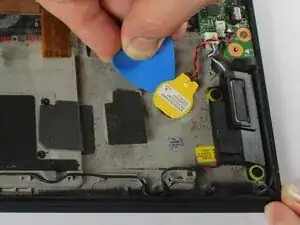
Slide a plastic opening pick underneath the CMOS battery to loosen the adhesive holding it down.
-
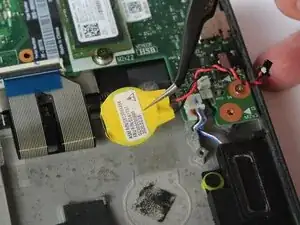
Remove the CMOS battery from the device.
-
To reassemble your device, follow these instructions in reverse order. Take your e-waste to an R2 or e-Stewards certified recycler.