Introdução
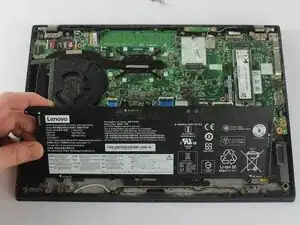
Use this guide if you're experiencing issues with the Lenovo ThinkPad T14s Gen 1 Battery. If the laptop turns off unexpectedly and won't power on, the battery may be faulty or in need of replacement.
Before continuing with this guide, refer to the troubleshooting pages.
This repair requires opening the device, so proceed with caution; some components may be sensitive to electrostatic discharge (ESD) or accidental damage. Consider using an anti-static mat or wrist strap to minimize ESD when repairing electronic devices.
If you notice the battery looks puffy or smells funny, the battery may be swollen. Be cautious if you encounter a swollen battery during disassembly and handle it carefully, as it poses a fire hazard.
Be sure to allow the computer to de-energize if it has recently been put on the charger.
-
-
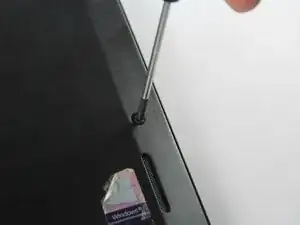
Insert the end of an iFixit opening in the space between the bottom and top case and move it around the perimeter to release the clips that hold the bottom case to the device.
-
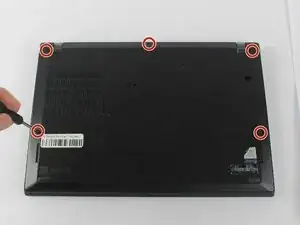
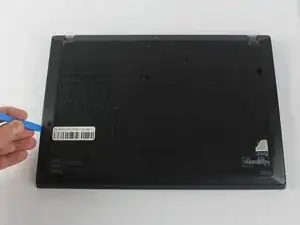
Remove the back panel.
-
-
-
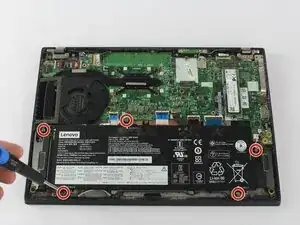
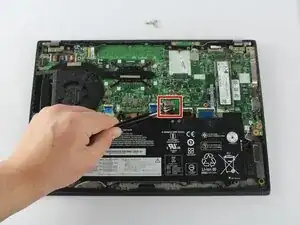
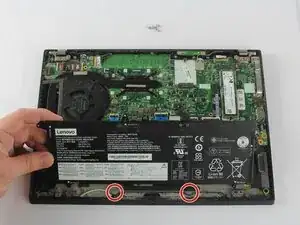
Use a Phillips #0 screwdriver to remove the five 5.0 mm screws holding the battery to the chassis.
-
-
-
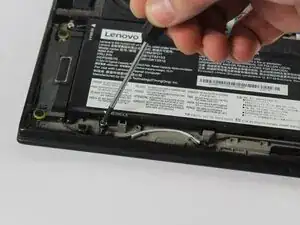
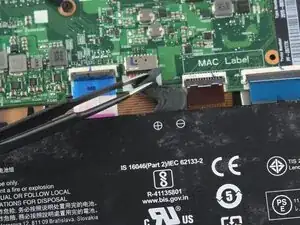
Gently lift the top corner of the battery and slide it towards the back of the laptop so it clears the tabs at the front of the device.
-
To reassemble your device, follow these instructions in reverse order. Take your e-waste to an R2 or e-Stewards certified recycler.
For optimal performance, calibrate your newly installed battery after completing this guide.