Introdução
Use this guide to begin work on the inside of the Lenovo ThinkPad T14s Gen1 or to replace a faulty back panel.
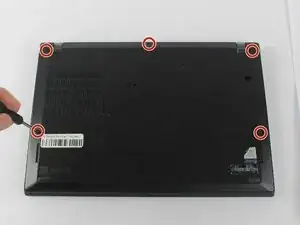
This repair requires opening the device, so proceed with caution; some components may be sensitive to electrostatic discharge (ESD) or accidental damage. Consider using an anti-static mat or wrist strap to minimize ESD when repairing electronic devices.
Before you begin this repair, make sure your laptop is off and disconnected from the charger and any peripheral devices. If the computer was recently charging, unplug it and wait a few minutes for any residual power to dissipate before beginning the repair.
-
-
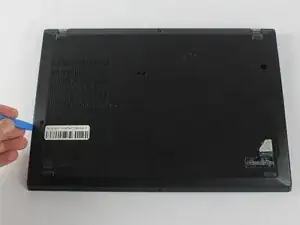
Insert the end of an iFixit opening in the space between the bottom and top case and move it around the perimeter to release the clips that hold the bottom case to the device.
-
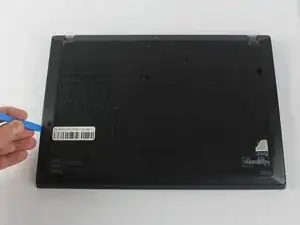
Remove the back panel.
-
To reassemble your device, follow these instructions in reverse order.