Introdução
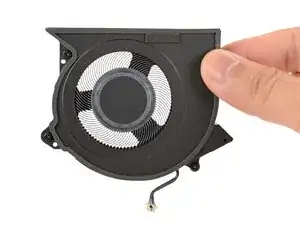
Follow this guide to remove and replace the fan in your Lenovo ThinkPad T14 Gen 7 laptop.
Ferramentas
-
-
For your safety, discharge your battery below 25% before disassembling your laptop. A charged battery may catch fire if damaged. If your battery is swollen, take appropriate precautions.
-
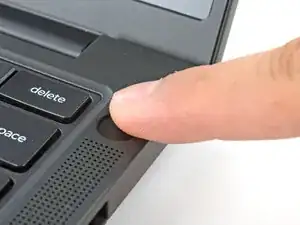
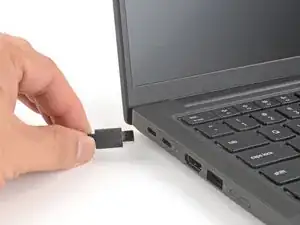
Completely shut down your laptop (don't just put it in sleep mode) and disconnect all cables.
-
-
-
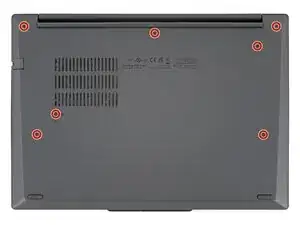
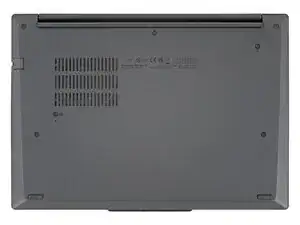
Use a Phillips screwdriver to fully loosen the seven captive screws securing the base cover.
-
-
-
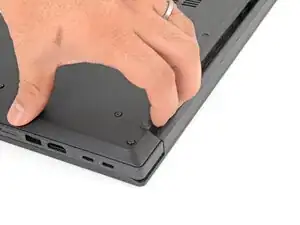
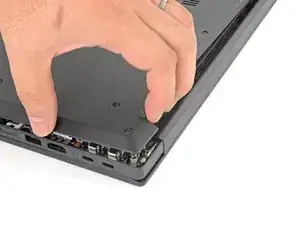
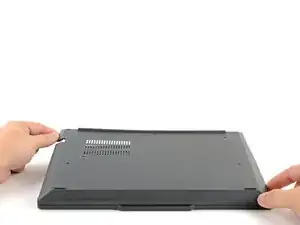
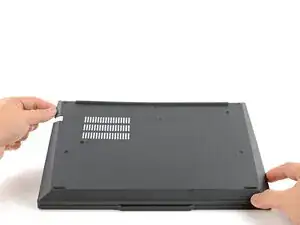
Use your fingers to grab and lift the top-right corner of the base cover near the hinge.
-
Repeat at the top-left corner.
-
-
-
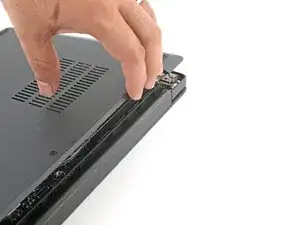
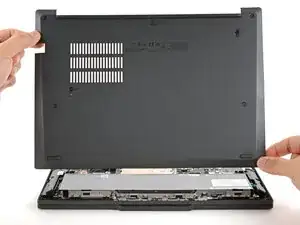
Slowly lift the hinge edge of the base cover until the remaining clips release.
-
Remove the base cover.
-
-
-
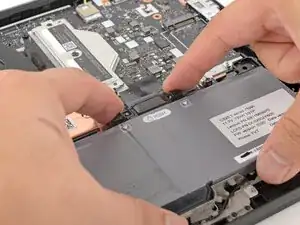
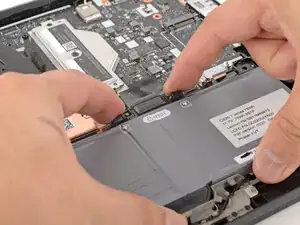
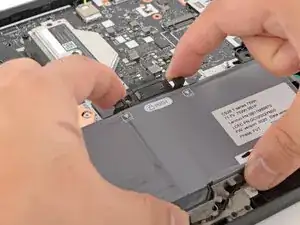
Use your fingers to squeeze the two latches on either side of the battery connector.
-
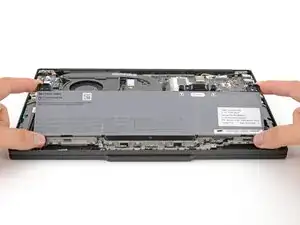
While squeezing the latches, lift the top edge of the battery up.
-
-
-
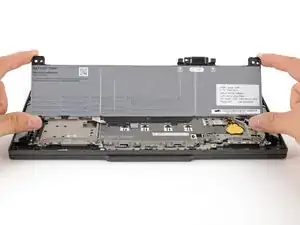
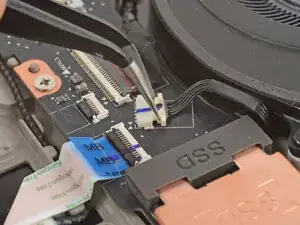
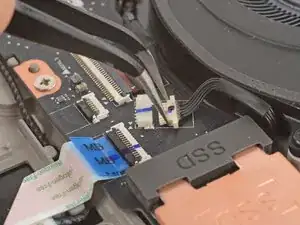
Use tweezers or your fingernails to gently push the fan connector out of its socket to disconnect it.
-

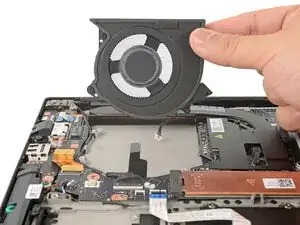
To reassemble your device, follow these instructions in reverse order.
Take your e-waste to an R2 or e-Stewards certified recycler.
Repair didn’t go as planned? Try some basic troubleshooting, or ask our Answers community for help.
