Introdução
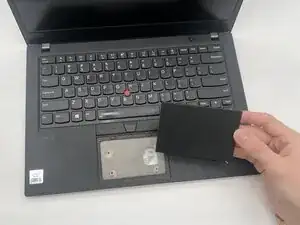
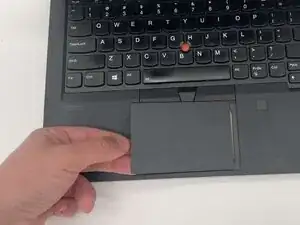
This guide shows how to replace the touchpad in a Lenovo ThinkPad T14 Gen 1. The touchpad allows you to control the cursor for smooth and effective use. Replacement may be necessary if the touchpad is unresponsive, laggy, damaged, or if you want an upgrade from the factory touchpad.
The Lenovo ThinkPad T14 Gen 1 uses a Lenovo ThinkPad Touchpad ‑ 01YU301.
Before you begin, completely power off the laptop and work on a clean, uncluttered surface. A clear workspace helps prevent accidental damage to internal components and reduces the risk of injury.
-
-
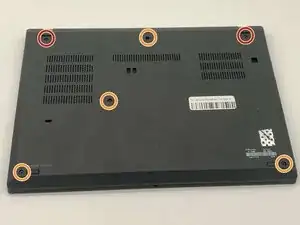
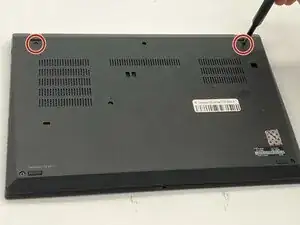
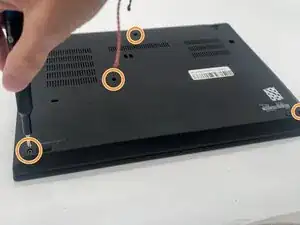
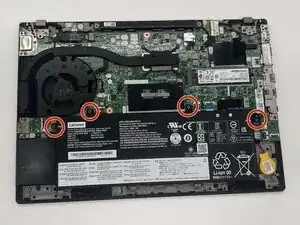
Use a Phillips #1 screwdriver to loosen the following captive screws:
-
The top two 6.8 mm corner screws
-
Four 5.8 mm-long screws
-
-
-
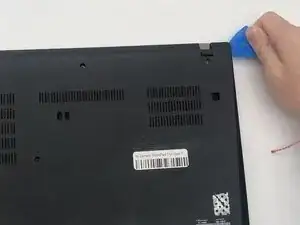
Use a plastic opening tool to pry the bottom panel.
-
Insert the end of the opening tool into the seam between the bottom and top cover.
-
Slide the opening tool around the edge of the bottom panel to release the clips holding them together.
-
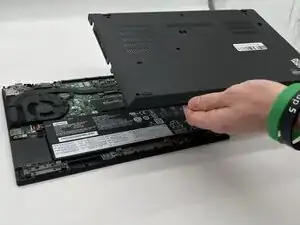
Gently remove the bottom panel.
-
-
-
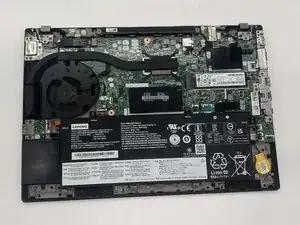
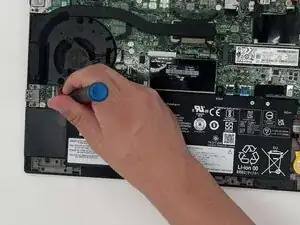
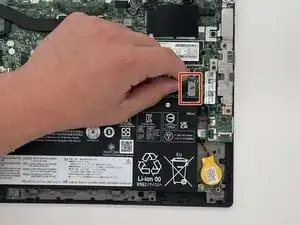
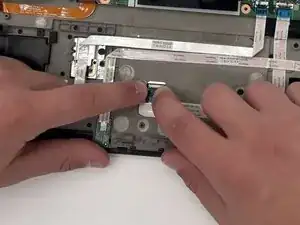
Remove the black battery connector from the motherboard by gently tugging toward the left.
-
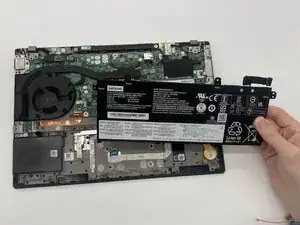
Gently lift the top of the battery to remove it from the chassis.
-
-
-
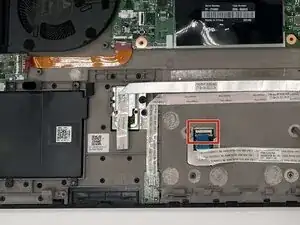
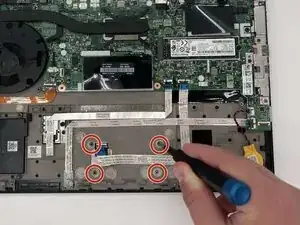
Use your nail or a spudger to flip up the black locking clip.
-
Use tweezers or your fingers to gently pull the cable out of its socket.
-

To reassemble your device, follow these instructions in reverse order. Take your e-waste to an R2 or e-Stewards certified recycler.

You might not need to remove the screws. My laptops back cover had all screws held in place with washers. You just need to untighten them.
Sverrir -
...also worth mentioning: Three of the screws are philips size 0, the ones near the hinges and the one closest to the center.
Sverrir -