Introdução
This guide shows how to replace the hard drive in a Lenovo ThinkPad L460.
The hard drive stores the operating system, applications, and personal files. If your laptop runs slowly, freezes frequently, makes unusual noises, or doesn’t have enough storage, replacing the drive may improve performance.
Upgrading to a new HDD or SSD can reduce boot times, improve everyday responsiveness, and add storage—helping extend the life of the ThinkPad L460.
Before you begin, back up your data, power off the laptop, and unplug it from any power source.
-
-
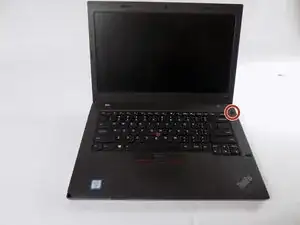
Shut down your Lenovo ThinkPad L460 completely.
-
Disconnect the AC power adapter.
-
Disconnect all connected cables and devices.
-
-
-
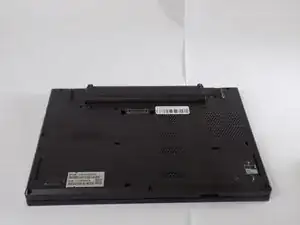
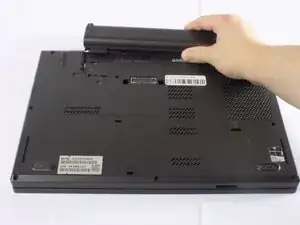
Use your two thumbs to push the two locking latches to the left and the right of the battery to the unlocked position.
-
While holding the latches open, slide the battery out of the connector to remove it.
-
-
-
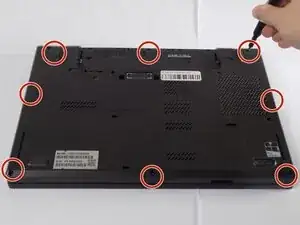
Use a Phillips #1 screwdriver to loosen the 8 captive screws on the back cover of the laptop.
-
Remove the SIM tray from the side of the laptop.
-
-
-
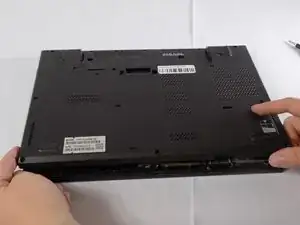
Use an opening tool to gently pry along the edges of the cover, releasing all the plastic clips of the laptop.
-
Carefully pull up and remove the back cover from the laptop.
-
-
-
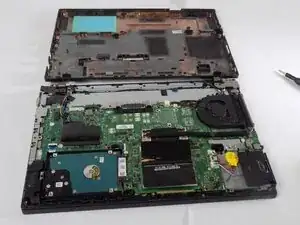
Note: If the model had internal battery disconnect it from the motherboard.
-
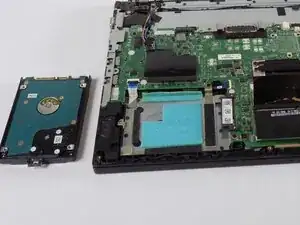
Locate the Hard drive. There will be a 2.5″ drive in a bay, likely secured by a screws and held in a caddy or mount.
-
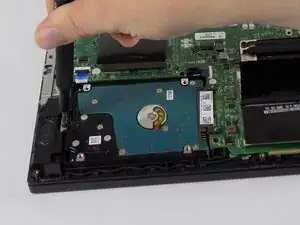
Remove the screws and any caddy or mounting.
-
-
-
Carefully lift the hard drive assembly slightly and pull it horizontally to the left to detach it from its SATA connector on the motherboard.
-


To reassemble your device, follow these instructions in reverse order. Take your e-waste to an R2 or e-Stewards certified recycler.