
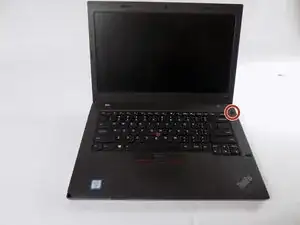
Introdução
If your Lenovo ThinkPad L460 has unresponsive keys, types incorrect characters, shows physical keyboard damage, or displays a “keyboard error,” replacing the keyboard may fix the problem.
This guide shows how to replace the keyboard in a Lenovo ThinkPad L460. Before you begin, power off the laptop, unplug it, and disconnect the battery.
-
-
Shut down your Lenovo ThinkPad L460 completely.
-
Disconnect the AC power adapter.
-
Disconnect all connected cables and devices.
-
-
-
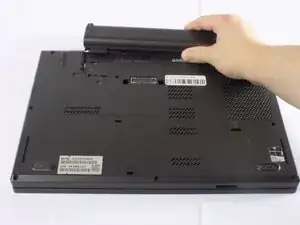
Use your two thumbs to push the two locking latches to the left and the right of the battery to the unlocked position.
-
While holding the latches open, slide the battery out of the connector to remove it.
-
-
-
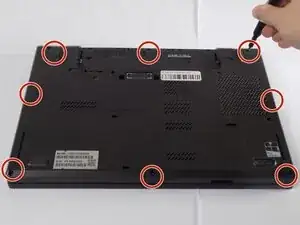
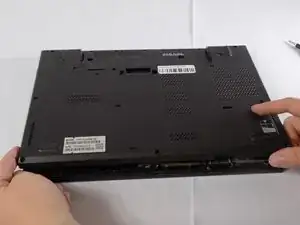
Use a Phillips #1 screwdriver to loosen the 8 captive screws on the back cover of the laptop.
-
Remove the SIM tray from the side of the laptop.
-
-
-
Use an opening tool to gently pry along the edges of the cover, releasing all the plastic clips of the laptop.
-
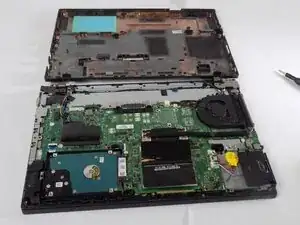
Carefully pull up and remove the back cover from the laptop.
-
-
-
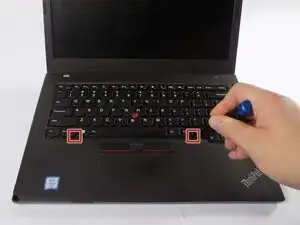
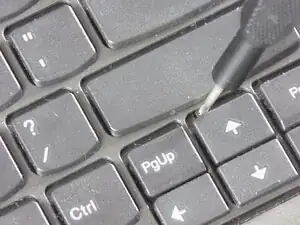
Use a nylon spudger to press down on the small notches at the bottom of the keyboard.
-
Gently push the keyboard away from the palmrest to reveal the screws underneath.
-
-
-
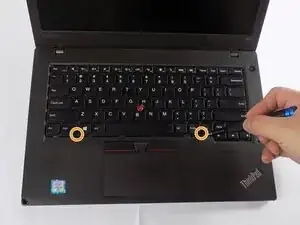
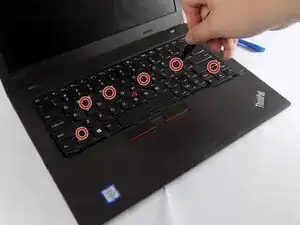
Use a Phillips #00 screwdriver to loosen the keyboard screws located above the S, F, J, ;, Up Arrow, and Left Control keys.
-
-
-
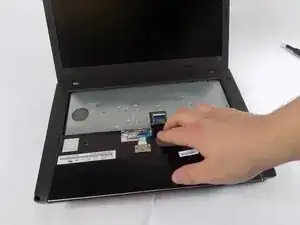
Lift the keyboard from the top edge and flip it forward to expose the keyboard connector.
-
Use a nylon spudger to flip up the black locking tab.
-
Use tweezers or your fingers to gently pull the cable out of its socket.
-
Remove the keyboard from the laptop.
-


To reassemble your device, follow these instructions in reverse order. Take your e-waste to an R2 or e-Stewards certified recycler.