
Introdução
If your laptop won’t play audio, or is making static noise, your laptop speakers may be broken. Use this guide to learn how to safely replace them.
Laptop can be easily damaged due to consistent use or external elements, as well as overheating and damaged connections. Additionally, constantly playing loud noise may over time begin to cause a severe decrease in sound quality, such as grainy or static audio. Replacing the speakers will restore your sound to its original quality and functionality.
Before starting on this replacement guide, ensure that the problem is with the speakers themselves. Replacing the speakers can be somewhat expensive, and your problem could be something as simple as dust blockages within the computer or driver errors. Use the procedures in Lenovo ThinkPad E15 Gen 3 Not Playing Sound Correctly to properly diagnose your device.
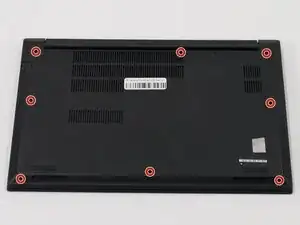
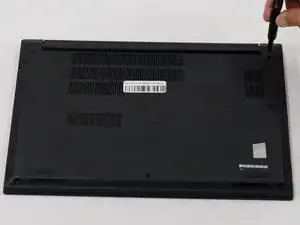
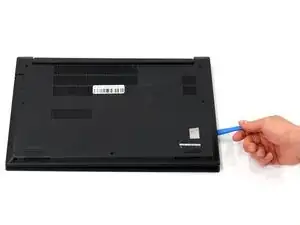
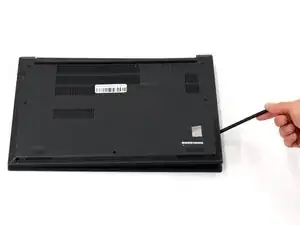
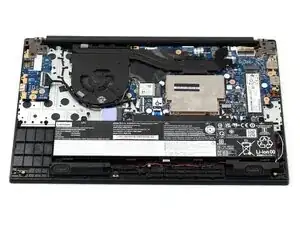
This guide requires opening the laptop case and exposing internal components. Be cautious of sharp edges and avoid touching any circuitry and exposed electronics to prevent damage from static electricity. Use an anti-static wrist strap (such as one of these) if possible, and make sure your laptop is completely powered off and unplugged before beginning the replacement process.
-
-
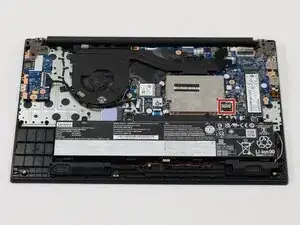
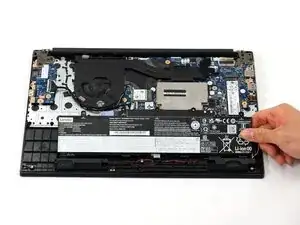
Gently disconnect the battery from the motherboard by pulling on the fabric tab attached to the connector.
-
-
-
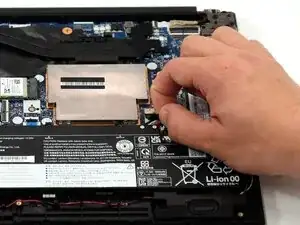
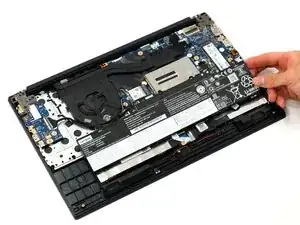
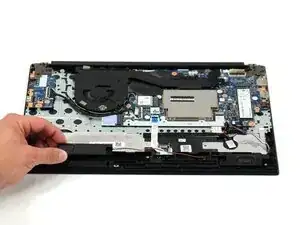
Remove the battery by gently lifting the top of the battery out from the frame and then pull towards the motherboard.
-
-
-
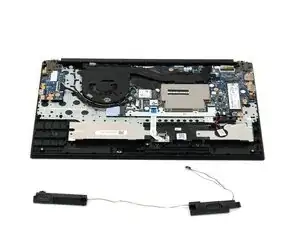
Use the point of a spudger to push on alternating sides of the connector to "walk" it out of its socket.
-


To reassemble your device, follow these instructions in reverse order. Take your e-waste to an R2 or e-Stewards certified recycler.
