
Introdução
If your laptop Is having trouble booting windows or installed applications, or you are experiencing long download times, your storage may be the reason why and will need to be replaced or upgraded. Use this guide to properly replace your storage.
Normally, an SSD can last up to 20+ years, but overtime it will degrade, and if you are downloading things often it can be much shorter. You also may want to upgrade to a higher amount of storage, as over the past 10 years software has on average become much larger. Newer SSDs also have higher write speeds and cache sizes, helping your computer run much faster as well as being able to store everything you need it to.
Before you go out and buy a new storage device, make sure the SSD is what is causing your problem! SSDs can be expensive depending on what you buy and where you buy it from. First try to use the techniques found in Lenovo ThinkPad E15 Gen 3 Running Slow to properly diagnose your problems. Additionally, if you are replacing your storage and want to keep any of your old files and downloads that are not saved to the cloud or the internet, you may need to talk to a professional to help you transfer them.
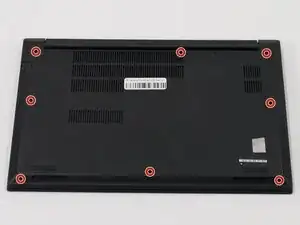
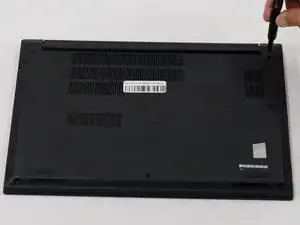
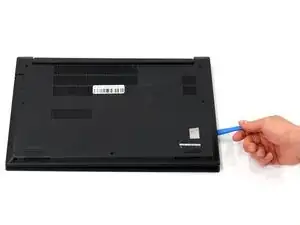
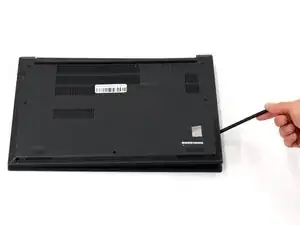
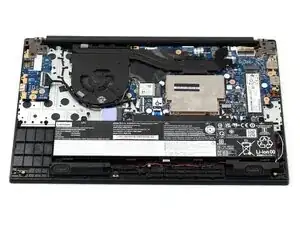
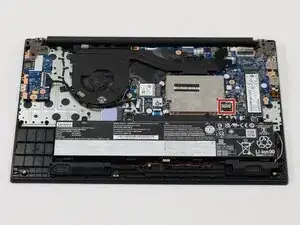
This guide requires opening the laptop case and exposing internal components. Be cautious of sharp edges and avoid touching any circuitry and exposed electronics to prevent damage from static electricity. Use an anti-static wrist strap (such as one of these) if possible, and make sure your laptop is completely powered off and unplugged before beginning the replacement process.
-
-
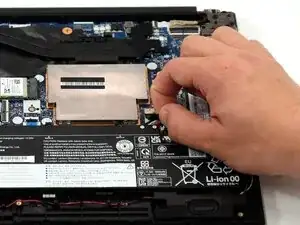
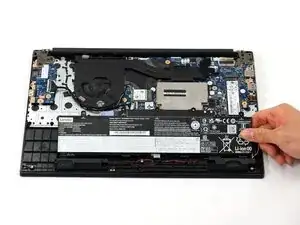
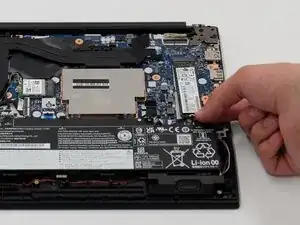
Gently disconnect the battery from the motherboard by pulling on the fabric tab attached to the connector.
-
-
-
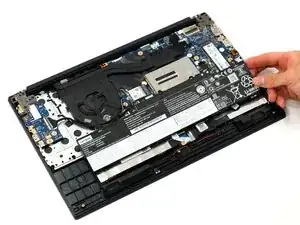
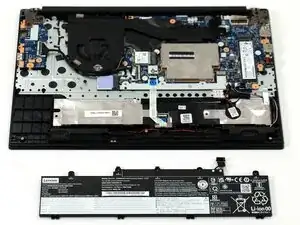
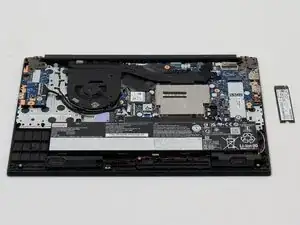
Remove the battery by gently lifting the top of the battery out from the frame and then pull towards the motherboard.
-
To reassemble your device, follow these instructions in reverse order.
When reinstalling the new SSD, do not buy a new copy of windows! Your motherboard comes with a copy of windows, and will automatically install it onto your new SSD when you first reboot the computer.
Take your e-waste to an R2 or e-Stewards certified recycler.
