Introdução
If your laptop is running slow, having issues with it randomly crashing, or programs not being able to start up correctly, your laptops RAM(Random Access Memory) may be the issue. Use this guide to learn how to properly and safely replace the RAM on your laptop.
RAM can potentially start to go bad due to time, as it slowly becomes outdated by the other hardware and software on the device. Replacing the RAM on your laptop is also recommended due to the Lenovo ThinkPad E15 Gen 3 only coming with 8 gigabytes of RAM. This will allow the laptop to run faster with better performance overall.
Replacing the RAM of your laptop while not expensive, shouldn't be the first method you attempt to resolve your problems. Instead try to use the methods found in Lenovo E15 ThinkPad Gen 3 Running Slow, to properly diagnose the issues with your laptop.
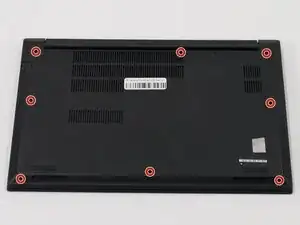
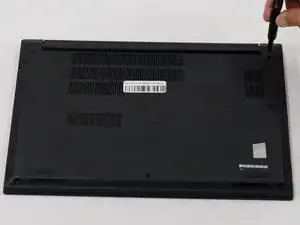
This guide requires opening the laptop case and exposing internal components. Be cautious of sharp edges and avoid touching any circuitry and exposed electronics to prevent damage from static electricity. Use an anti-static wrist strap (such as one of these) if possible, and make sure your laptop is completely powered off and unplugged before beginning the replacement process.
-
-
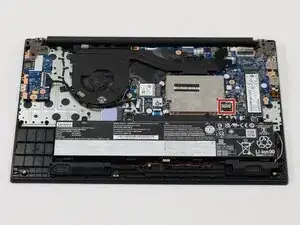
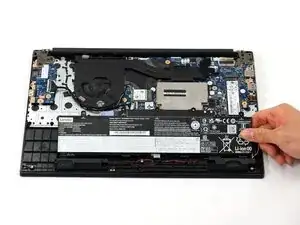
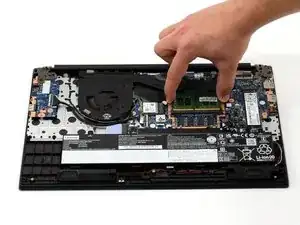
Gently disconnect the battery from the motherboard by pulling on the fabric tab attached to the connector.
-
-
-
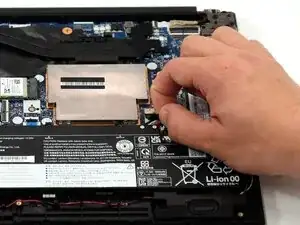
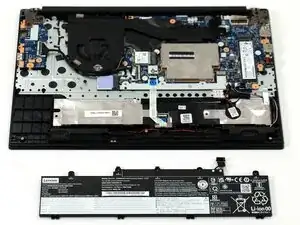
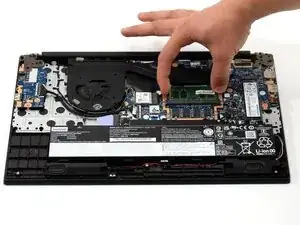
Remove the battery by gently lifting the top of the battery out from the frame and then pull towards the motherboard.
-
-
-
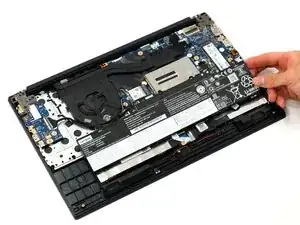
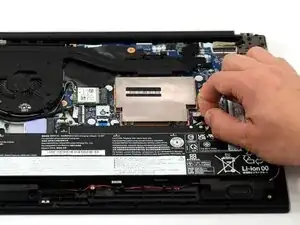
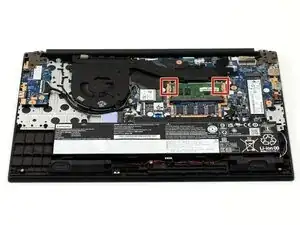
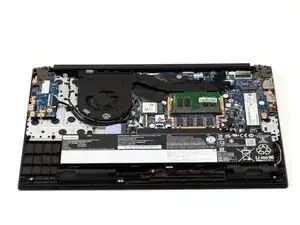
Gently pull on the stainless steel shielding cover to remove it from the laptop to expose the RAM.
-
-
-
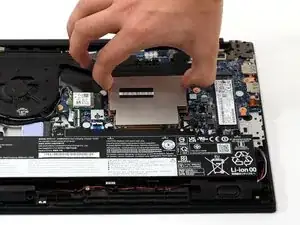
Using your fingers, pull the metal arms (located on both sides of the RAM stick) slightly away from it.
-


To reassemble your device, follow these instructions in reverse order. Take your e-waste to an R2 or e-Stewards certified recycler.