Introdução
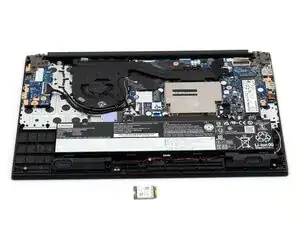
Laptop not functioning correctly? Need to replace your motherboard? Here's how to replace the motherboard on the Lenovo ThinkPad E15 Gen 3.
-
-
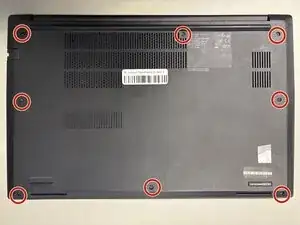
Use a Phillips #1 screwdriver to loosen the eight Phillips #1 captive screws.
-
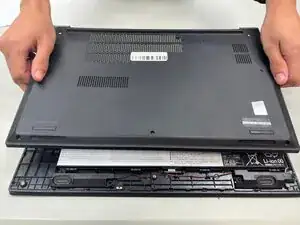
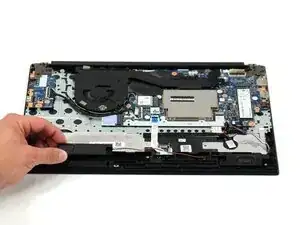
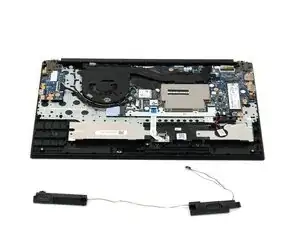
Slide the opening pick in-between the bottom cover and the upper case.
-
While gently pulling up with your free hand, slide the pick around the perimeter of the case disconnecting the clips.
-
Lift the case upwards to remove it.
-
-
-
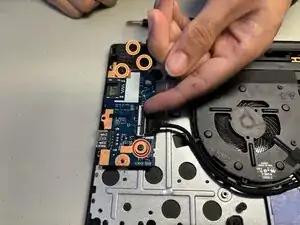
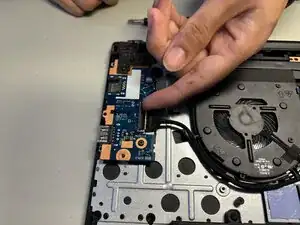
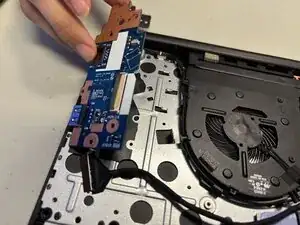
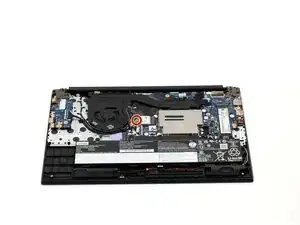
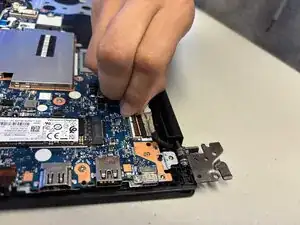
Use a Philips #1 Screwdriver to remove the one 5.6 mm-long Phillips #1 screw on the I/O board.
-
Remove the three 6.5 mm-long Phillips #1 screws on the hinge.
-
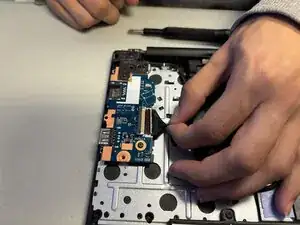
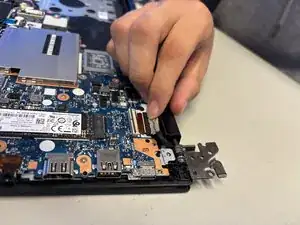
Flip the ZIP locking flap up with your fingertip or a spudger.
-
Disconnect the cable.
-
-
-
Use the point of a spudger to push on alternating sides of the connector to "walk" it out of its socket.
-
-
-
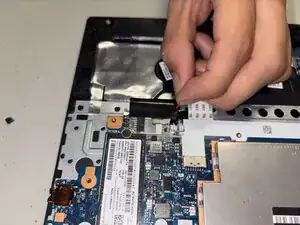
Slide a thin, ESD-safe pry tool or angled tweezers under the metal neck of the connector (as close to the head as possible) and lift straight up from the board.
-
-
-
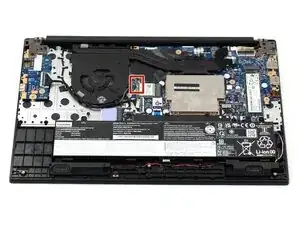
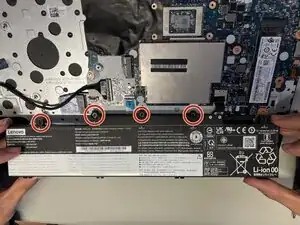
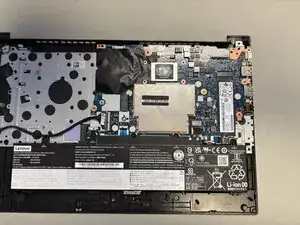
Use a Phillips #1 screw to remove the five 5.5 mm-long Phillips #1 screws securing the battery.
-
Disconnect the battery connector.
-
Remove the battery.
-
-
-
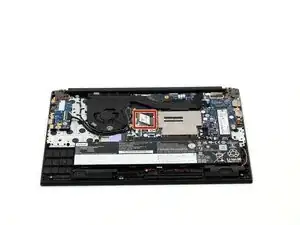
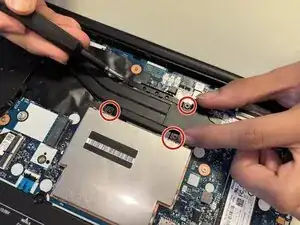
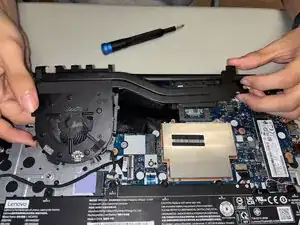
Loosen and remove all screws securing the fan and heatsink assembly using a Phillips #1 screwdriver.
-
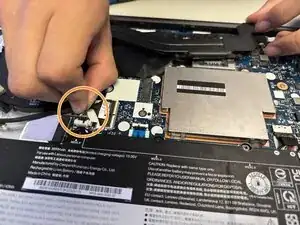
Disconnect the fan connector.
-
Remove the fan and heatsink assembly.
-
-
-
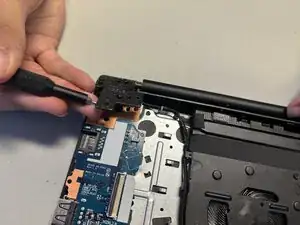
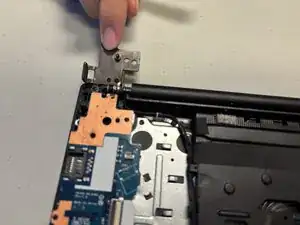
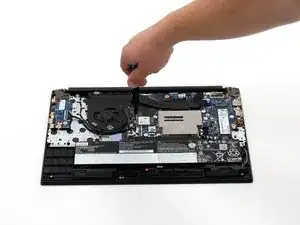
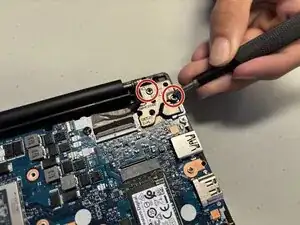
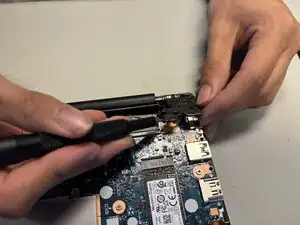
Remove the two black 6.5 mm-long right hinge screws with a Phillips screwdriver.
-
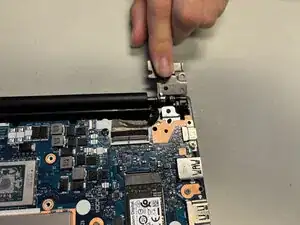
Lift the right hinge.
-
-
-
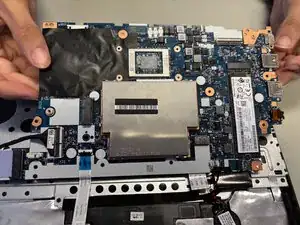
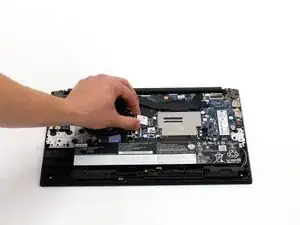
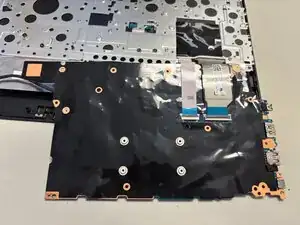
Flip the mother board onto its back.
-
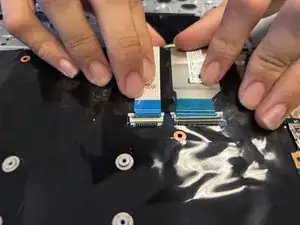
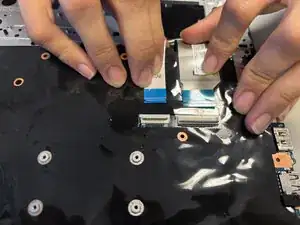
Flip up the two locking flaps and disconnect the two ribbon cables.
-


To reassemble your device, follow the above steps in reverse order.
Take your e-waste to an R2 or e-Stewards certified recycler.
Repair didn’t go as planned? Try some basic troubleshooting or ask our Answers community for help.