Introdução

The Lenovo ThinkPad E14 Gen 4 is a 14-inch business laptop available with either 12th Gen Intel Core or AMD Ryzen 5000 Series processors, mainly marketed for professional use. Key features include fast storage up to a Gen 4 SSD, Wi-Fi 6, and a range of ports including USB-C.

This guide shows how to replace the internal speakers in your device. Before you start, make sure that you have compatible speakers for replacement.

Never work on any device that is plugged into power cords or outlets. Always be sure that your device is powered off and unplugged before opening it up and making repairs.

  1. pUmlh6oBPmJNgHjp
    pUmlh6oBPmJNgHjp
    eDQG4ZZlUOimFfgf
    TSypuPsYPLoHUJt3
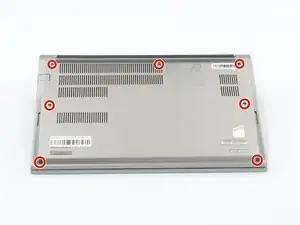
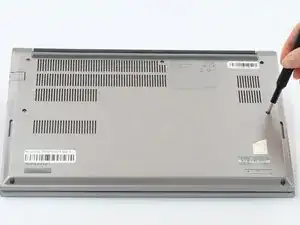
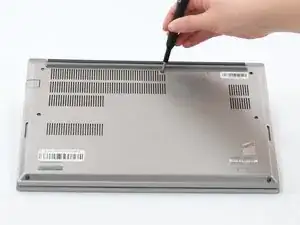
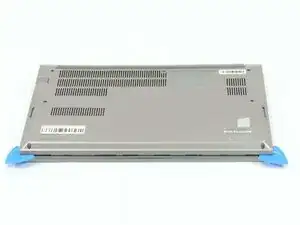
    • Loosen all seven captive screws on the back panel of the device with a Phillips #1 screwdriver.

  2. ljjste5X2fADVmDc
    ljjste5X2fADVmDc
    hMJeLUAjnKjYHPtR
    LY4ZacTDOk6NVEc1
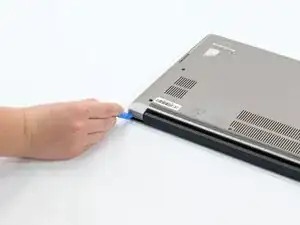
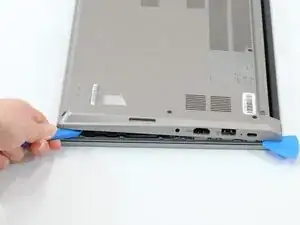
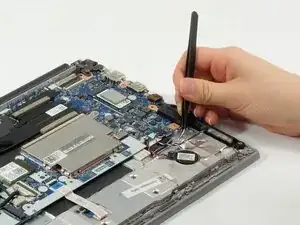
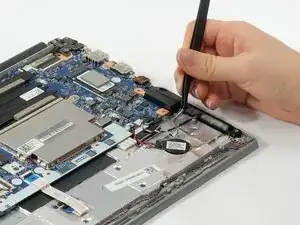
    • Insert an opening pick into the seam near the hinges.

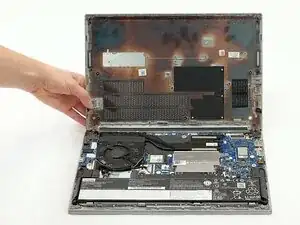
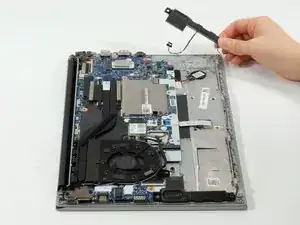
    • Working from the hinges to the front, gently pry apart the back of the device from the main body.

    • You should hear little pops and see a small gap forming at the seam before attempting to remove.

    • Plastic pry tools are the best to use with electronics such as phones, tablets, and laptops because they are designed to break before the device does.

  3. ILJrjUhARIuINRaD
    • Carefully lift the loosened panel away from the laptop.

    • Before attempting to lift the panel off, make sure it has been pried away from all edges and corners of the device. Trying to remove the back panel when any part is still firmly attached to the laptop can cause damage to the device.

  4. SJ3HK1HoaVGxKZPs
    SJ3HK1HoaVGxKZPs
    duaEnAybDqyEPRnB
    • Remove all five 5mm screws from the battery using a Phillips #1 screwdriver.

  5. M1Qmw6GFD6ZMN22A
    M1Qmw6GFD6ZMN22A
    21E64tEuVmQBhgPO
    • Using the fabric tag, disconnect the battery cables from their port inside the device.

  6. QIVJQmWCaAuPj2YD
    • Lift the battery out of the device.

  7. lAUZiDVNr6QLZcrS
    • Unplug the speaker wires from the motherboard using a pair of tweezers.

  8. BeINS6TWMTVqcwcg
    BeINS6TWMTVqcwcg
    wrRakch4GxAfcUJC
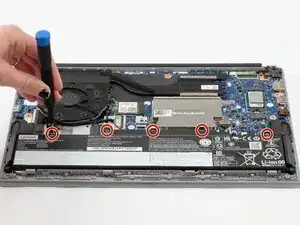
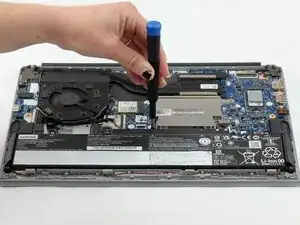
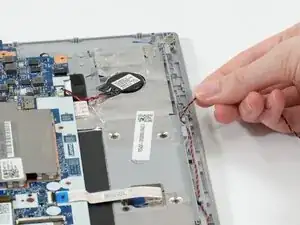
    • Lift the protective foil from the wires—this is to prevent the battery from making direct contact and damaging them.

  9. aA4odFsQixvKBOWR
    aA4odFsQixvKBOWR
    iuTkPpVsAdCJHDDU
    AwfFwJYIZ1Z2keW3
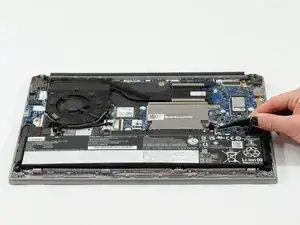
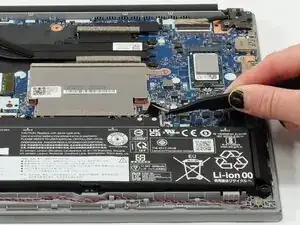
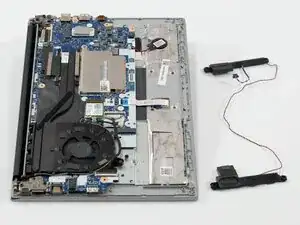
    • Remove one speaker and begin unhooking the cord; you can begin with either one. Pull the wires carefully; they are woven between plastic dividers to keep them from tangling and it may be a tight fit in some spots.

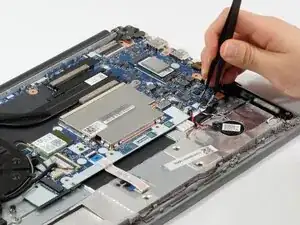
    • Remove the second speaker.

Conclusão

To reassemble your device, follow these instructions in reverse order.

Addison Studer

Membro desde: 07/10/25

99 Reputação

0 comentários