Introdução
Need to fix some hardware in your device? Here's how to get started!
Before opening your ThinkPad, first make sure that your device is completely powered off and that your charging cable is disconnected. Make sure there is no electricity actively flowing through the device before touching anything inside. Components within the device may be sharp, so watch your fingers!
Note: This guide was written with a 21E3 model, but the process is the same for all E14 Gen 4 ThinkPads.
Ferramentas
-
-
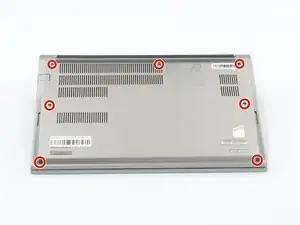
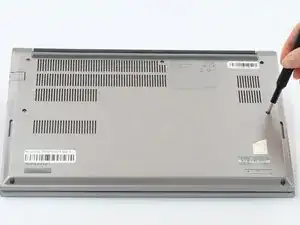
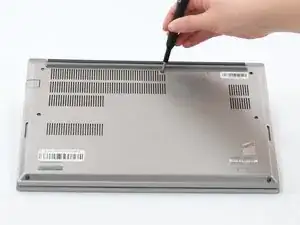
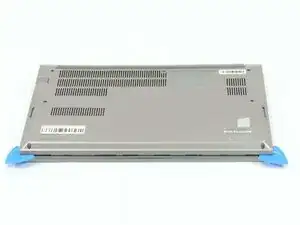
Loosen all seven captive screws on the back panel of the device with a Phillips #1 screwdriver.
-
-
-
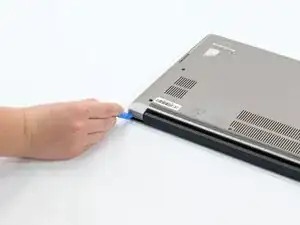
Insert an opening pick into the seam near the hinges.
-
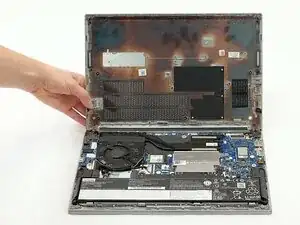
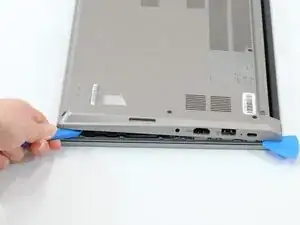
Working from the hinges to the front, gently pry apart the back of the device from the main body.
-

To reassemble your device, follow these instructions in reverse order.
