Introdução
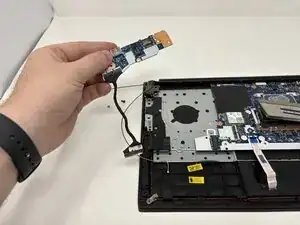
If the USB ports, headphone jack, or other side connections on your Lenovo ThinkPad E14 Gen 2 are not working, the side I/O board may be damaged and need replacement. The side I/O board controls many of the laptop’s external connections, allowing peripherals and accessories to communicate with the system.
Before replacing the side I/O board, check the Lenovo ThinkPad E14 Gen 2 troubleshooting pages to rule out software or driver issues.
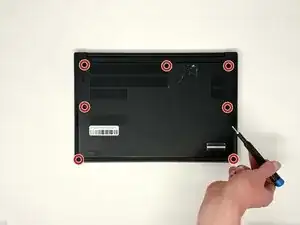
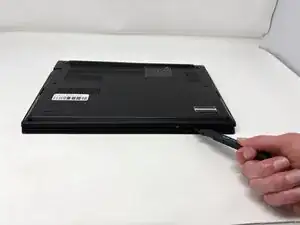
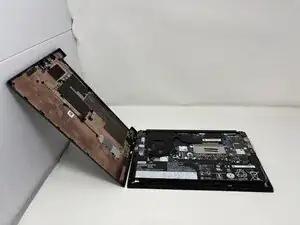
To access the side I/O board, you’ll need to remove the back cover and disconnect the cables that link it to the motherboard.
Warning: Power off and unplug your laptop before starting this repair. Handle all cables and connectors carefully to avoid damaging the new board or surrounding components.
Ferramentas
-
-
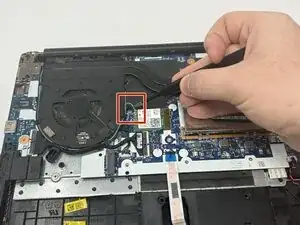
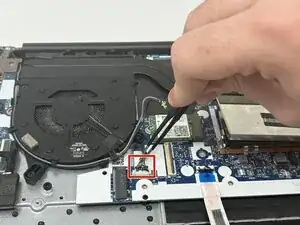
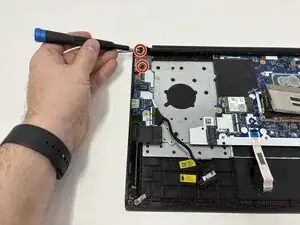
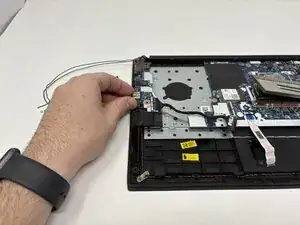
Using the precision tweezers, gently disconnect the thermal sensor wire (the thin grey and black wires) from the Wi-Fi card.
-
-
-
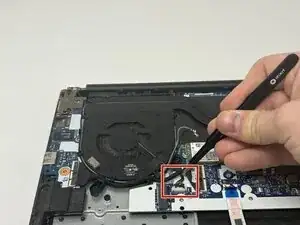
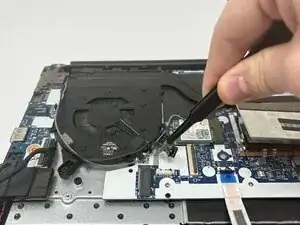
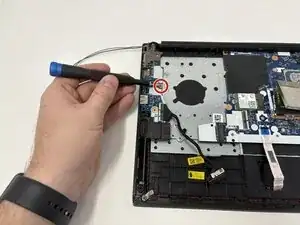
Using the precision tweezers, gently disconnect the motherboard wire (the thick black wire wrapped in thermal tape).
-
-
-
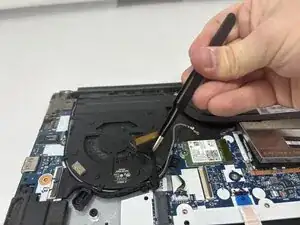
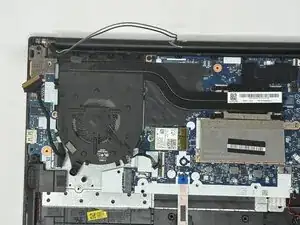
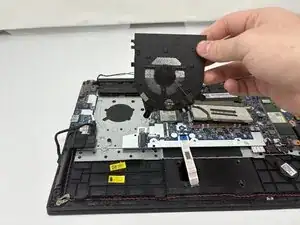
Using the precision tweezers, gently disconnect the fan power cable (the bundle of thin wires) from the motherboard.
-
-
-
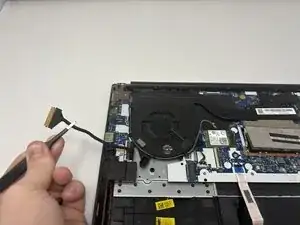
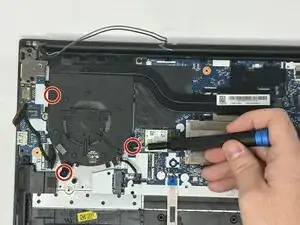
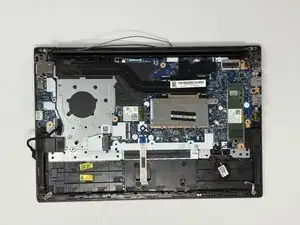
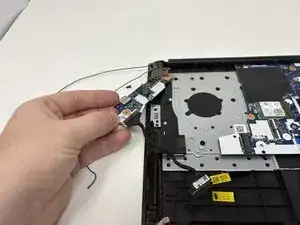
Move all of the disconnected wires (thermal sensor wire, motherboard wire, fan power cable) out of the way.
-


To reassemble your device, follow these instructions in reverse order.