Introdução
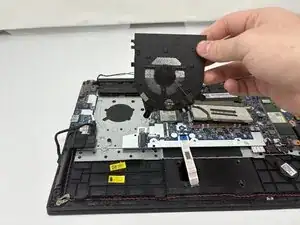
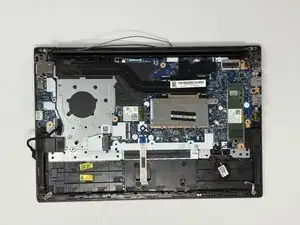
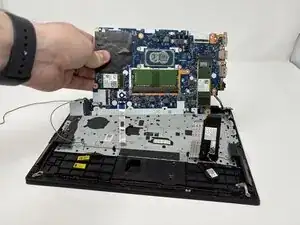
If your Lenovo ThinkPad E14 Gen 2 fails to power on, shows no display, or has multiple hardware components that no longer function, the motherboard may be faulty and require replacement. The motherboard is the main circuit board that connects all internal components and allows them to communicate properly.
Before replacing the motherboard, review the Lenovo ThinkPad E14 Gen 2 troubleshooting pages to confirm that the issue isn’t caused by other components such as the battery, RAM, or power adapter.
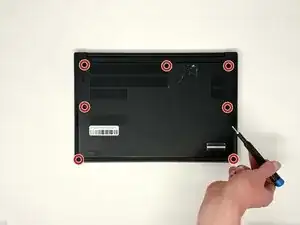
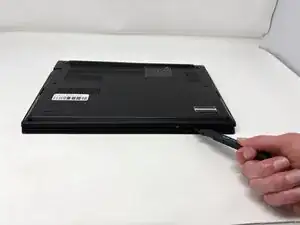
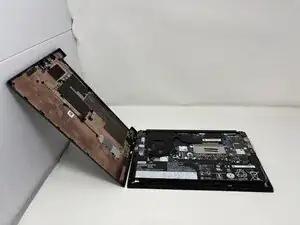
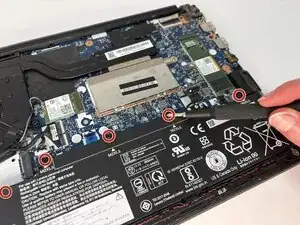
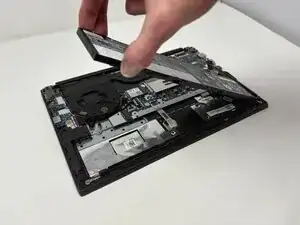
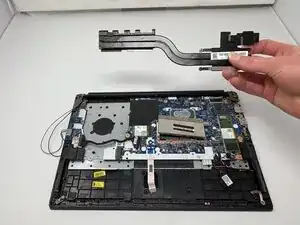
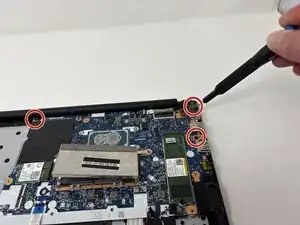
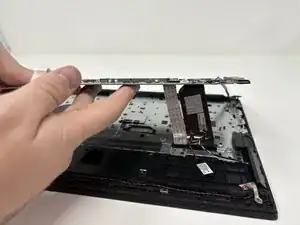
To replace the motherboard, you’ll need to remove the back cover and disconnect several internal cables, screws, and components.
Warning: Always power off your laptop and unplug it before beginning this repair. Handle the motherboard with care and avoid touching exposed circuitry to prevent static or electrical damage.
-
-
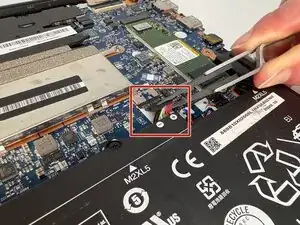
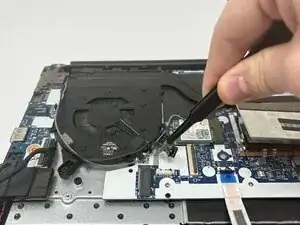
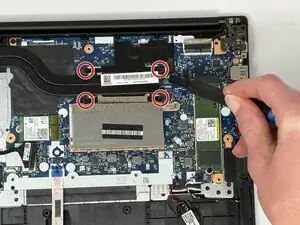
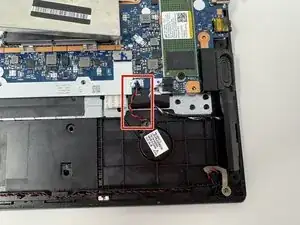
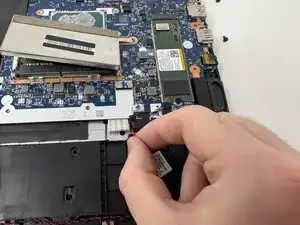
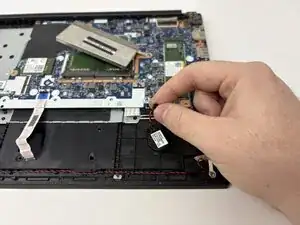
Use precision tweezers or your fingers to gently unplug the battery connector directly out of the motherboard socket.
-
-
-
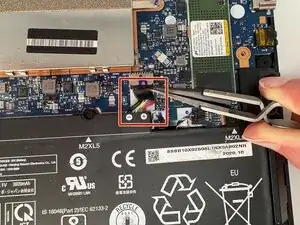
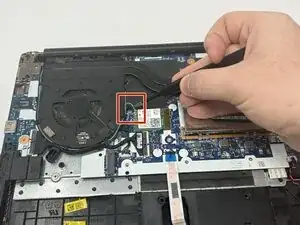
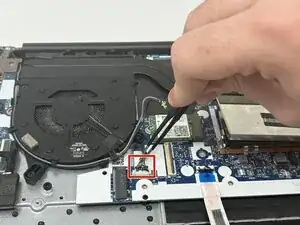
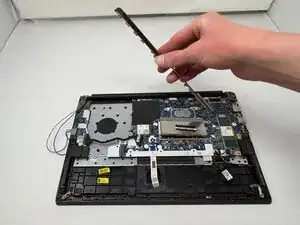
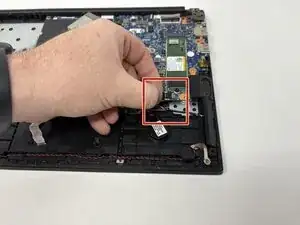
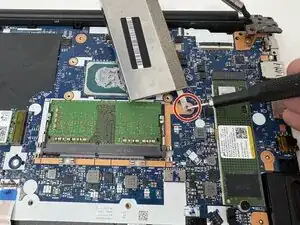
Using the precision tweezers, gently disconnect the thermal sensor wire (the thin grey and black wires) from the Wi-Fi card.
-
-
-
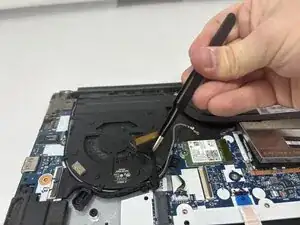
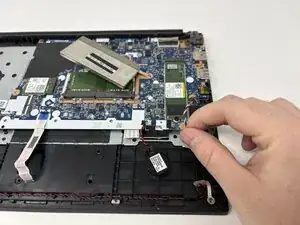
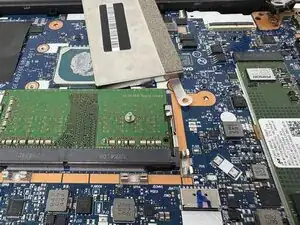
Using the precision tweezers, gently disconnect the motherboard wire (the thick black wire wrapped in thermal tape).
-
-
-
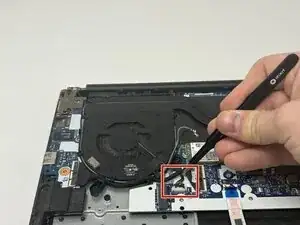
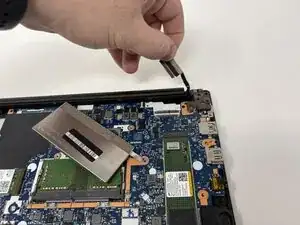
Using the precision tweezers, gently disconnect the fan power cable (the bundle of thin wires) from the motherboard.
-
-
-
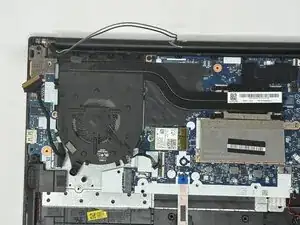
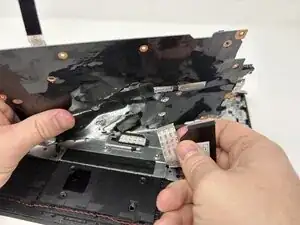
Move all of the disconnected wires (thermal sensor wire, motherboard wire, fan power cable) out of the way.
-
-
-
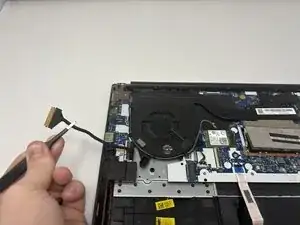
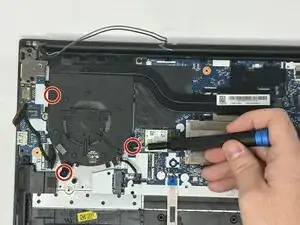
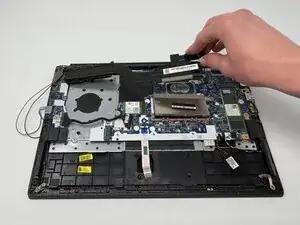
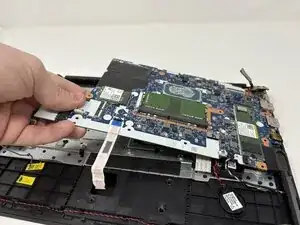
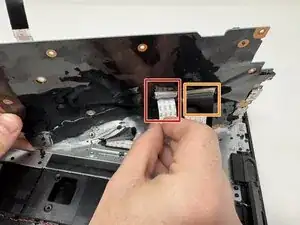
Use your fingers to gently unplug the flat ribbon cable (white cable) from the back of the motherboard.
-
Use your fingers to gently unplug the shielded ribbon cable (black cable) from the back of the motherboard.
-


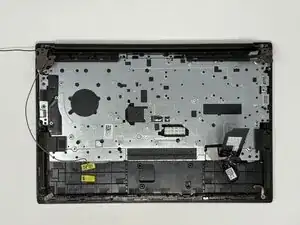
To reassemble your device, follow these instructions in reverse order.