Introdução
If your Lenovo ThinkPad E14 Gen 2 is overheating, running loudly, or experiencing performance issues, the heat sink may be damaged or not functioning properly. The heat sink works with the cooling fan to draw heat away from the CPU and other key components, helping your laptop maintain safe operating temperatures.
Before replacing the heat sink, check the Lenovo ThinkPad E14 Gen 2 troubleshooting pages to rule out dust buildup or fan issues.
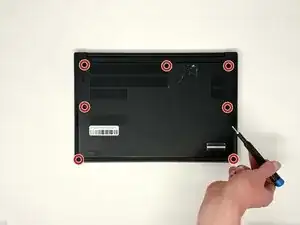
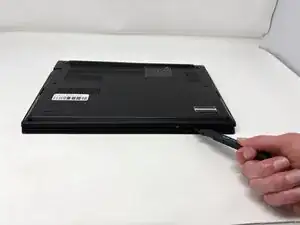
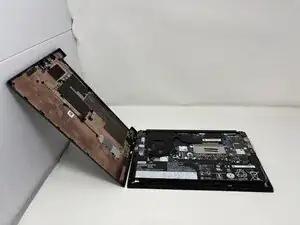
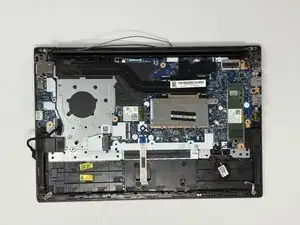
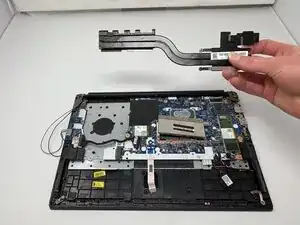
To access the heat sink, you’ll need to remove the back cover and disconnect the fan assembly and related components.
Warning: Always power off your laptop and unplug the charging adapter before starting this repair. Handle thermal paste carefully and reapply a fresh layer when installing the new heat sink to ensure proper cooling.
Ferramentas
-
-
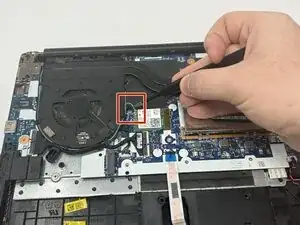
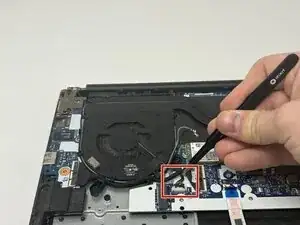
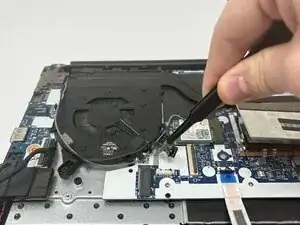
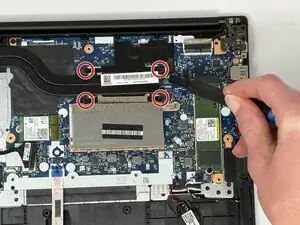
Using the precision tweezers, gently disconnect the thermal sensor wire (the thin grey and black wires) from the Wi-Fi card.
-
-
-
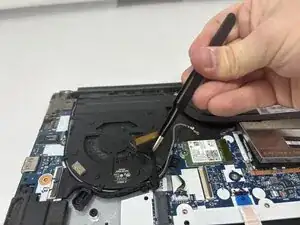
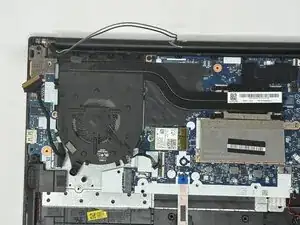
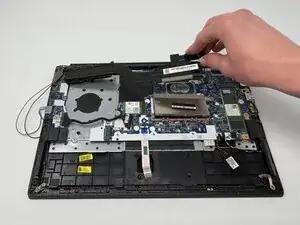
Using the precision tweezers, gently disconnect the motherboard wire (the thick black wire wrapped in thermal tape).
-
-
-
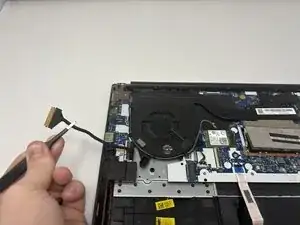
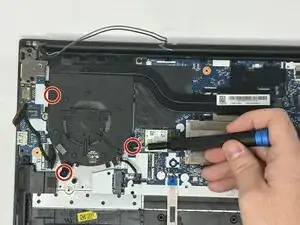
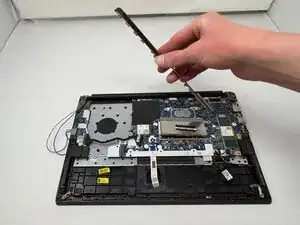
Using the precision tweezers, gently disconnect the fan power cable (the bundle of thin wires) from the motherboard.
-
-
-
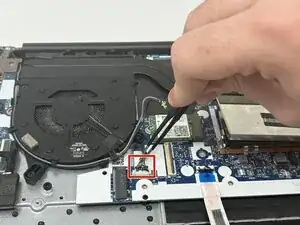
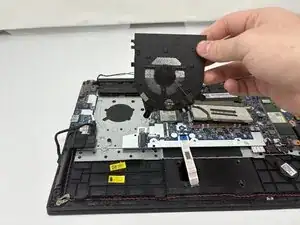
Move all of the disconnected wires (thermal sensor wire, motherboard wire, fan power cable) out of the way.
-


To reassemble your device, follow these instructions in reverse order.