Introdução
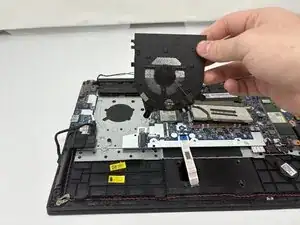
If your Lenovo ThinkPad E14 Gen 2 is overheating, making unusual noises, or shutting down unexpectedly, the cooling fan may be failing and need replacement. The fan helps regulate the laptop’s internal temperature, keeping the components from overheating during use.
Before replacing the fan, check the Lenovo ThinkPad E14 Gen 2 troubleshooting pages to confirm that dust buildup or software issues aren’t causing the problem.
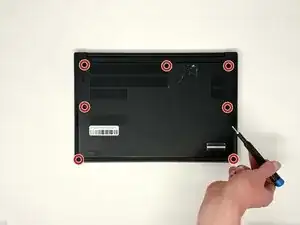
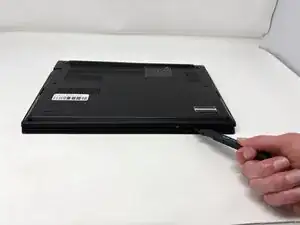
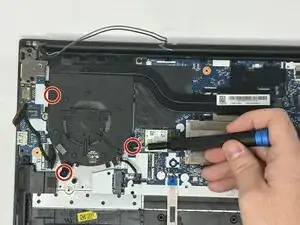
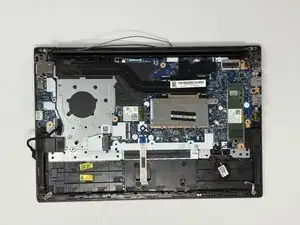
To access the fan, you’ll need to remove the back cover and disconnect the fan’s power cable and mounting screws.
Warning: Make sure to completely power off and unplug your laptop before starting this repair to avoid electrical damage or injury.
Ferramentas
-
-
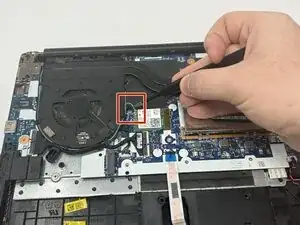
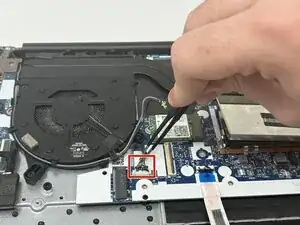
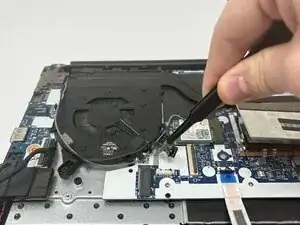
Using the precision tweezers, gently disconnect the thermal sensor wire (the thin grey and black wires) from the Wi-Fi card.
-
-
-
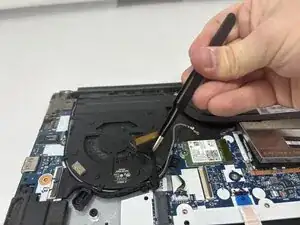
Using the precision tweezers, gently disconnect the motherboard wire (the thick black wire wrapped in thermal tape).
-
-
-
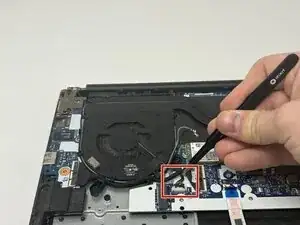
Using the precision tweezers, gently disconnect the fan power cable (the bundle of thin wires) from the motherboard.
-
-
-
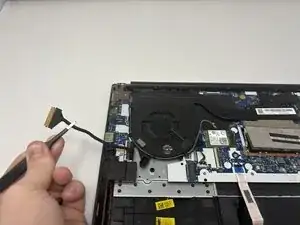
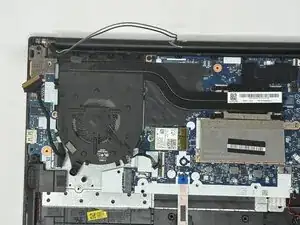
Move all of the disconnected wires (thermal sensor wire, motherboard wire, fan power cable) out of the way.
-

To reassemble your device, follow these instructions in reverse order.