
Introdução
This guide will show you how to properly and carefully remove and replace your screen display through the steps needed to properly separate the halves of your laptop, how to disassemble the screen, and how to do it all without leaving a trace,
-
-
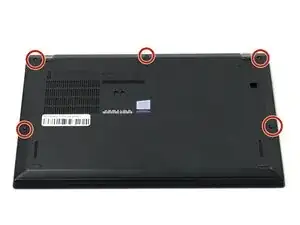
Flip your laptop over so the bottom panel is facing up.
-
Use a Phillips #0 to loosen the five screws holding the back panel to the laptop.
-
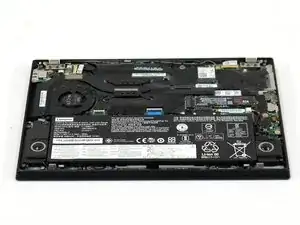
Lift the bottom of the panel to separate the back panel away from the device.
-
Remove the back panel.
-
-
-
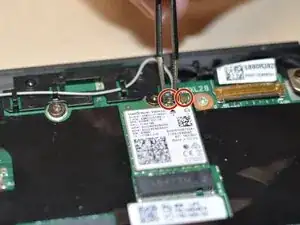
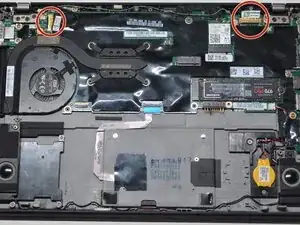
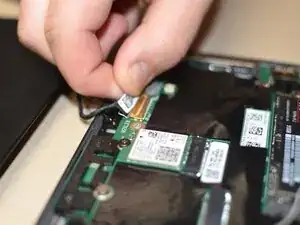
Use a pair of tweezers to gently disconnect the two Wi-Fi card antenna connectors.
-
Carefully unseat the cables from the retaining hooks.
-
-
-
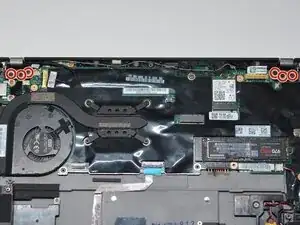
Use a Phillips #0 screwdriver to remove the six screws securing each of the hinges.
-
Lift the hinges perpendicular to the motherboard.
-
-
-
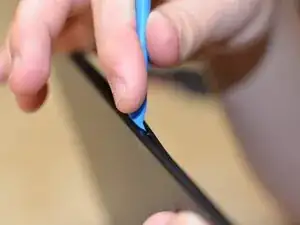
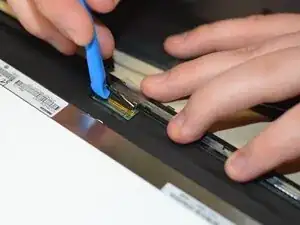
Use a spudger to release the locking bar on each of the two connectors.
-
Disconnect both of the connectors.
-
Carefully unseat the wires from their retaining hooks to completely separate the two halves of the laptop.
-
Carefully lift the top half off of the bottom half, this may be a bit tricky but make sure to be careful every step of the way as you weave the hinges up and out of the bottom half of the laptop.
-
-
-
With the halves separated, lift the now separate screen part of the laptop up and use an opening tool to release the retaining clips that secure the screen to the bezel.
-


To reassemble your device, follow the above steps in reverse order.
Take your e-waste to an R2 or e-Stewards certified recycler.
Repair didn’t go as planned? Try some basic troubleshooting or ask our Answers community for help.