Introdução
This guide is for people whose hinge on their device is damage or needs replacement.
-
-
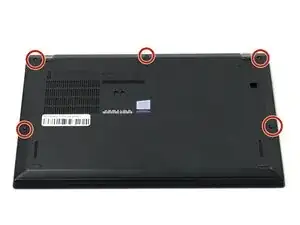
Flip your laptop over so the bottom panel is facing up.
-
Use a Phillips #0 to loosen the five screws holding the back panel to the laptop.
-
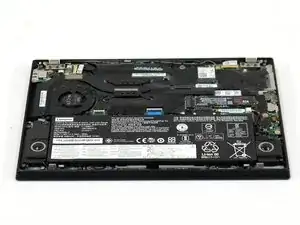
Lift the bottom of the panel to separate the back panel away from the device.
-
Remove the back panel.
-
-
-
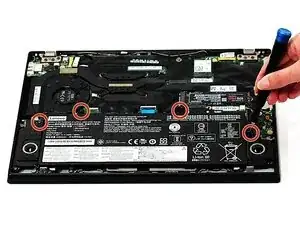
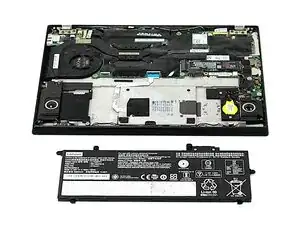
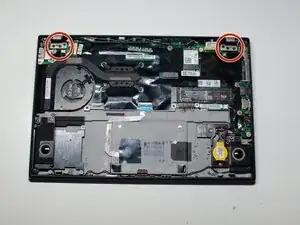
Use a Phillips #0 screwdriver to remove the four 5 mm screws connecting the battery to the device.
-
Slide the battery away from the connector on the motherboard to remove it.
-
-
-
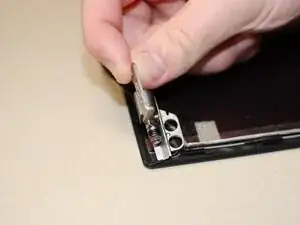
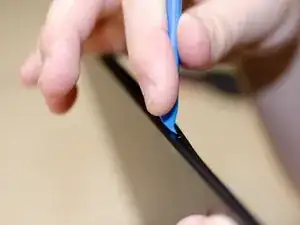
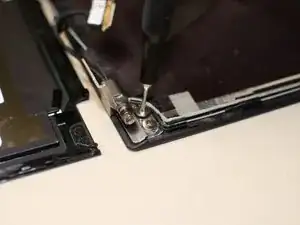
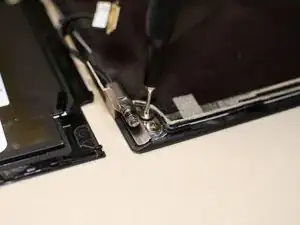
Pry open the screen with an opening tool to gain access to the other set of hinge screws behind the screen.
-


To reassemble your device, follow the above steps in reverse order.
Take your e-waste to an R2 or e-Stewards certified recycler.
Repair didn’t go as planned? Try some basic troubleshooting or ask our Answers community for help.