Introdução
This guide was created to help you remove and replace the RAM on your Lenovo Legion 7, model number 16ARHA7. If your computer crashes, or if you experience performance issues or system freezes, utilize this guide in order help resolve those issues.
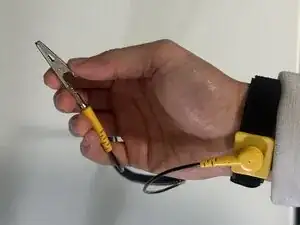
Before starting the repair process, make sure the laptop is powered off and unplugged from any power source. Always wear a grounding wrist strap in order to prevent any potential damage to your device.
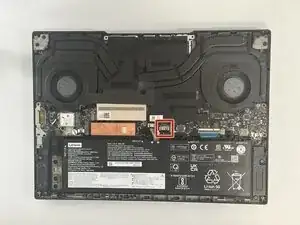
While there is 8GB of soldered on RAM on the motherboard, it is still important to know how replace the other module in the event of system errors. You do not have to use the specific brand I use through this guide, as long as it is at least 8GB (max 32GB) and the type is SODIMM DDR5 RAM, then it will be compatible with your laptop.
Ferramentas
Peças
-
-
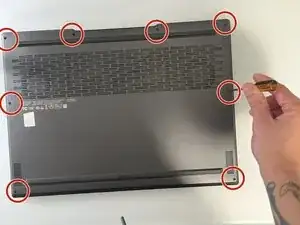
Turn the laptop over and hold the power button for 5 seconds to ensure there is no remaining power left in the laptop.
-
-
-
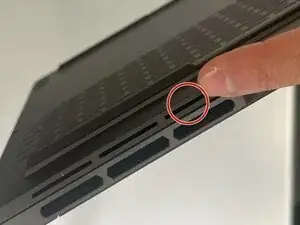
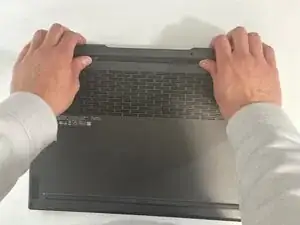
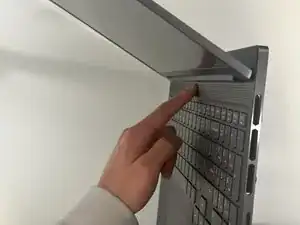
Using a plastic spudger, press down in the area below where the arrow is indicated on the cover to release it.
-
-
-
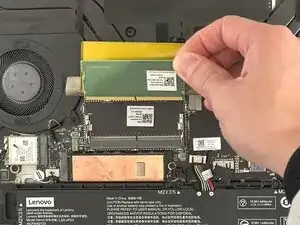
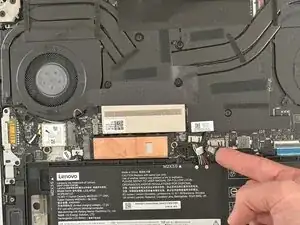
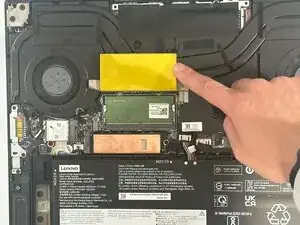
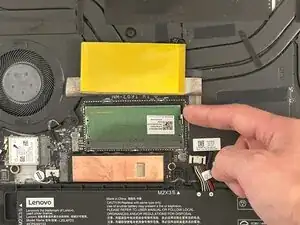
Press down on the silver tabs to release the RAM stick.
-
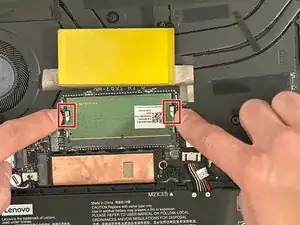
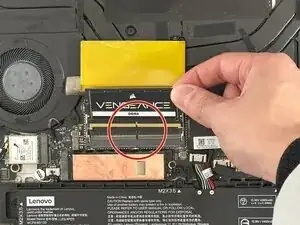
Remove the RAM stick from the laptop.
-
-
-
Line up the empty slot on the new RAM stick with the empty slot on the connector and lightly insert it.
-

To reassemble your device, follow these instructions in reverse order.