Introdução

The Lenovo IdeaPad Flex 5 Chromebook touchpad is essential to the use of the laptop. If the touchpad is stuck or is not powered correctly, this is how you remove it. The part is essential to navigating the laptop without an external mouse. When removing, be careful of delicate wires and hidden screws.

  1. NMkkEUxLpvf3gUE2
    NMkkEUxLpvf3gUE2
    W5bBWVJPWwbxvGAU
    hnixWW1dsKrABdjo
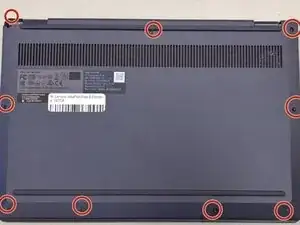
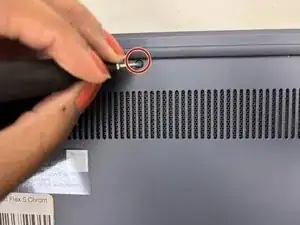
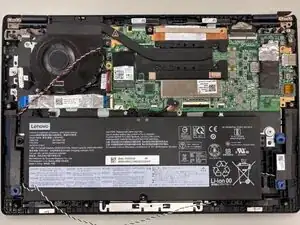
    • Remove the nine 6.2 mm-long screws securing the lower case with a Phillips #0 screwdriver.

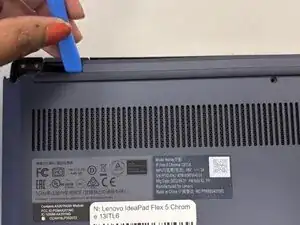
    • Insert an opening pick or opening tool into the seam between the lower case and chassis.

    • Pry around the entire perimeter until the lower case fully releases.

  2. N4nTMDMLRdkkQBXW
    N4nTMDMLRdkkQBXW
    qtWJIctIY4cdRuCU
    HDGPrL21OatPOVus
    • Lift and remove the lower case.

  3. gqTIlvl21NRNBKGU
    gqTIlvl21NRNBKGU
    rP44BIqDRCCJB1e1
    • Remove the six 3.2 mm-long screws securing the battery with a Phillips screwdriver.

  4. ykZv2xLVmYfKQILV
    • Unseat the speaker wires from their retaining hooks.

  5. nWMAOINpKonJvZOG
    • Lift the left speaker.

  6. w3RojyIWPDPrpYUE
    • Lift the right speaker up and out of the laptop.

  7. UXBJvHlAhvW3rGv2
    UXBJvHlAhvW3rGv2
    CKcV6WIL5sDy3TTW
    • Disconnect the speaker connector.

  8. uOfpF2rrtqp1y6UH
    uOfpF2rrtqp1y6UH
    5maUQhAiurgUnWEl
    • Use controlled force to slide the multi-color battery connector out of the silver port.

  9. UYhCHJnUiXSU1gAI
    UYhCHJnUiXSU1gAI
    HeLnXSpVRbM31Ncm
    • Remove the battery, slowly.

    • Check for anything still connecting the battery to the rest of the board.

  10. 3AYRZk6CYUKhtanr
    3AYRZk6CYUKhtanr
    tTmKJeACgp4YHKXT
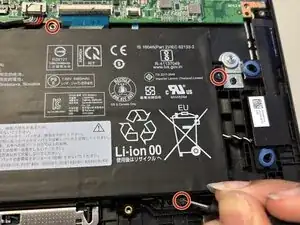
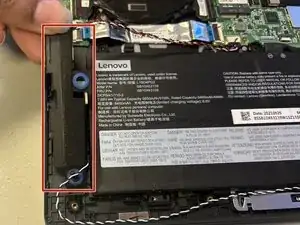
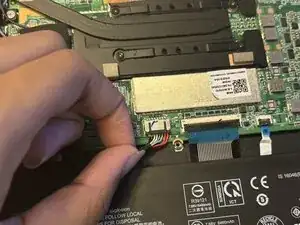
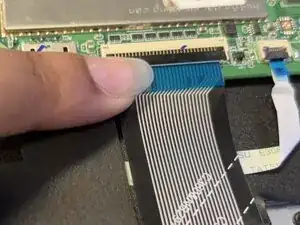
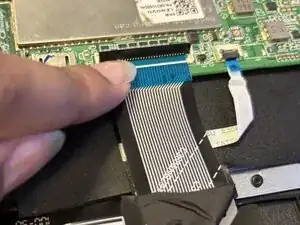
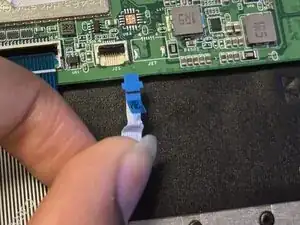
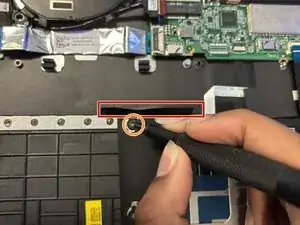
    • Place your fingernail under the black tab and flick up the black tab that is holding the blue wire.

    • Lightly pull the blue ribbon cable out from the white connector.

    • The blue wire should slide out easily. Don't yank the wires, if it is not sliding out easily.

  11. RuA36RhkvIrguIf2
    RuA36RhkvIrguIf2
    AGO5JKmcdkqcoeFX
    qrXIQdUI4pqP2OEB
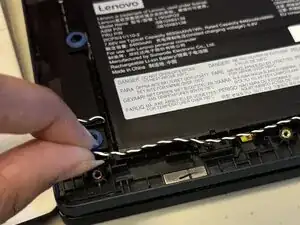
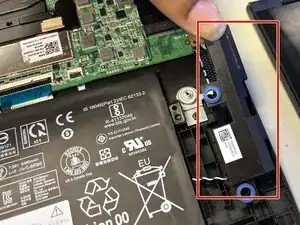
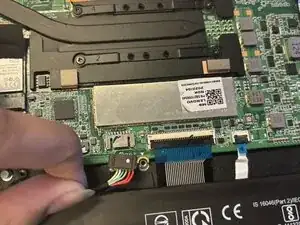
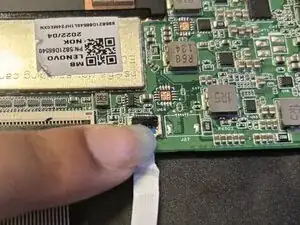
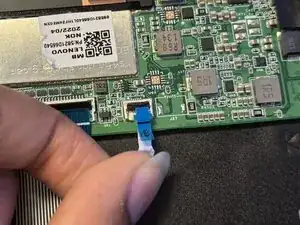
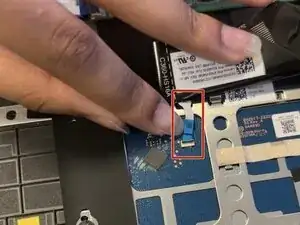
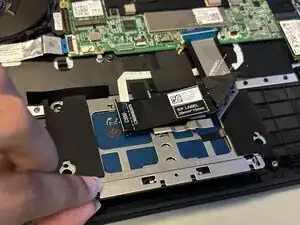
    • Using a fingernail or a prying tool, flick the small black tab up.

    • Pull the blue plastic wire from the white small connector.

  12. InTWWBYcTrylCTsV
    • Peel up the wire that is covered by black plastic out of the white connector.

  13. Uu4uD2WEkQ1S6DwK
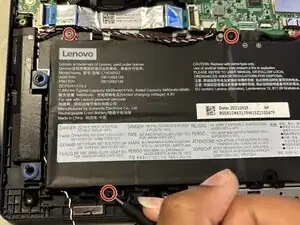
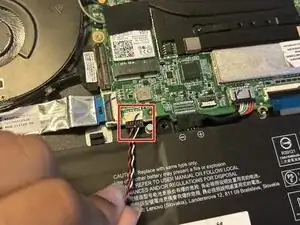
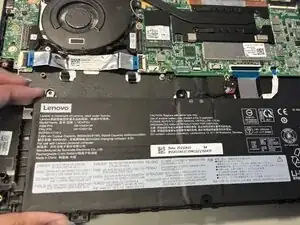
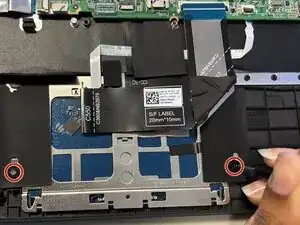
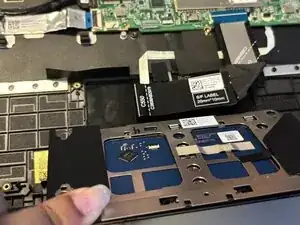
    • Unscrew the two 2.4 mm-long screws that secure the touchpad with a Phillips #00 screwdriver.

  14. PAnfHJq5P5ZMKo6T
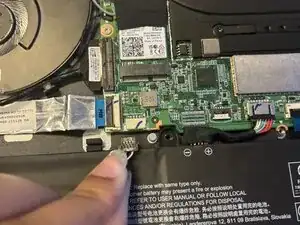
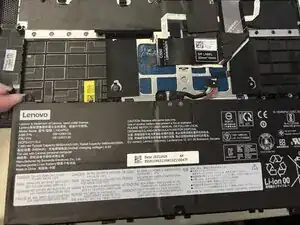
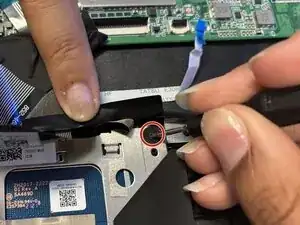
    • Lift the black plastic on the right top side of the touchpad with one hand.

    • Remove the 2.4 mm-long screw with a Phillips #00 screwdriver.

  15. RXOhphALVuJHRZwx
    • Fold back the black plastic on the top left side of the touchpad.

    • Remove the 2.4 mm-long screw with a Phillips #00 screwdriver.

  16. nBAKpDv1IVsqYOOH
    nBAKpDv1IVsqYOOH
    iBxWXYqJjGDJZLDK
    dV5OnCJcDVLf2BQA
    • Lift and remove the touchpad.

Conclusão

To reassemble your device, follow the above steps in reverse order.
Take your e-waste to an R2 or e-Stewards certified recycler.
Repair didn’t go as planned? Try some basic troubleshooting or ask our Answers community for help.

Ashleigh Spencer

Membro desde: 09/09/25

229 Reputação

0 comentários