Introdução
If your Lenovo Flex IdeaPad 5 14ALC05 is overheating, running unusually loud, or shutting down unexpectedly, this guide will show you how to replace the cooling fan.
The cooling fan helps regulate your laptop’s internal temperature by pulling heat away from the processor and other key components. When the fan fails or becomes clogged with dust, the system may overheat, resulting in performance drops, thermal throttling, or automatic shutdowns.
Before using this guide, try cleaning the vents and fan intake areas with compressed air to remove dust buildup. If the issue persists-especially if you hear grinding noises, the fan doesn’t spin, or the laptop frequently overheats-replacing the fan is likely necessary.
This repair involves disconnecting the battery and removing the bottom cover to access the internal components. Be sure to power off the laptop completely and unplug it from any power source before starting. Use ESD-safe tools to prevent damage from static discharge.
Also, please refer to this disassembly guide for further instructions on how to access the internal components of the Lenovo Flex IdeaPad 5 14ALC05. No soldering or specialized skills are required for this procedure, but take care when handling the internal ribbon cables and connectors.
-
-
Shut the laptop completely off so that there is no residual electricity or current that can harm the computer parts or yourself.
-
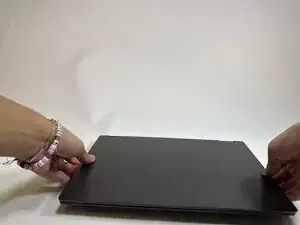
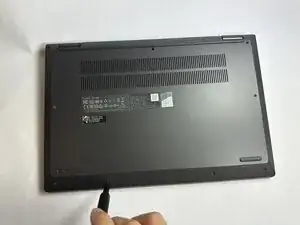
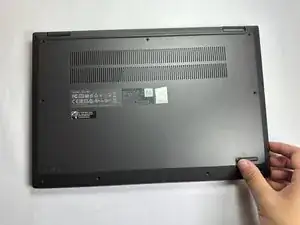
Flip the computer over such that the longer side of the computer with the vent is opposite from you.
-
-
-
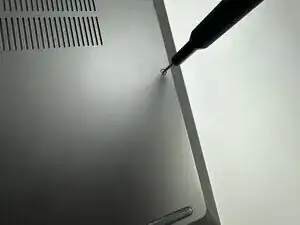
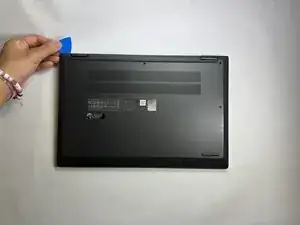
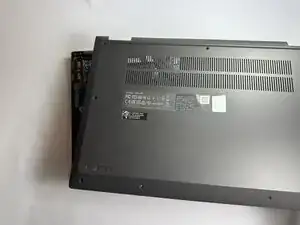
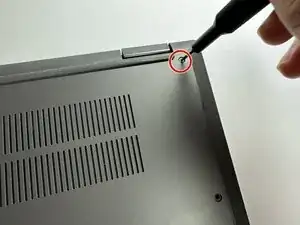
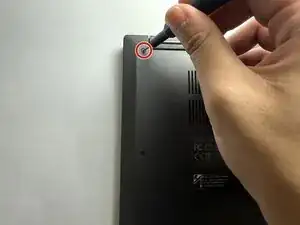
Remove all of the screws along the sides of the bottom panel that are securing it to the computer.
-
-
-
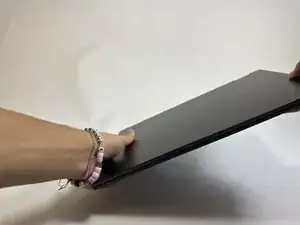
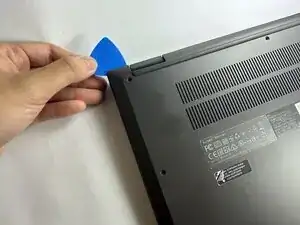
Insert an opening pick into the small gap between the panel and the bottom of the computer.
-
Slide the pick around the entire perimeter of the panel to pry it off of the computer.
-
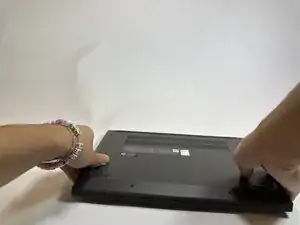
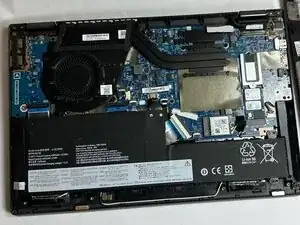
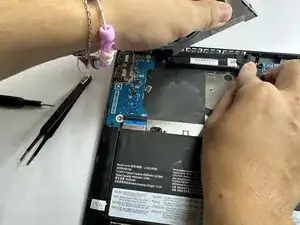
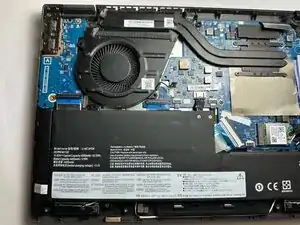
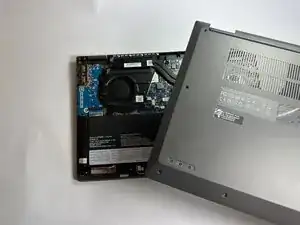
Pull the panel and remove it from the connecting notches along the edges of the panel.
-
-
-
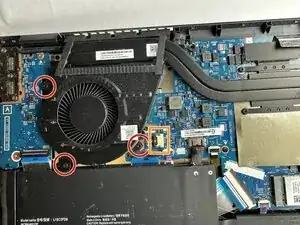
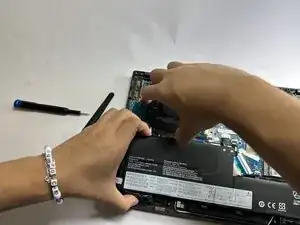
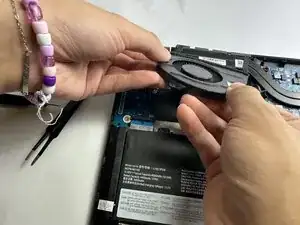
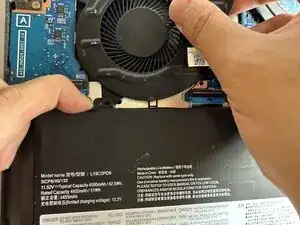
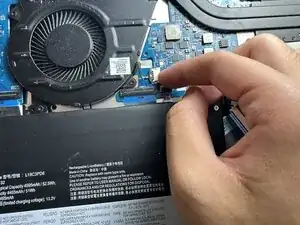
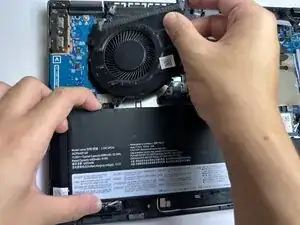
Carefully lift the battery and wiggle the fan out from underneath the battery.
-
Slowly pull out the old fan.
-
-
-
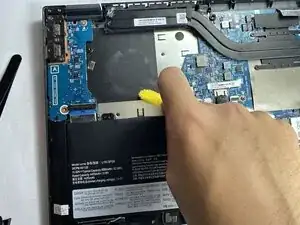
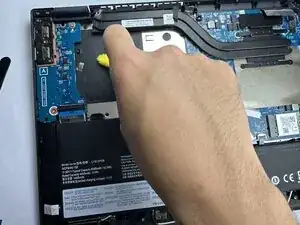
Using a proper cleaning brush, gently remove any dust or debris accumulated around the fan area.
-
-
-
Pick up the battery and place the fan back in its original position, ensuring one of the notches fits under the battery.
-
-
-
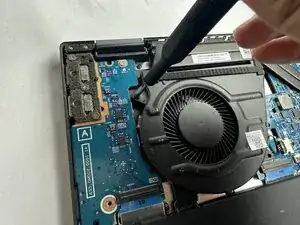
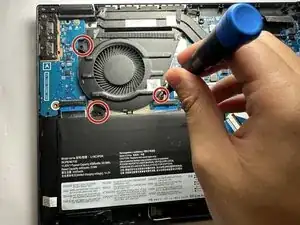
Replace the three screws holding the fan in place.
-
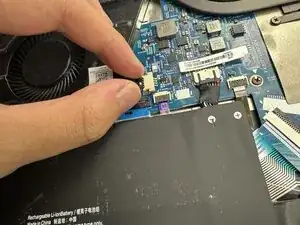
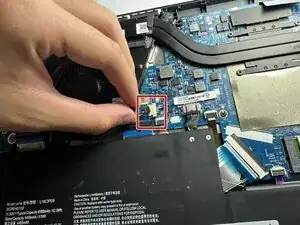
Plug the fan cord into the port on the right side of the fan.
-
-
-
Align the back cover with the edges of the laptop base and press down gently to secure the back cover.
-
-
-
Screw back all of the screws along the sides of the bottom panel that are securing it to the computer.
-