Introdução
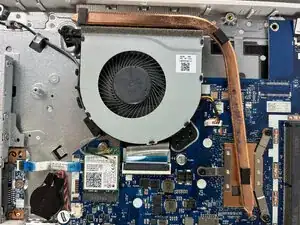
If your Lenovo IdeaPad 320-15IKB is running more slowly than usual or feels excessively hot to the touch, the fan may not be functioning properly. Use this guide to learn how to replace the fan.
The fan helps with cooling the computer down, as it generates a lot of heat when in use. A faulty fan can result in poor cooling abilities, and the computer can overheat.
Before using this guide, check the other Lenovo IdeaPad 320-15IKB troubleshooting pages for possible solutions.
Make sure to power off the laptop completely and disconnect the charging adapter before beginning working with any internal components.
Don't forget troubleshooting basics. Before you start any significant repairs to your device, please check the following:
- Outdated software
- Restart your laptop
-
-
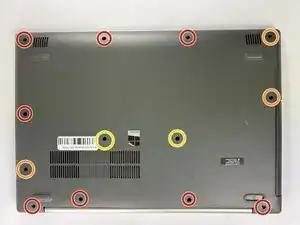
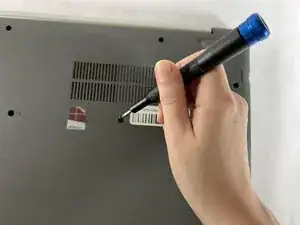
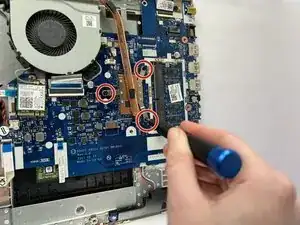
Remove the following screws securing the lower case:
-
Seven 5 mm-long Phillips #00
-
Three 7 mm-long Phillips #00
-
Two 8 mm-long Phillips #1
-
-
-
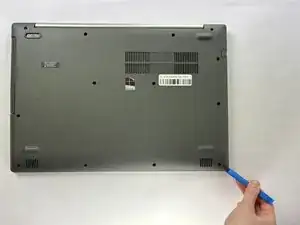
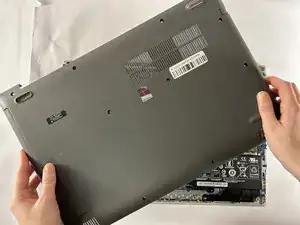
Insert an opening tool into the seam between the lower case and chassis.
-
Pry around the entire perimeter until the lower case fully releases.
-
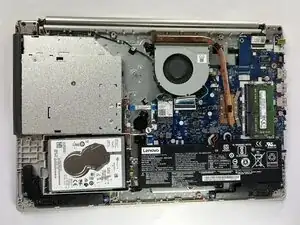
Remove the lower case.
-
-
-
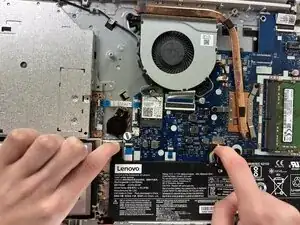
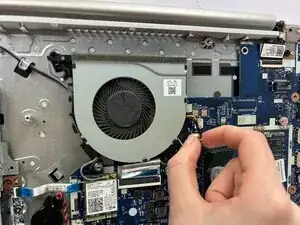
Use a clean fingernail or a spudger to disconnect the battery sliding connector from its motherboard socket.
-
-
-
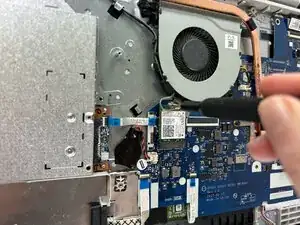
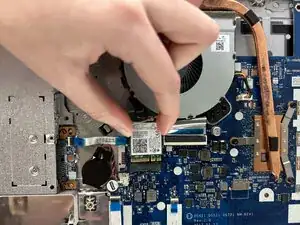
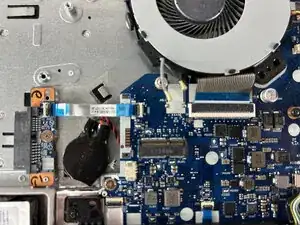
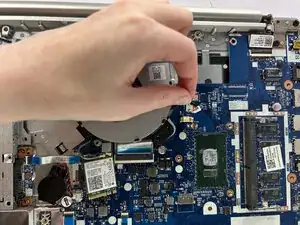
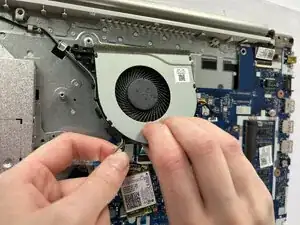
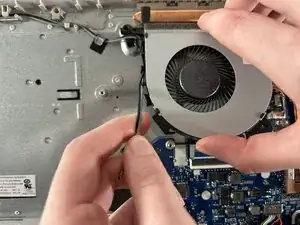
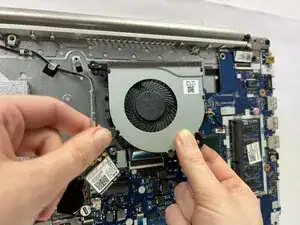
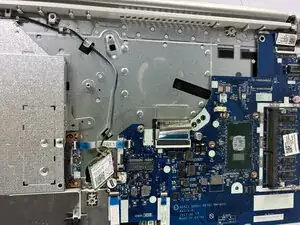
Remove the two coaxial connectors on the corner.
-
Place angled tweezers under the metal neck of the connector and lift straight up from the board to disconnect the cables.
-


To reassemble your device, follow the above steps in reverse order.
Take your e-waste to an R2 or e-Stewards certified recycler.
Repair didn’t go as planned? Try some basic troubleshooting or ask our Answers community for help.