Introdução
Use this guide to replace or upgrade a full or faulty solid-state drive or SSD in your Lenovo IdeaPad 3-15IML05 laptop.
The solid-state drive (SSD) is a crucial component of your laptop, responsible for storing and retrieving data quickly and efficiently. A faulty SSD can lead to a range of issues such as slow performance, system crashes, or even complete failure to boot. If you're experiencing problems like frequent freezes, slow load times, or error messages such as "disk not detected" or "boot device not found," it may be time to replace your SSD.
Before proceeding with this guide, ensure you've reviewed the troubleshooting page, as some issues might be caused by software problems such as corrupted files or malware, which can often be resolved without replacing the SSD.
If you're running out of storage or want to upgrade to a faster SSD, this guide will help you replace your existing SSD with a new one. The Lenovo IdeaPad 3-15IML05 supports M.2 NVMe and SATA SSDs. Be sure to back up your data before starting the replacement process to avoid any data loss. Always power off your laptop completely and disconnect it from any external power source before beginning the procedure.
-
-
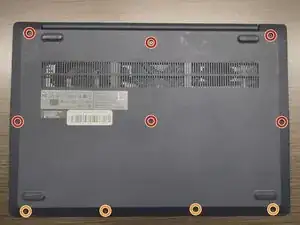
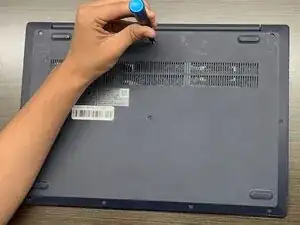
Use a Phillips #1 screwdriver to remove the following screws:
-
Six 7 mm screws
-
Four 4 mm screws
-
-
-
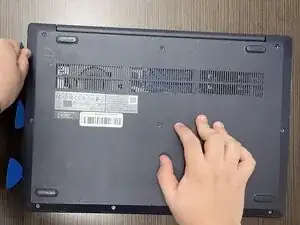
Insert an opening pick into the seam between the lower case and chassis.
-
Slide the pick around the entire perimeter until all of the plastic retaining clips release.
-
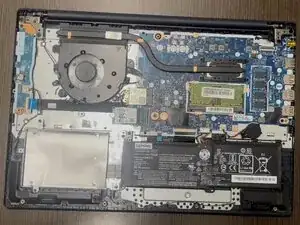
Remove the lower case.
-
-
-
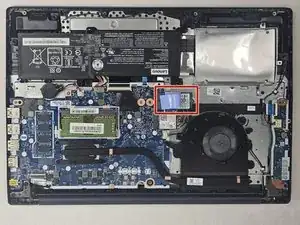
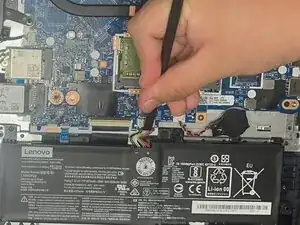
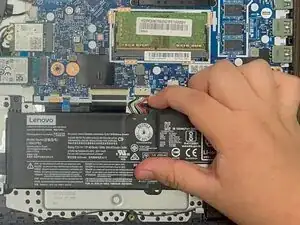
Use a plastic spudger or your fingernail to gently push the JST battery connector out of its socket.
-
-
-
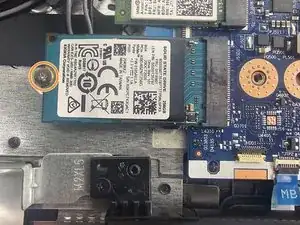
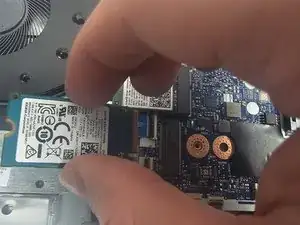
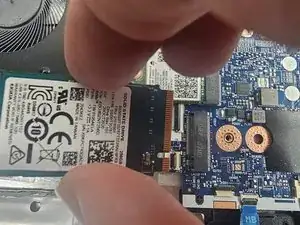
Locate the SSD.
-
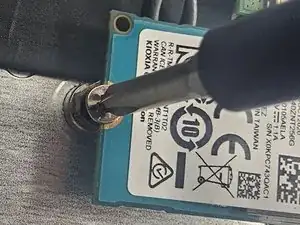
Use a Phillips #00 screwdriver remove the single screw securing the SSD to the frame.
-

To reassemble your device, follow the above steps in reverse order.
Take your e-waste to an R2 or e-Stewards certified recycler.
Repair didn’t go as planned? Try some basic troubleshooting or ask our Answers community for help.