Introdução
The Lenovo IdeaPad 1-15IJL7 provides you with a cursor, or better known as a touchpad, to navigate through applications on your laptop. However, some problems with the touchpad can arise, which can affect the overall performance of your laptop.
Before replacing your touchpad, check your touchpad settings. Most times, the settings are not correct, which interrupts the touchpad quality. Also, make sure any keyboard shortcuts are correct. Any shortcuts that are on can turn off the touchpad. Make sure to update the drivers through an extension provided by the manufacturer. Outdated drivers can cause an interruption on your touchpad. Lastly, power off your device before proceeding. This guide requires you to take apart your computer. If it is left on, further complications can occur.
This effective guide will walk you through a safe method of replacement. It is important to avoid tampering with any unnecessary parts of your laptop to avoid further damage. Refer to this Troubleshooting Guide for more information on your touchpad.
-
-
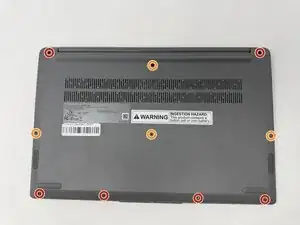
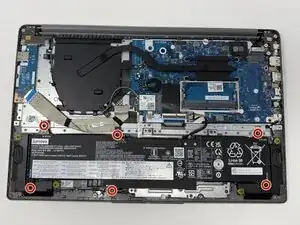
Using the T4 Screwdriver, unscrew and remove the screws that secure the lower case:
-
Six 5 mm screws
-
Four 2.5 mm screws
-
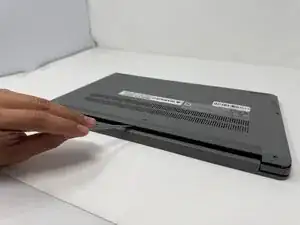
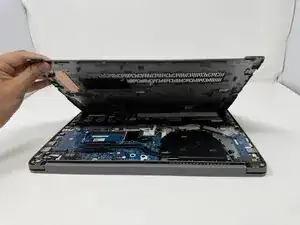
Insert a spudger into the seam between the lower case and chassis.
-
Pry around the entire perimeter until the lower case fully releases.
-
-
-
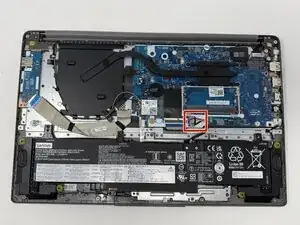
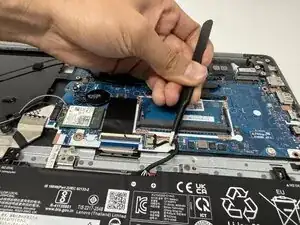
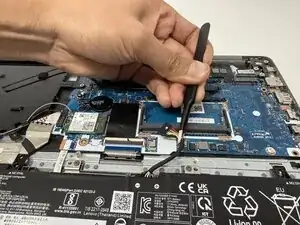
Use tweezers or your fingernails to gently disconnect the battery connector directly out of its motherboard socket.
-
-
-
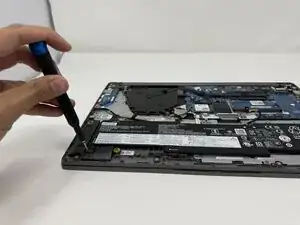
Using the Phillips #00 screwdriver, remove the six 4 mm screws that secure the battery.
-
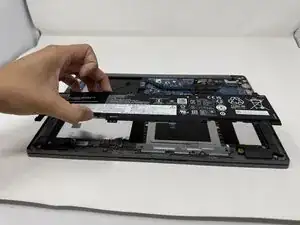
Lift the battery from its position.
-
-
-
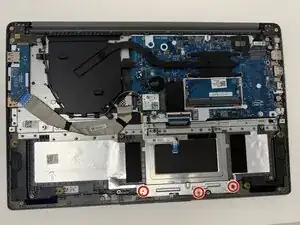
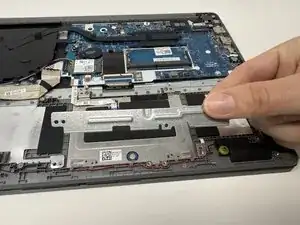
Using the Phillips #00 screwdriver, remove the three 2mm screws that hold the keyboard support bracket
-
Lift the keyboard support bracket from its position.
-
-
-
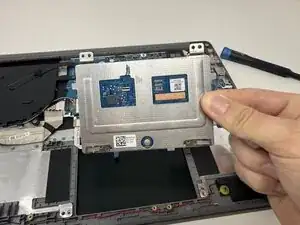
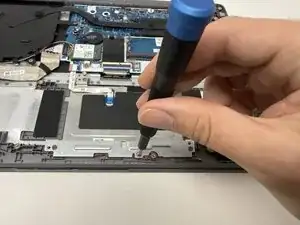
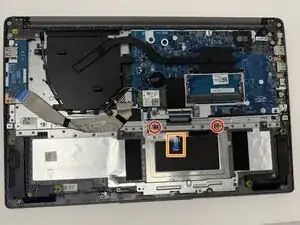
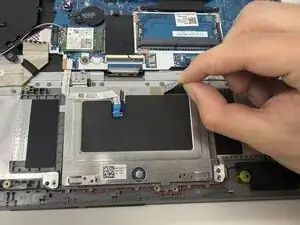
Using the Phillips #00 screwdriver, remove the two 2mm screws that hold the touchpad.
-
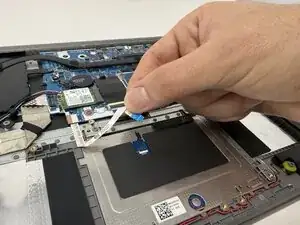
Use your fingernails to gently disconnect the touchpad ribbon cable.
-
-
-
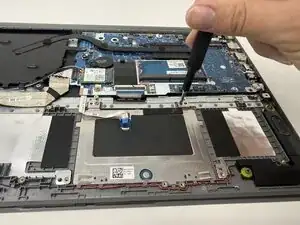
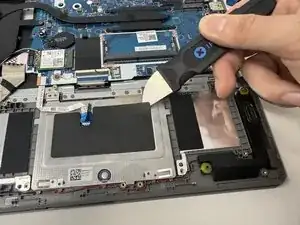
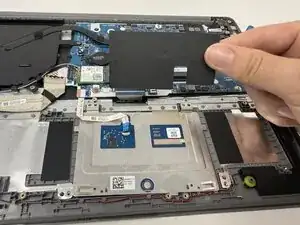
Using Jimmy and your fingernails, remove the conductive EMI shielding tape.
-
Lift the touchpad from its position.
-
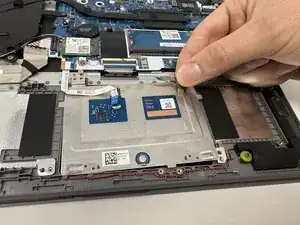

To reassemble your device, follow these instructions in reverse order.