Introdução
The Lenovo IdeaPad 1-15IJL7 has quality speakers that are an important feature for sound output. If your laptop does not play volume at the correct level or is distorted, the speakers may be damaged and in need of a repair.
Before replacing the speakers, check to make sure the audio settings on this laptop are correct. The device may not be on correct audio output. Refer to this Troubleshooting Guide for further information. Other symptoms include static-like noises, and no sound output when using the headphone port. If these occur, it may be a sign of faulty speakers, and the laptop speakers will need to be replaced.
Be sure to power off your laptop completely before proceeding.
-
-
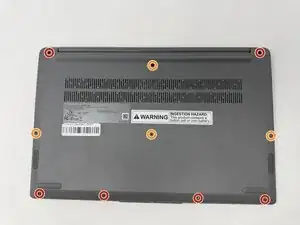
Using the T4 Screwdriver, unscrew and remove the screws that secure the lower case:
-
Six 5 mm screws
-
Four 2.5 mm screws
-
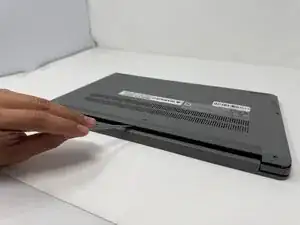
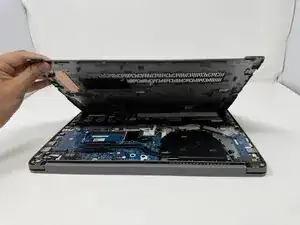
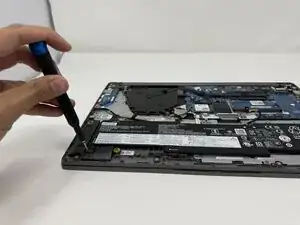
Insert a spudger into the seam between the lower case and chassis.
-
Pry around the entire perimeter until the lower case fully releases.
-
-
-
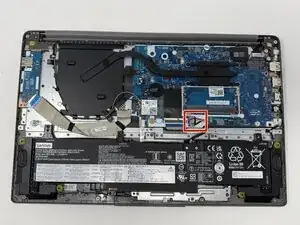
Use tweezers or your fingernails to gently disconnect the battery connector directly out of its motherboard socket.
-
-
-
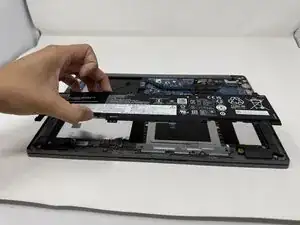
Using the Phillips #00 screwdriver, remove the six 4 mm screws that secure the battery.
-
Lift the battery from its position.
-
-
-
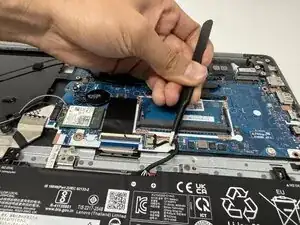
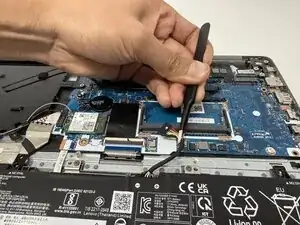
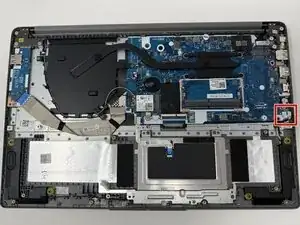
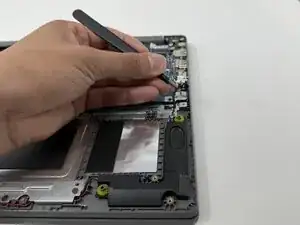
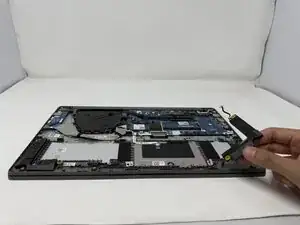
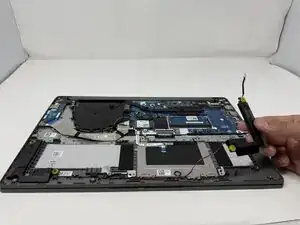
Use tweezers or your fingernails to gently disconnect the speaker connector directly out of its motherboard socket.
-
-
-
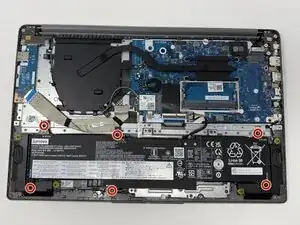
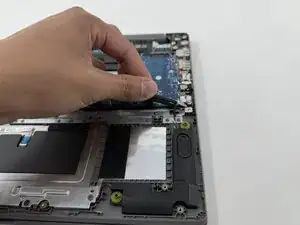
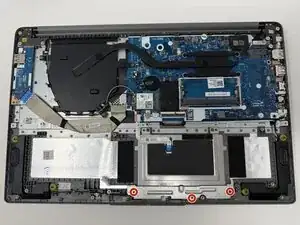
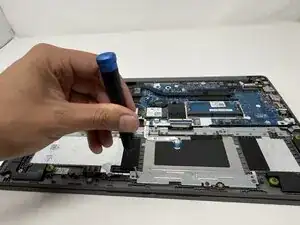
Using the Phillips #000 screwdriver, remove the three 2mm screws that secure the touchpad bracket.
-
-
-
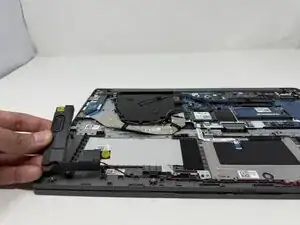
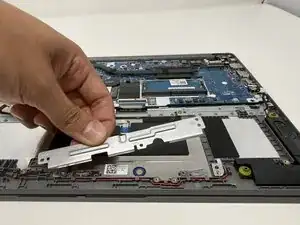
Gently remove the speakers on both sides of the laptop, along with the red and black wires attached.
-

To reassemble your device, follow these instructions in reverse order.