Introdução
If your Lenovo IdeaPad 1-15IJL7 laptop indicates that it is on, but does not display an image, it is a possibility that there is screen damage. Some factors for this are malfunction in the LCD panel, a loose display cable, defective RAM, and faulty graphics.
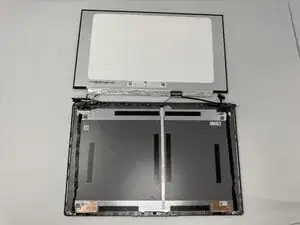
In this tutorial, we will guide you through an effective replacement of your laptop's screen. You will be uncovering the external laptop backing, which will expose the internal components. The hinge and hinge cover will need to be removed in order to access the screen itself. The camera will not need to be removed.
This Troubleshooting Guide should be referred to before starting any replacements. As always, power off your device before starting, and check laptop settings to avoid any other damages.
-
-
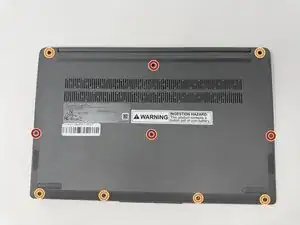
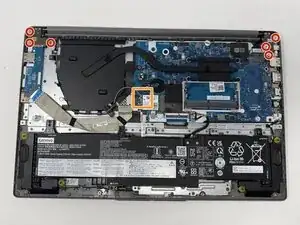
Using a T4 Torx screwdriver, remove the screws that secure the lower case:
-
Four 2.5 mm screws
-
Six 5 mm screws
-
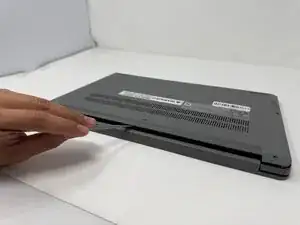
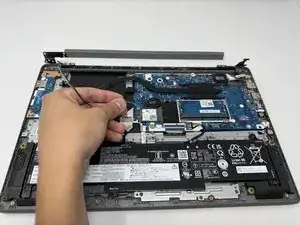
Insert a spudger into the seam between the lower case and chassis.
-
Pry around the entire perimeter until the lower case fully releases.
-
-
-
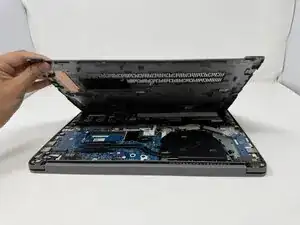
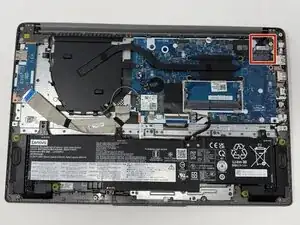
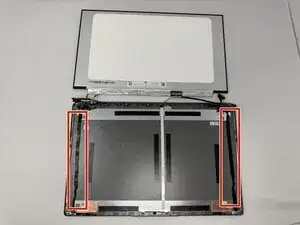
Using the Phillips #00 screwdriver, remove the six 2.5mm screws that connect the hinges of the screen to the laptop's base.
-
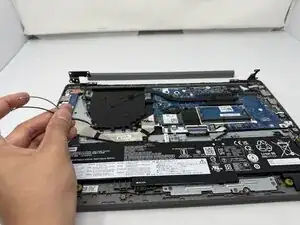
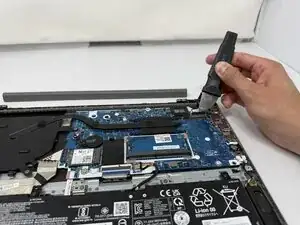
Gently unplug and remove the grey and black wires from the Wi-Fi card.
-
-
-
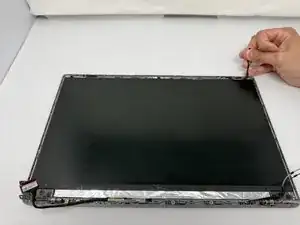
Using Jimmy, gently release the latch's connector that goes from the LCD panel to the motherboard.
-
Gently pull the connector
-
-
-
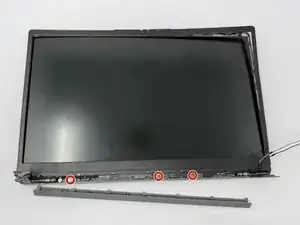
Use Jimmy to very carefully separate the LCD bezel hinge cover from the screen.
-
Using the Phillips #00 screwdriver, remove the three 2mm screws from under the LCD bezel hinge.
-
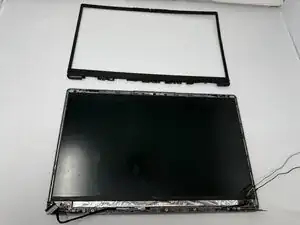
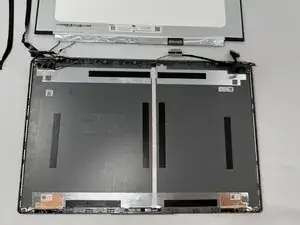
Separate and remove the rest of the bezel very gently.
-
-
-
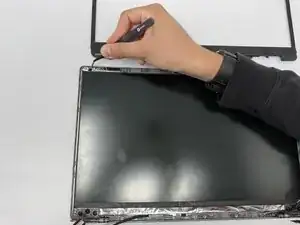
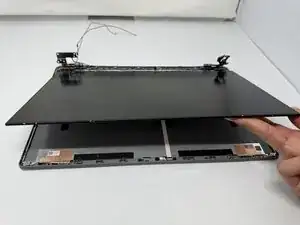
Using tweezers or your fingernails pull slowly and evenly the two black adhesive strips that are found on each side at the top of the screen.
-
Lift up the LCD panel.
-
-
-
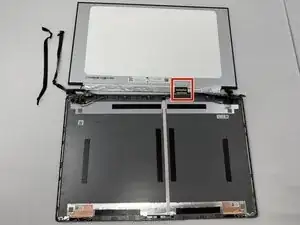
Using Jimmy, gently release the other latch's connector that goes from the LCD panel to the motherboard.
-
Gently pull the connector.
-


To reassemble your device, follow these instructions in reverse order.