Introdução

  1. jwlJKHvTfOqvuWTi
    jwlJKHvTfOqvuWTi
    JrtAHNdRhQr5VdlX
    • Don't let your kids through their water bottles

    • Long hold the power button or power off from operating system.

  2. M3q5H1ioSYkYpBK3
    M3q5H1ioSYkYpBK3
    TWwtuioxCZ5Vo5Xs
    KXybRKOyWic1qehe
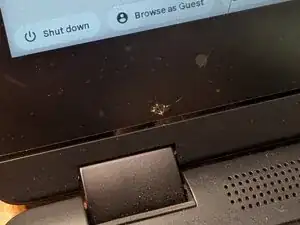
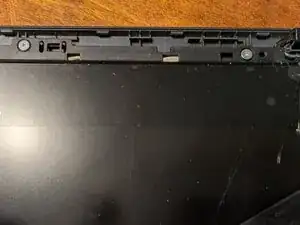
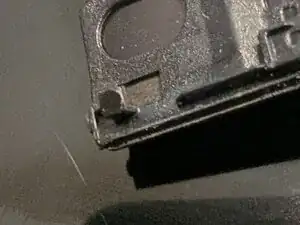
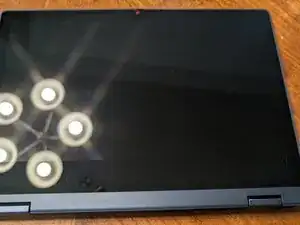
    • Using a small pry bar carefully pop loose the bottom bezel.

    • I started at the hinge as this gave me a place to insert the tool.

  3. Ow6uVAXx4ormcE4L
    Ow6uVAXx4ormcE4L
    X1RbFrhvSugGBidT
    • Under the bezel are three screws. Remove them

  4. COGsqSvDMPmJIKb3
    COGsqSvDMPmJIKb3
    xrQAhTKXQdEVYKKL
    Ue6JXc42MhAGaG5w
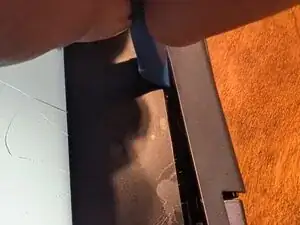
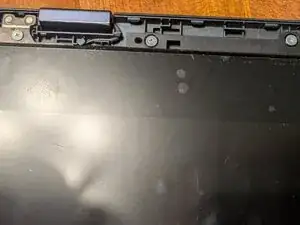
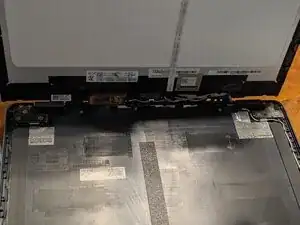
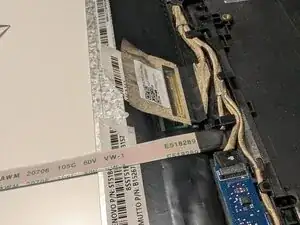
    • using the palm of you hand, box tape, or a suction cup, slide the screen toward the hinge about 3mm.

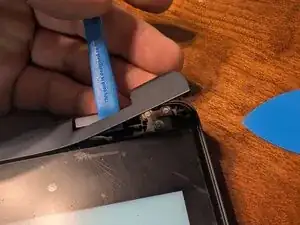
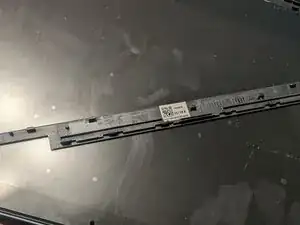
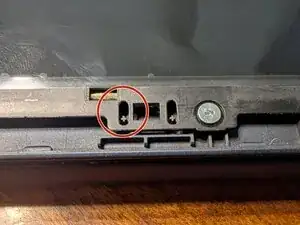
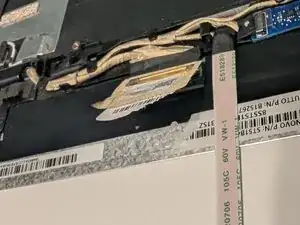
    • once slid down the catch tabs will be free and the screen will only be connected by fragile wires.

  5. M46JYKBatmTtNtBp
    M46JYKBatmTtNtBp
    JLviElZpJ4Ljj4r2
    fHPxJZPfotQXgvDl
    • The wires are fragile, take your time.

  6. DIeoHXYyaXP6L6Cn
    DIeoHXYyaXP6L6Cn
    rTOyUIIjMFhk3ema
    nRFtHoPglbSWxMrk
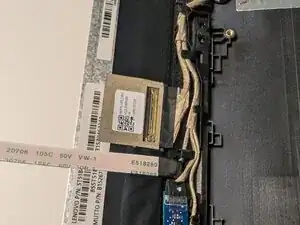
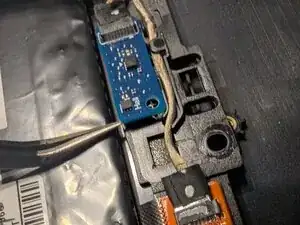
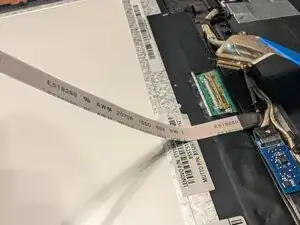
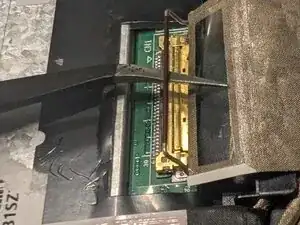
    • unplug the wires from the screen, and remove the circuit boards to be installed on the new screen.

  7. yR3xUZ5lWKYmQpUp
    yR3xUZ5lWKYmQpUp
    5CVMCfCMsxBojH4c
    DFdaZtE1yRRHYDZC
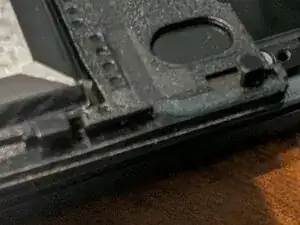
    • the camera is lightly glued and taped into place. Peel back the tape and gently pull the cable free.

  8. UwyUCdGS6YhSRhsm
    UwyUCdGS6YhSRhsm
    BQFbraF54B4AX3YH
    yGPTHcDhl1WBhNNj
    • Assembly is in reverse order of my steps. The screen is very fragile when not mounted in the frame.

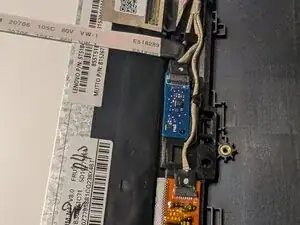
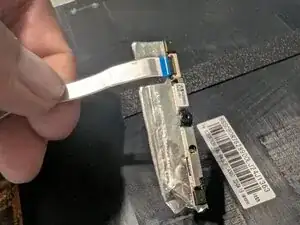
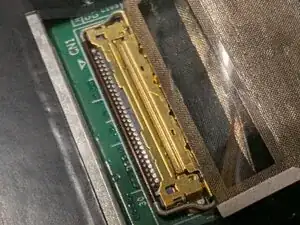
    • make sure the main screen cable has its retaining clip in place.

Phillip B

Membro desde: 25/05/25

169 Reputação

0 comentários