Introdução

This guide will help you replace the camera in a Lenovo 500e Chromebook 81ES. If you are experiencing issues with damaged lens, cracked casing, no image, follow this guide. For this guide, you will need a spudger,  Phillips #0 screwdriver, tweezers and opening picks. Make sure the Chromebook is powered off and unplugged from the charger.

  1. UElGXIrZ5pdeUy1e
    UElGXIrZ5pdeUy1e
    AZZSKXBq5XLOFNGm
    ARTKJIupYBY2VaUb
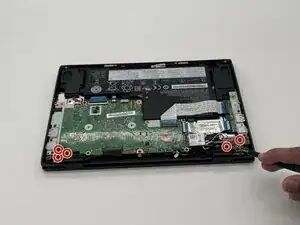
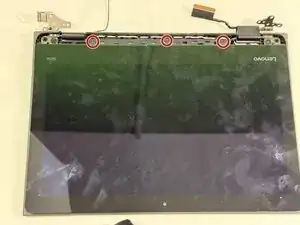
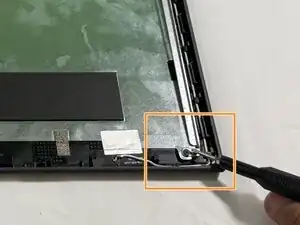
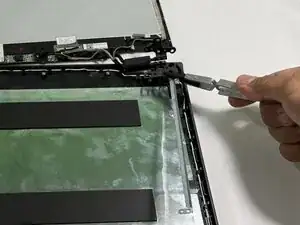
    • Use a Phillips #0 screwdriver to remove the six 5 mm-long screws securing the two hinges.

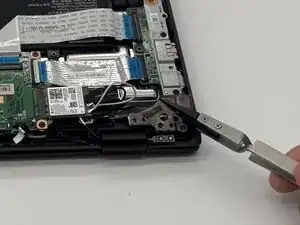
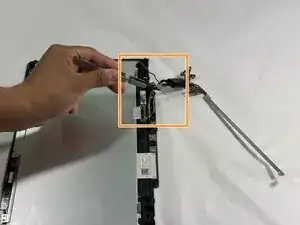
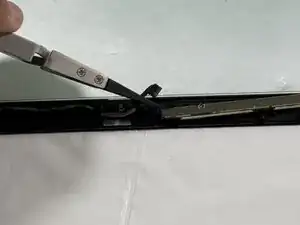
    • Use tweezers to lift up the hinges.

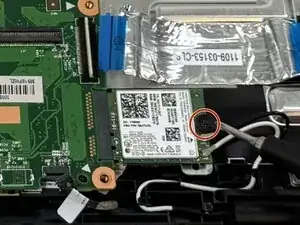
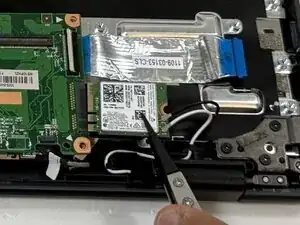
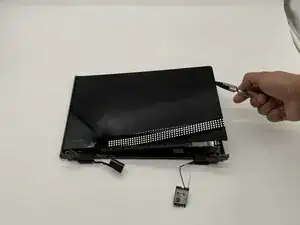
    • Using a spudger, gently disconnect the display connector.

  2. cOZc3p5VEaLr2EXe
    cOZc3p5VEaLr2EXe
    3sluurGgT4UPZxfa
    • Remove the single Phillips screw securing the Wi-Fi card.

  3. cmEKwGGeW14Ed1SI
    • Disconnect the Wi-Fi card.

  4. NAKWpNZeLwxhtGbZ
    NAKWpNZeLwxhtGbZ
    DNQuv1AlYRAnVVmB
    WJSdrkwhZA1R4rob
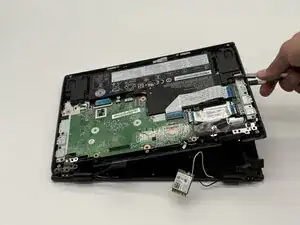
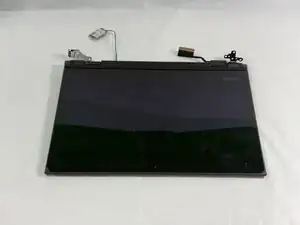
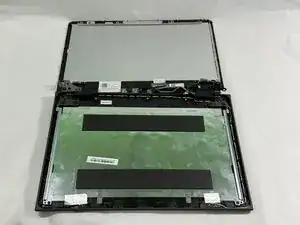
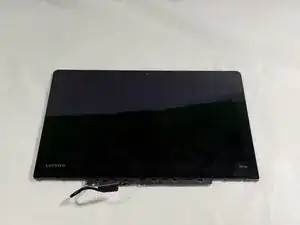
    • Remove the display assembly.

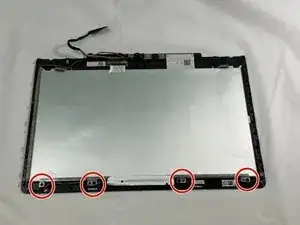
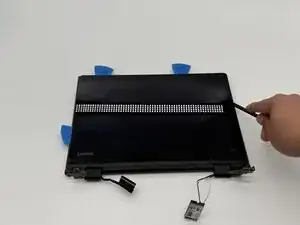
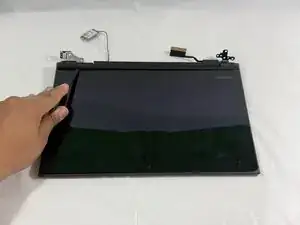
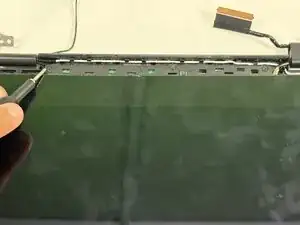
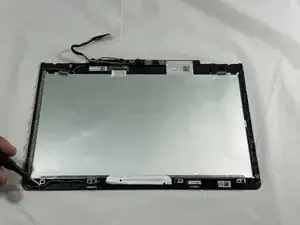
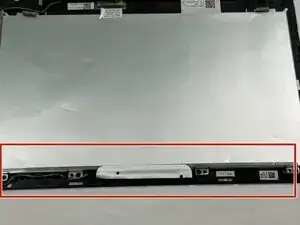
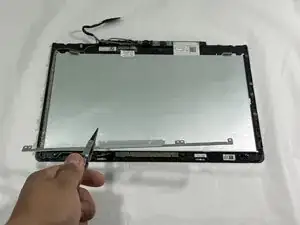
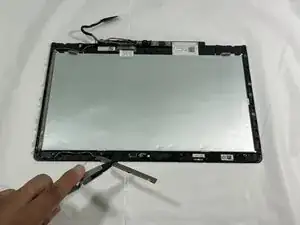
    • Insert the opening picks and spudger into the screen casing.
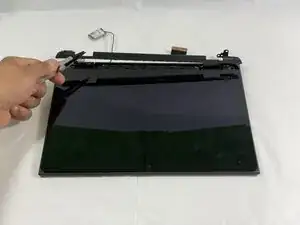
    • Remove the screen.

  5. yy2GA1YdXMEn3yVJ
    yy2GA1YdXMEn3yVJ
    6aWPdQcVDoYxGjhV
    trXvwKT1SnZFraqp
    • Slide the spudger into the center control cover.

    • Using tweezers, remove the cover.

  6. LhPmxOO4RF4UkpgF
    LhPmxOO4RF4UkpgF
    r6QENblix1tWdaYF
    • Use a Phillips #0 screwdriver to remove the three 2 mm-long screws securing the screen.

  7. 2XXbmKqNTZurwTa2
    2XXbmKqNTZurwTa2
    qRuOv155FFtiLAFJ
    SRiCReN5eonFmSP1
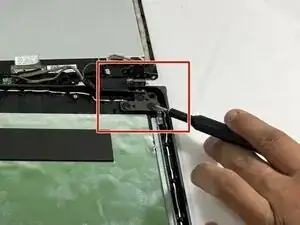
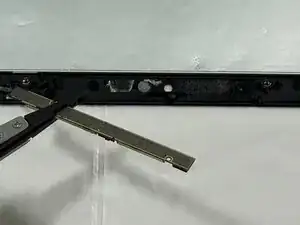
    • Use a Phillips #0 screwdriver to remove the three 3 mm-long screws on the top holding the display hinge metal bracket.

    • Use a Phillips #0 screwdriver to remove the two 2 mm-long screws on the bottom of the metal bracket.

  8. RjFhODfRWaKfLxk6
    RjFhODfRWaKfLxk6
    iNXsJkKnXGjpMHSs
    • Use tweezers to remove the metal bracket.

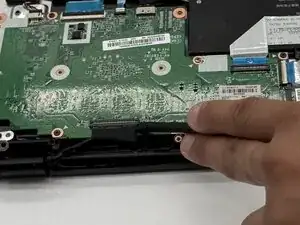
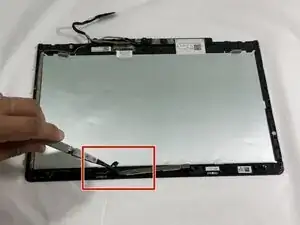
    • Using tweezers, gently pull the main cables attached to the sensor board.

  9. IAY2RebMJcEYLh1G
    • The screen is detached from the laptop.

  10. fBrM5AnsvY1bjKUd
    fBrM5AnsvY1bjKUd
    APeLmecMk2nFEixU
    • Use a Phillips #0 screwdriver to remove the four 3 mm screws from the camera bracket.

  11. F5cuuTYIQVhJkU2f
    F5cuuTYIQVhJkU2f
    UwCdYfVLHBlIjvRf
    • Use the Tweezers to remove the bracket from the back of the screen.

  12. aLpWENSGJ2bvWAgV
    aLpWENSGJ2bvWAgV
    E3teNfKwjrlZXt3l
    • Now use the Tweezers to gently remove the cable connected to the camera.

  13. KGnDWHp2aSuGoHOP
    KGnDWHp2aSuGoHOP
    OMiJyHTg2Cb3JEMc
    • Now use the tweezers to remove the camera.

Conclusão

To reassemble your device, follow the above steps in reverse order.
Take your e-waste to an R2 or e-Stewards certified recycler.
Repair didn’t go as planned? Try some basic troubleshooting or ask our Answers community for help.

Khaled jaber

Membro desde: 25/09/25

109 Reputação

0 comentários