Introdução
This guide will help you with the replacement of a battery in the Lenovo 500e Chromebook 81ES. If you are experiencing issues with the battery, including a dead battery or bad connections, follow this guide. For this guide, you will need a Spudger, Phillips #0 screwdriver, and tweezers. Make sure the Chromebook is powered off and unplug it from the charger.
Ferramentas
-
-
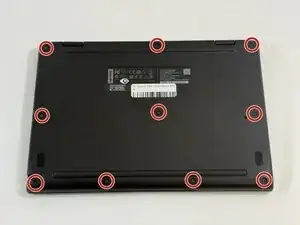
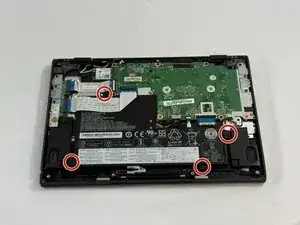
Use a Phillips #0 screwdriver to remove the ten 4 mm-long screws that secure the lower case.
-
-
-
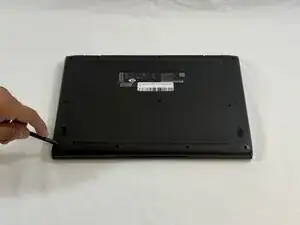
Insert the flat end of a spudger into the seam between the lower case and chassis.
-
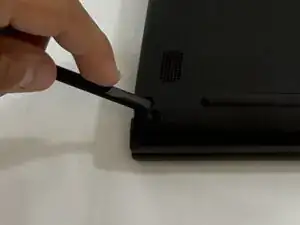
Pry around the entire perimeter until the lower case fully releases.
-
Remove the lower case.
-
-
-
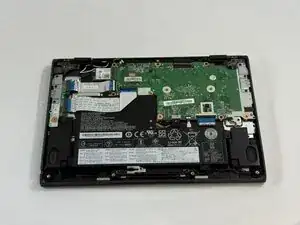
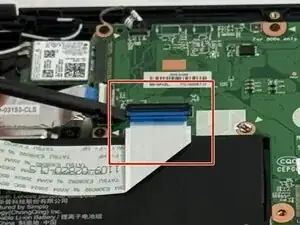
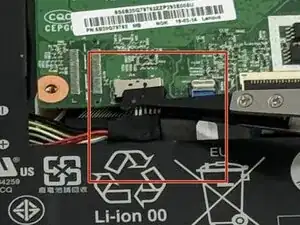
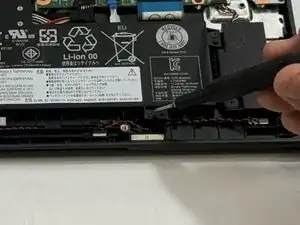
Use a spudger to flip up the locking flap securing the lower I/O board ribbon cable to the motherboard.
-
-
-
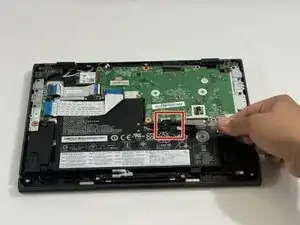
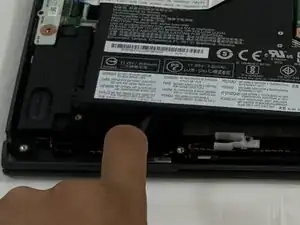
Slide a spudger under the battery.
-
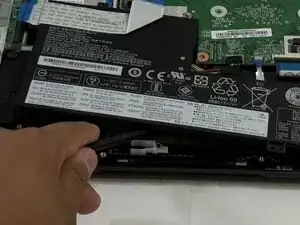
Slightly lift the battery with the spudger, then grip and remove the battery.
-
To reassemble your device, follow the above steps in reverse order.
For optimal performance, after completing this guide, calibrate your newly installed battery.
Take your e-waste to an R2 or e-Stewards certified recycler.
Repair didn’t go as planned? Try some basic troubleshooting or ask our Answers community for help.