Introdução

If your Lenovo 14e Chromebook motherboard is facing issues, this guide will help you replace it! This process involves disconnection of multiple internal components, so make sure to have a clean, clutter-free surface to work on. We recommend taking a look at the Troubleshooting Guide before you get started to assess if there are minor issues causing the problem before replacing the entire part.

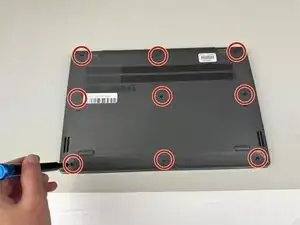
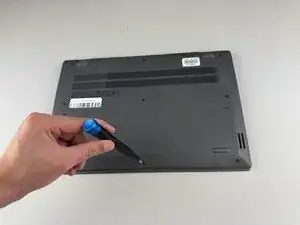
Before moving forward, make sure you have all the listed tools, your chromebook is powered off, and unplugged.

  1. IKu11TonQKJcygDa
    IKu11TonQKJcygDa
    WvFgHMl22fPfmEVA
    • Use a Phillips #0 screwdriver to remove the nine 8.6 mm screws from the back cover.

  2. jZpuKcgQ2xyIELsB
    jZpuKcgQ2xyIELsB
    2NDjqiUXLLYu4NwZ
    • Carefully remove the back cover from the Chromebook.

    • You may hear clicking sounds as the cover becomes detached from the frame.

  3. ivmGNWOPoByUWlH1
    ivmGNWOPoByUWlH1
    ZRkDtjrBPGNnW1jN
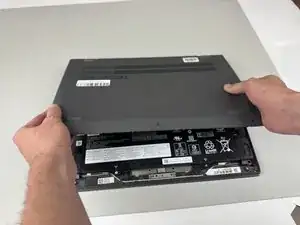
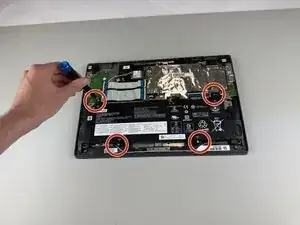
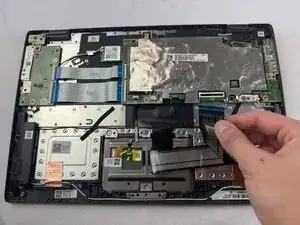
    • Use a Phillips #0 screwdriver to remove the four 5.5 mm screws holding the battery in place.

    • Do not apply too much downward pressure when unscrewing the screws, as the interior contains many vital and fragile components.

  4. I5eFgGN1iKReiJL1
    I5eFgGN1iKReiJL1
    rY6S2wstor1oDEwd
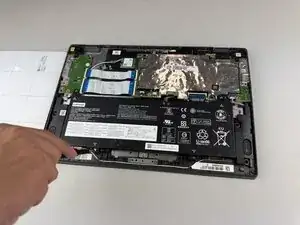
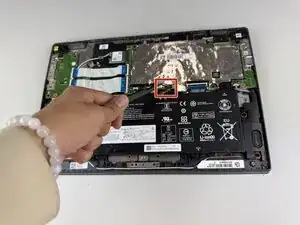
    • Gently disconnect the power interface using a pair of tweezers.

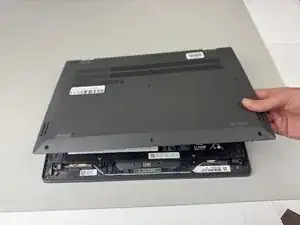
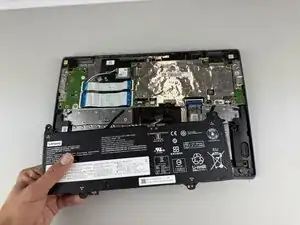
    • Lift the battery out of the Chromebook.

  5. uNDcUlYymDJSEpvm
    uNDcUlYymDJSEpvm
    o3Rq1hOiekPW4QGR
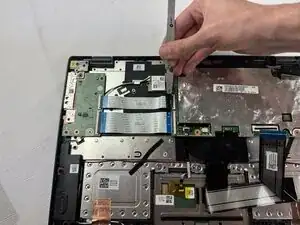
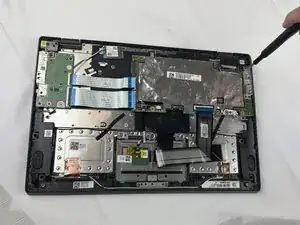
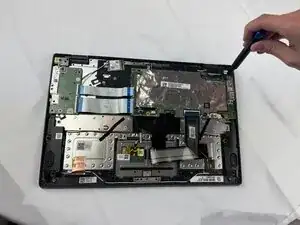
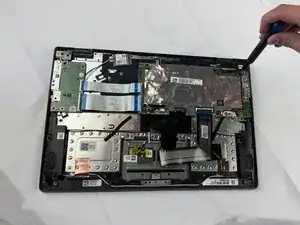
    • Disconnect the display cable from the top of the motherboard.

    • Detach the white speaker cable connector from the bottom of the motherboard.

  6. ymIFNHlqZhdNSOqB
    ymIFNHlqZhdNSOqB
    bvUBJPfdE4ATephU
    4ikMnwIdfbLeVNTG
    • Grasp the KB strip and disconnect it.

  7. ygYleRLGuXO3fMna
    ygYleRLGuXO3fMna
    lvyfjQYhFetZmpkI
    Xa1tqx2iRgfaYmYj
    • DIsconnect the three MB strips.

  8. sB3ZITVoYDTbNH6X
    sB3ZITVoYDTbNH6X
    rsavqPRFwlZNtWUp
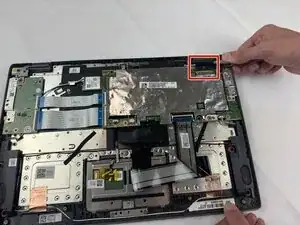
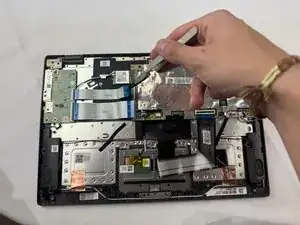
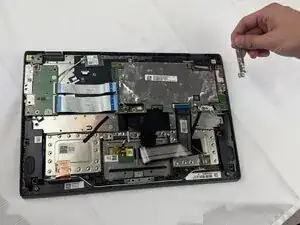
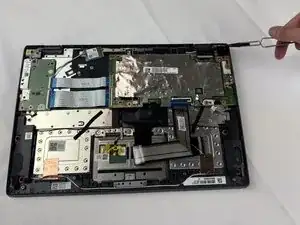
    • Using a Phillips #0 screwdriver, remove the 5.5mm screw holding the WLAN card in place.

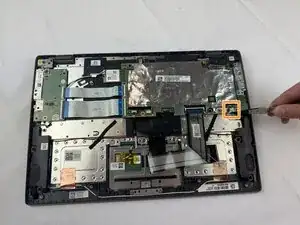
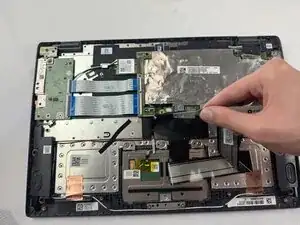
    • Disconnect the two wires from the WLAN card.

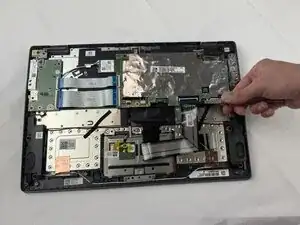
    • Remove the WLAN card.

  9. Wd2PdL2WjINJSdeD
    Wd2PdL2WjINJSdeD
    4PWAGFVpOtY2ZSmh
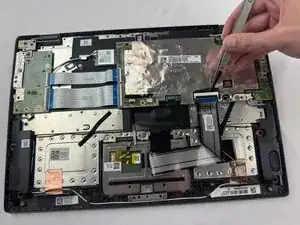
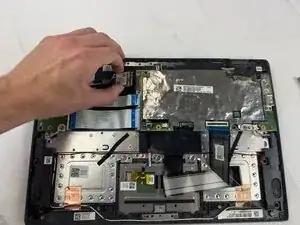
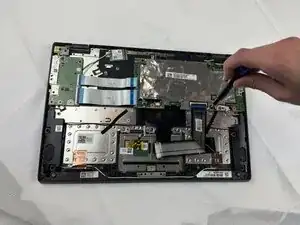
    • Remove the 8.3 mm screw holding the bracket in place using a Phillips #0 screwdriver.

    • Remove the bracket.

  10. oVoDevXQZVGQRSLH
    oVoDevXQZVGQRSLH
    TCqibh2t53MZChwJ
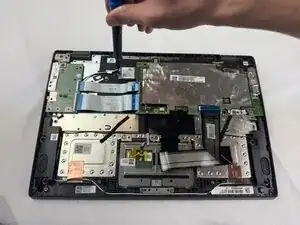
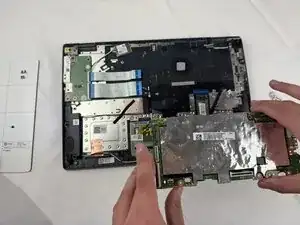
    • Remove the black 5.5 mm screw in the top right hinge using a Phillips #0 screwdriver.

    • Pull the hinge up.

  11. GsIcTQqMVeYLQdit
    GsIcTQqMVeYLQdit
    Wm3EKBP4qAnKdSJu
    • Remove the 5.5mm screws surrounding the motherboard using a Phillips #0 screwdriver.

  12. 41mAbaGHaEE26CoN
    • Carefully remove the motherboard.

Conclusão

To reassemble your device, carefully follow these instructions in reverse order.

Katelyn Fielder

Membro desde: 24/09/25

157 Reputação

0 comentários