Introdução

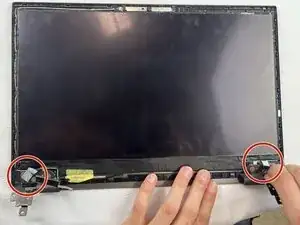
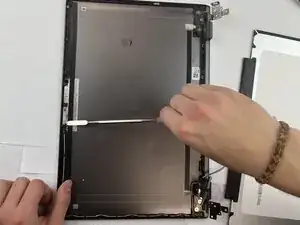
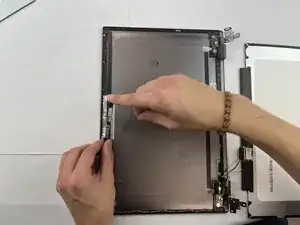
If your Lenovo 14e Chromebook's (model 81MH) front facing camera isn't producing clear video quality - blurry, laggy, or not working at all - use this guide to replace the front facing camera.

The front facing camera provides important functions such as video calls and recordings. A faulty front facing camera will transmit distorted video quality or none at all.

Before using this guide, inspect the front facing camera for dust or an object that may be interfering with or blocking the camera. Typically a small buildup of dust can be removed with a an ESD-safe brush or small dust blower.

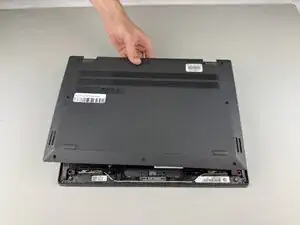
Before beginning, make sure you power off your Chromebook and disconnect from any external power source.

  1. ZlkYNVIfl2VU2TJo
    • Use a Jimmy to pry open the seal between the bezel and the screen.

  2. BHZyE22WiNuBrhrQ
    • Continue sliding the Jimmy around the entire bezel to remove it from the screen.

    • You will hear clicking sounds as the bezel detaches from the screen.

  3. X5cCYIBPVL5UBg4s
    • Carefully remove the bezel from the Chromebook.

  4. bWrncUSEsCqHMLtI
    • Remove the nine 8.3 mm screws using a Phillips #0 screwdriver.

  5. TFKZar2CQQfWLvOx
    • Lift back cover off.

    • You may hear clicking noises during this step.

  6. Bks61HVRoXDWFTyT
    Bks61HVRoXDWFTyT
    2lRmybZuuUZ3rNhK
    • Use a Phillips #0 screwdriver to remove the 5.5mm hinge screws.

  7. Eut3hYtorkaoLNfv
    • Lift the bottom of the Chromebook off.

  8. vINvVUa1soeNuYlZ
    • Use your hands to pinch the adhesive tab.

  9. kWqLBGZISNoXyo2C
    • Gently pull the adhesive strip out.

    • There are two adhesive strips; repeat the above steps for the second strip.

  10. TbdjiUdU5nxdIaL1
    • Lift up the yellow tape and remove the screen.

  11. MVRtFCa65Y5OUSPR
    • Lay the screen face down on the table.

    • There is no need to remove the wire attaching the screen to the frame.

  12. TfgnBJMtWs6t4pRV
    • Using a metal spudger, pry off the front facing camera.

  13. y1PFh4FSZcXV6wgM
    • Lift the camera out.

Conclusão

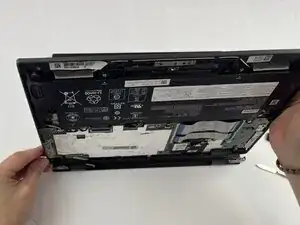
To reassemble your device, follow these instructions in reverse order.

Isaac Hoke

Membro desde: 24/09/25

217 Reputação

0 comentários