
Introdução
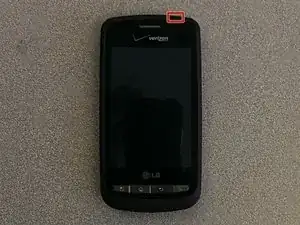
If your LG Vortex is taking blurry photos, failing to focus, or the rear-facing camera app won’t even open, it’s likely that the camera module needs to be replaced. This guide will walk you through the steps to safely remove and replace the rear-facing camera on your LG Vortex.
You’ll need a few small tools and a clean, static-free workspace. The internal components of the LG Vortex are compact and delicate, so take extra care when handling ribbon cables or connectors to avoid tearing or damaging them.
Replacing the rear-facing camera isn’t overly complicated, but it does require patience and a steady hand. By following this guide, you'll be able to remove the malfunctioning camera module and install a new one, restoring the full photo-taking capabilities of your device.
Before you begin the repair, make sure your phone is powered off and disconnected from the charger.
-
-
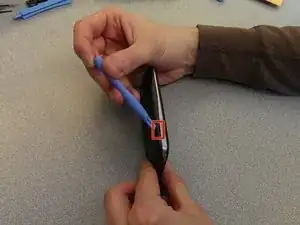
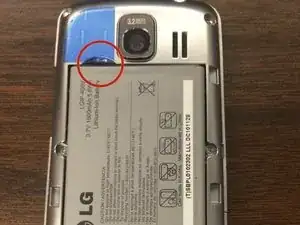
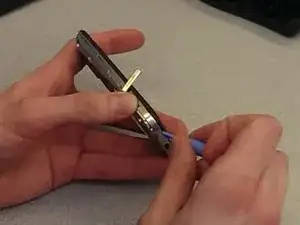
Find the two thumbnail ridges on the side and top of the phone. One is next to the micro SD slot and the other at the top of the phone
-
Once the ridges are located, use the blue plastic opening tool to pry the back cover away from the rest of the phone.
-
Remove the back cover and set it to the side.
-
-
-
Remove the battery using the blue plastic opening tool.
-
There is a small thumbnail ridge at the top left corner of the battery for ease of removal.
-
Put the battery aside.
-
-
-
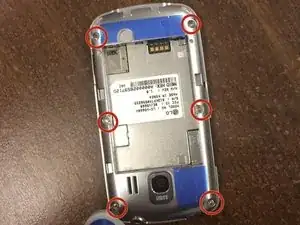
Use the precision screwdriver to remove the 6 screws along the edges of the phone.
-
There are 2 screws at the top in each corner, 2 in the middle on the sides, and 2 in the bottom corners.
-
-
-
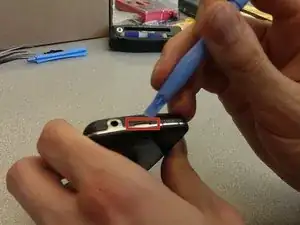
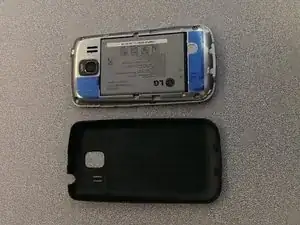
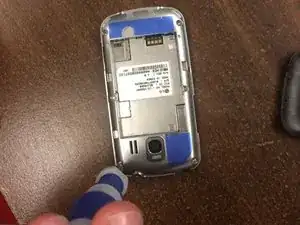
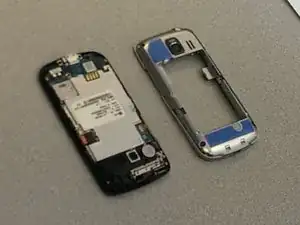
Use the blue plastic opening tool to remove the back frame from the rest of the phone.
-
Pry at the micro SD slot. Push the cover for the SD slot away from the front of the phone and pry the back frame away from the rest of the phone.
-
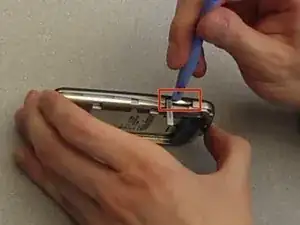
Pry your way around the entire phone to separate the face from the frame.
-
-
-
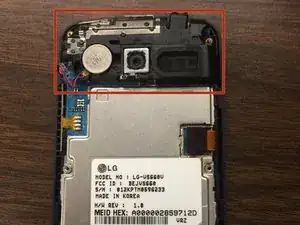
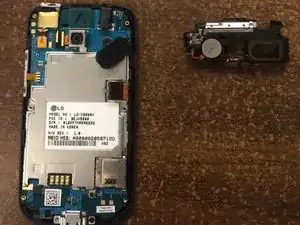
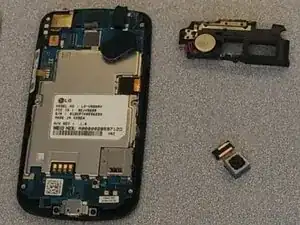
Identify the system board (the main circuit board) inside, and locate the camera module area at the top.
-
You’ll see a black plastic component around the camera that’s seated on (but is not soldered to) the system board.
-
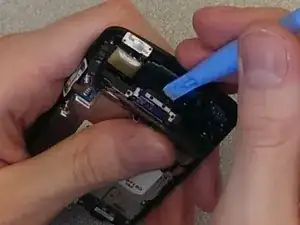
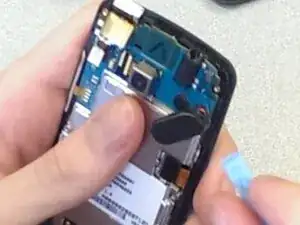
On each side of that black plastic piece, there are 2 black tabs securing it to the board. Gently pry these tabs outward (away from the board).
-
-
-
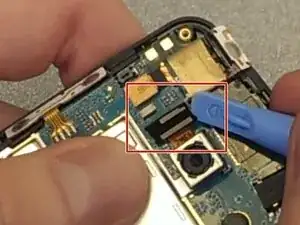
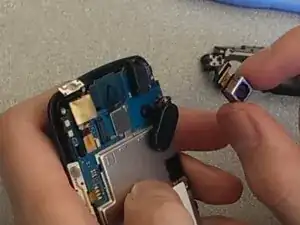
Place a spudger or an opening tool under the edge of the camera connector and pry straight up to disconnect it.
-
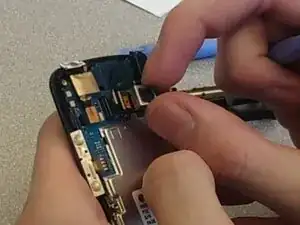
Use a prying tool to lift the black camera housing away from the system board.
-
Work gradually along its edges, making sure not to tug on the cable.
-
-
-
Carefully pry this piece away with your fingernail, watching out for thin wires (e.g. wires connecting the board to speakers or other parts).
-
Once the adhesive is loosened, gently lift the camera straight up and off the board.
-
Pull the camera off the system board using your fingers. Perform this step with caution.
-
To reassemble your device, follow these instructions in reverse order. Take your e-waste to an R2 or e-Stewards certified recycler.
4 comentários
First, clean the cookware with water and a mild kitchen soap to remove anything that might be on the surface. Rinse with hot water. I do uk.bestessays.com and Then coat the entire bottom of the pan in vegetable oil in this case, canola oil and turn it over onto a paper towel for 10 minutes.
Offer massages in my sanctuary or in the comfort of your own home
<a href="https://thecarriagehousesanctuary.square...">Top Massage Therapist in Westchester County NY</a>
Offer massages in my sanctuary or in the comfort of your own home