Introdução
The original Filter Head Assembly had a design defect which made it prone to breaking when replacing the filter. Either the tabs that would hold the filter in would break, or in my case the center of the assembly has two small "pins" that could break off if they are misaligned.
If this happens you will need to purchase a new filter head assembly (Part No- AKN73029001) which can be found on several appliance repair websites.
Ferramentas
-
-
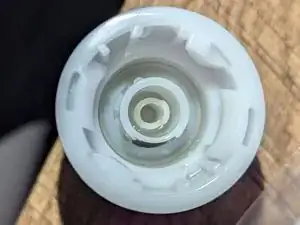
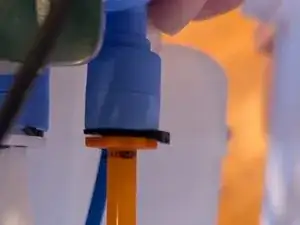
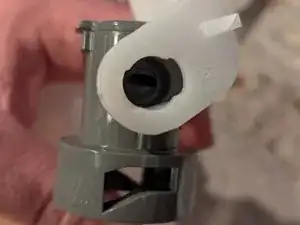
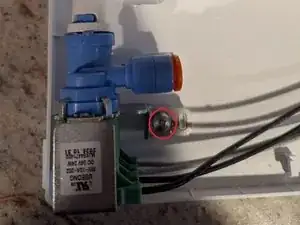
This is the closeup shot of the original Filter Head Assembly with the broken pin in the center. There should be two pins.
-
To begin this repair, shut off the water to your fridge and unplug the unit to prevent shocks or damage to the unit.
-
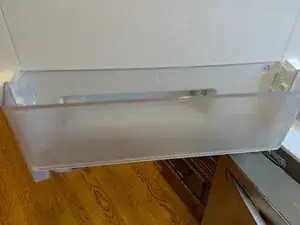
Open the door and remove the lower clear door bin in front of the filter.
-
Then remove the filter from the unit, there will be a little water that drains out so put a towel under the door to catch it.
-
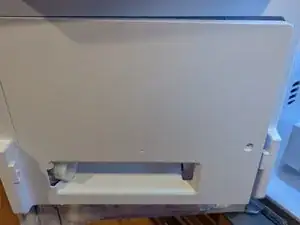
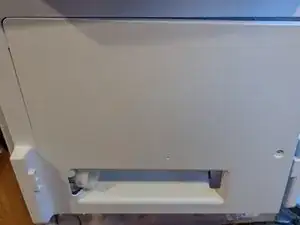
Remove the single white screw in the panel and pull outwards on the panel from the right side. It will pop out and there are little tabs on the left that fit into the door so you will need to slide the door a little to the right to release them.
-
-
-
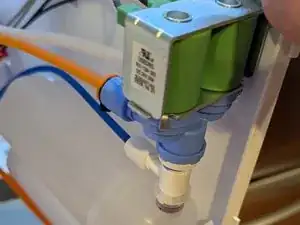
Now that you have the panel open you will need to unplug the wiring harness that controls the water valve. And you will need to disconnect the water lines. Again there is going to be some excess water dripping so be prepared.
-
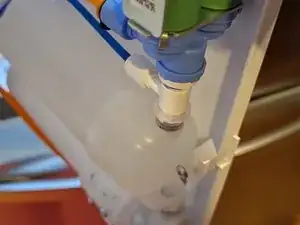
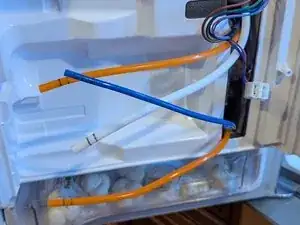
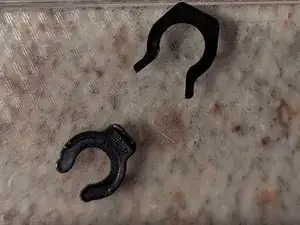
There are a total of 4 water lines that need to be disconnected. Two orange, one white and one blue. The bottom orange one and the blue one are simple in that you push on the collar and then pull the hose out. The other two have a black 'safety clip' that needs to be removed first. Then you can do the same thing
-
Once you pull off the safety clip then you can push in on the colored collar and pull the hose out. The hoses have two black lines on them so you can be sure you have pushed them back in far enough when you are reassembling.
-
-
-
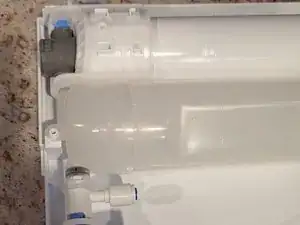
This is what it will look like when you have disconnected all the hoses and the wiring harness.
-
Take the inner panel and make sure all the water is drained out of the bottle before laying it down on a flat surface to begin work.
-
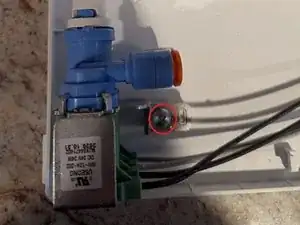
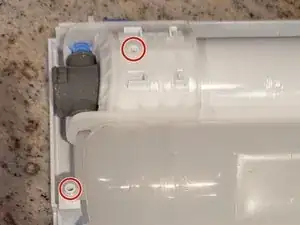
There are three screws (highlighted in red) that need to be removed so you can separate the assembly from the panel door.
-
-
-
Now that you have the entire assembly removed from the panel you can remove the old Filter Head.
-
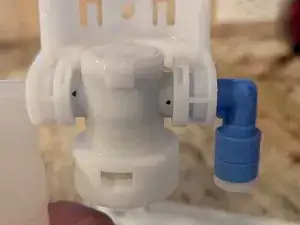
Start by swinging the white panel upwards and above the filter head assembly as shown in image two.
-
Then you can rotate the little blue elbow to allow the notches to line up and gently pull the elbow out of the filter head assembly. There are two black O-rings, which should remain on the elbow. If they stay inside the head assembly carefully pick them out with a small object like a toothpick.
-
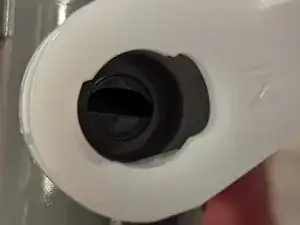
On the side of the filter head connected to the reservoir bottle, once the white plastic flap/panel is swung up it should line the notches up and allow the bottle to pull out of the head. Again make sure both O-rings stay on the bottle end. You will need those again.
-
-
-
Once you have both of the connections removed the white flap should slide off the filter head assembly.
-
Now you can insert the new filter head by sliding it back in between the ears of the flap.
-
Reinsert the two connections, water reservoir first and then the blue elbow. Make sure they have both the O-rings and that they are pushed all the way into the filter head, then rotate the flap down so it locks them in.
-
-
-
Place the entire assembly back into the panel and reinstall the screws.
-
Now its time to put the panel back into the door and reconnect the lines.
-
-
-
Remember these black clips that you saved, these need to be put back in place once the water lines have been reconnected.
-
Put the panel back up to the door and reconnect each hose by pushing into the connector until the black lines are all the way in.
-
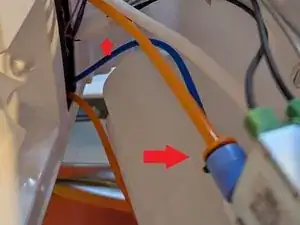
Make sure you put the lines in the correct ports, lower Orange hose into the lowest connector, then the small blue into the lower white connector. The diameters of the lines are different so the blue hose only will fit that one. then the two top connections are the top white and the top orange hoses. Replace the clips
-
Finally plug the wiring harness back in.
-
-
-
Put the left side (tabs) of the panel back in their slots and then making sure nothing gets pinched, lightly push the panel back in place. It should snap into place.
-
Reinsert the screw and tighten by hand.
-
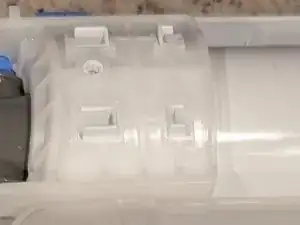
The new filter assembly should look like this last picture.
-
-
-
With everything closed up, you can insert a new water filter and gently turn it until it locks into place.
-
Now reconnect the power and turn on the water supply.
-
There will be a bit of air in the lines, so you will need to use a pitcher to allow the water to flow until it has purged all the air.
-
Since you have replaced the water filter, make sure you reset the filter indicator.
-
Check for leaks and that's it!
-


To reassemble your device, follow these instructions in reverse order.

7 comentários
Thx. Does this part allow auto bypass with no filter installed?
AA SS -
Honestly, I never tried that. This is an OEM replacement part for where you connect the filter. If the original didn't bypass the filter then this would not either.
Thanks for the tutorial! I was going to attempt the fix anyway, but your guide made me much more confident that I wouldn't break anything along the way. Nice job and thank you!
This is so helpful! It’s the only one I’ve found for my specific LG fridge. Thank you so much!