Introdução
If your Kidde Fire Sentry Smoke Detector is beeping intermittently or if it has been six months since the last battery change, it’s likely time to replace the battery.
A working smoke detector is essential for early fire detection and can save lives. Most smoke detectors are designed to emit regular beeps when the battery is low, signaling that it's time for a replacement. Even if it isn’t beeping, the battery should be replaced every six months to ensure proper function.
Before beginning the replacement process, make sure to have a 9V battery on hand. This guide demonstrates how to replace the battery in a Kidde Fire Sentry Smoke Detector, though similar steps apply to many other models and brands.
Ferramentas
Peças
-
-
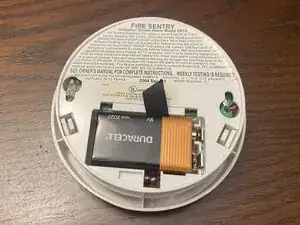
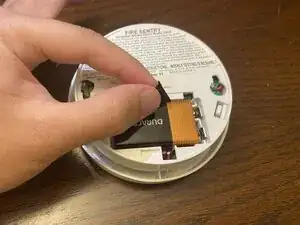
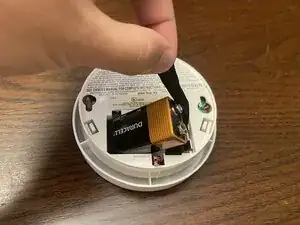
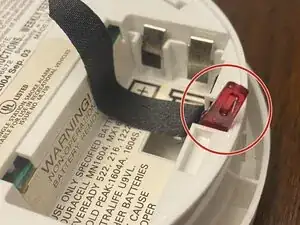
Place the new battery on top of the red switch and black strap.
-
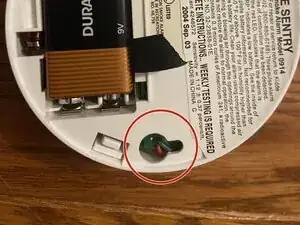
Place the new battery in the battery compartment ensuring the red switch stays down.
-
-
-
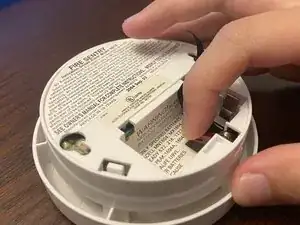
Press and hold button on the front for three seconds and wait for a beep.
-
After hearing a beep, stop pressing button.
-
-
-
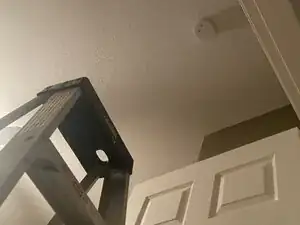
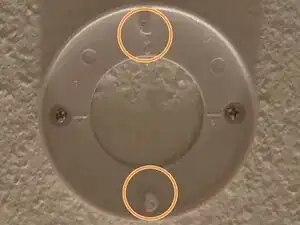
Find the grooves located on the back of the smoke detector.
-
Match them with the tabs hanging from the ceiling piece.
-
Twist the smoke detector counter-clockwise to secure it to the ceiling.
-


To reassemble your device, follow these instructions in reverse order.