Introdução
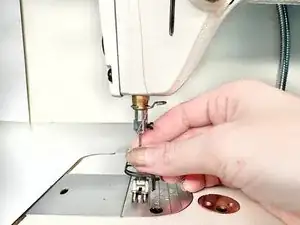
If your Juki DDL-8700 industrial sewing machine needle no longer forms a stitch or its timing is off, you are working with a broken needle. Use this guide to replace a broken needle on a Juki DDL-8700 industrial sewing machine.
It is important to note that working with a used or broken needle could potentially damage the sewing machine. It is recommended every time you start working on a new project, replace the needle beforehand to prevent any machine damage or injury to yourself.
Before using this guide, check the condition of the current needle (although it is always recommended to replace the needle after every use). Typically, the needle is bent, or the tip has been broken off, meaning the needle should be replaced to prevent damage or injury.
Before beginning, make sure that you have turned off the sewing machine to prevent yourself from any injury that the movement of the needle could cause.
Ferramentas
-
-
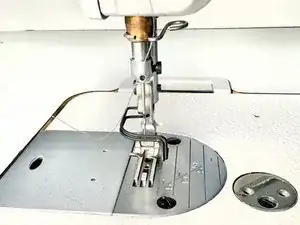
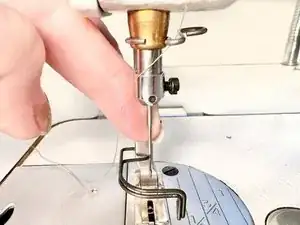
Turn the hand-wheel counter-clockwise (following the arrow) so that the needle position is at its highest point.
-
-
-
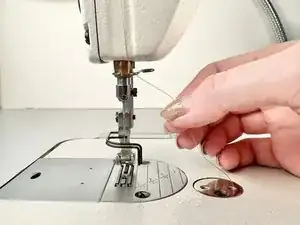
On the left side of the machine there is a presser foot lifter. Push it down to lower the foot.
-
-
-
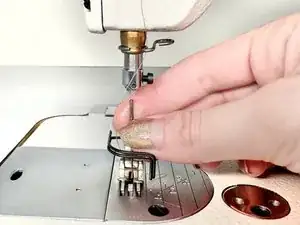
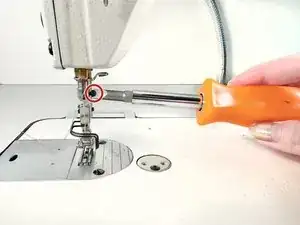
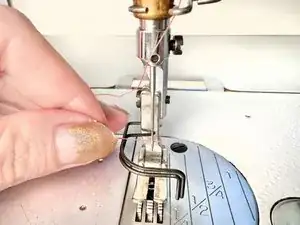
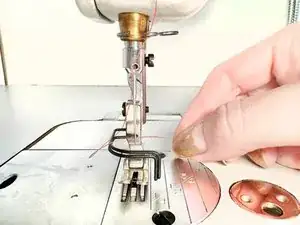
Loosen the needle clamp screw on the right side of the machine by turning the screwdriver in a counter-clockwise motion.
-
-
-
Insert new needle into needle clamp and tighten the screw by turning the screwdriver clockwise.
-


Um comentário
How do I adjust the needle placement? My needle tend to break because it hits the hole on its way down.