Introdução

RAM is a vital component that helps your device run efficiently. It allows the system to open new tabs and temporarily store data.

If your device is running slowly, crashing randomly, failing to boot, showing application errors, or displaying visual glitches, the RAM is likely the cause.

This guide will show you how to replace the RAM in the Lenovo IdeaPad L340-15API.

Before you begin the repair, power off the laptop and disconnect the charging adapter and any external peripherals.

  1. LtK1YEXJHsQrNsF1
    LtK1YEXJHsQrNsF1
    acPOKi63BoBUauYb
    • Before beginning the repair, make sure that the device is fully powered off.

    • Turn the laptop over so the bottom cover is facing up.

    • The small screw hole near the center of the case, marked with a tiny DVD icon and an arrow, secures the optical drive.

  2. kFgULSNlSMDRKqYX
    kFgULSNlSMDRKqYX
    2CRQje3a2M6vYkn1
    • Use a Phillips #1 screwdriver to remove the 7.5 mm screw securing the optical drive.

    • Place the screw down safely in a container/magnet strip where it will not get lost while you are working. These screws are very small and easily misplaced.

  3. VJqbKgaQ2SRWTpmv
    VJqbKgaQ2SRWTpmv
    VZBGmK1TEdBhKVQL
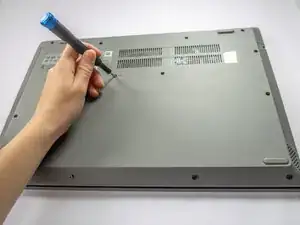
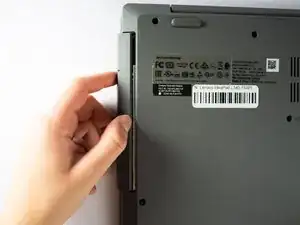
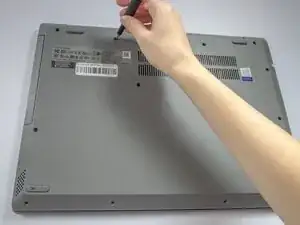
    • Place your thumb at the seam between the optical drive and the device.

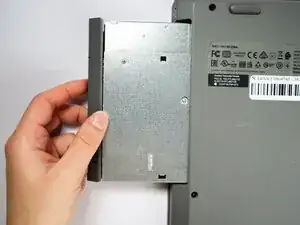
    • Gently pull the component straight out from the device, taking care not to pull at an angle.

  4. kQsKKUGfDyJ4p1vI
    kQsKKUGfDyJ4p1vI
    JxtT6F1FEEqYHwdF
    • Use a Phillips #1 screwdriver to remove the twelve 7.5 mm screws from the back cover.

  5. UFbkylKbyefVAMZq
    UFbkylKbyefVAMZq
    bxYPKbTsthQSdIWh
    JHBqLXGvsrULvg4B
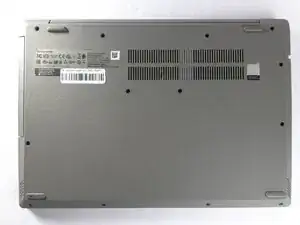
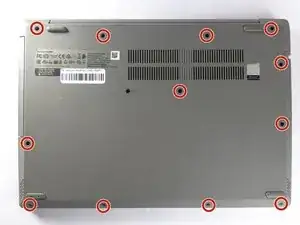
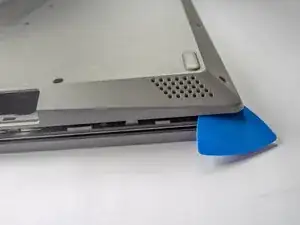
    • Insert a plastic opening pick in the back left corner and wedge the panel open.

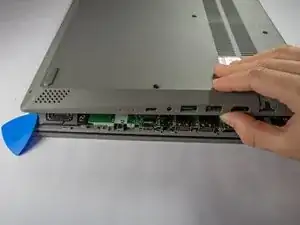
    • Slide the pick around the edge of the laptop to release the clips as you lift the panel.

    • If the opening pick isn’t working, use the iFixit opening tool to gain more leverage.

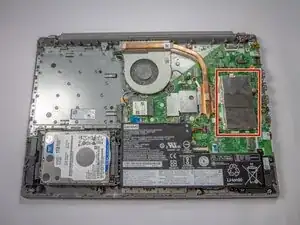
    • Remove the bottom cover.

  6. MYwmFcoYDNTdZFVm
    MYwmFcoYDNTdZFVm
    ueErVcCfFwTXN6Ta
    • Use the Phillips #1 screwdriver to remove the five 6.5 mm screws securing the battery.

    • Use a container/magnet strip to store the screws while working.

  7. SVDdX1kDXevb1GVX
    SVDdX1kDXevb1GVX
    T2nRIVYCpA1ViJPe
    GViQ3WFdZUDjPQ24
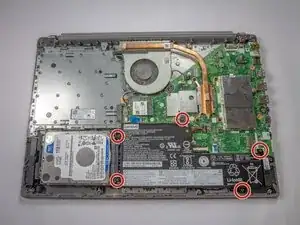
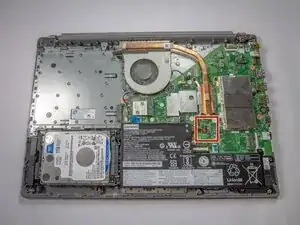
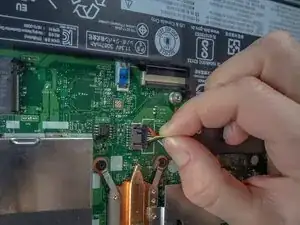
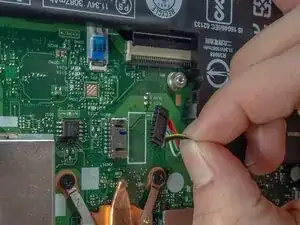
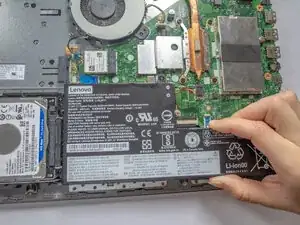
    • Use the wide end of a spudger to push the connector tab, sliding the battery connector out of its socket.

    • It may take a lot of force to disconnect the cable. Go slowly, and don't pull on the cables.

  8. puUEuDf1UPCA4iXO
    • Remove the battery from the laptop.

  9. kVodi1EnFSFtGebi
    kVodi1EnFSFtGebi
    vSCrAIKxoqKnDYIO
    VIIRtlPSX3WOHEdS
    • Lift the metal cover next to the heat sink to reveal the RAM.

  10. nMVQpML2fZErKZFP
    nMVQpML2fZErKZFP
    n2rPsGtUIWvFigUU
    Tebd3WZleU1VkCBq
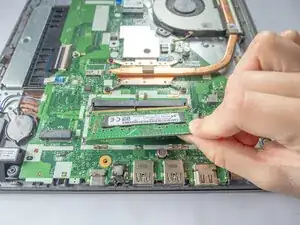
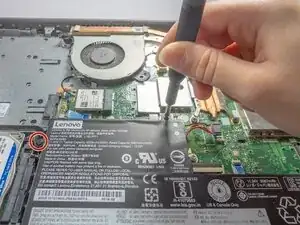
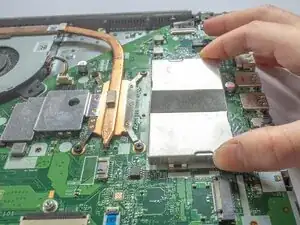
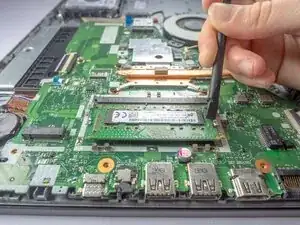
    • Using your fingers or a spudger, spread the clips away from the RAM module.

    • Be careful not to pull too hard and damage the metal arms.

    • When released, the RAM module will pop up at a slight angle.

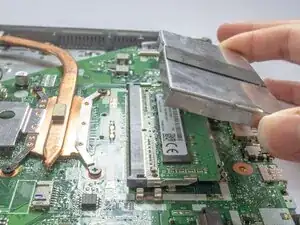
    • Lift the RAM module to an angle of about 30 degrees and slide it out.

    • When handling the RAM module, only touch the outside edges. Take care not to touch the gold-colored contact points along the bottom edge.

    • To install a new RAM module, insert it at about the same angle until it fits securely, then gently press it downward until the clips click into place.

Conclusão

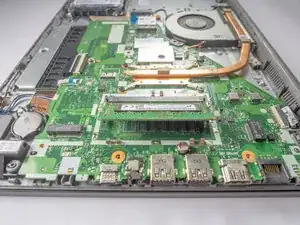
To reassemble your device, follow these instructions in reverse order. Take your e-waste to an R2 or e-Stewards certified recycler.

Jasmyn

Membro desde: 17/10/25

205 Reputação

0 comentários