Introdução
The optical drive in your laptop reads and writes CDs and DVDs. If your device isn’t ejecting the disk tray, isn’t recognizing inserted discs, or is malfunctioning in another way, you may need to replace the optical drive.
This guide shows how to replace the optical drive on a Lenovo IdeaPad L340-15API.
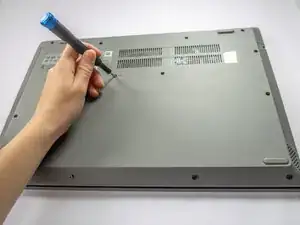
This repair is straightforward and does not require removing the back case, battery, or any other components. However, it’s important to follow each step carefully to avoid damaging the optical drive port or the laptop.
Before you begin, power off the laptop and disconnect the charging adapter and any external peripherals.
Ferramentas
-
-
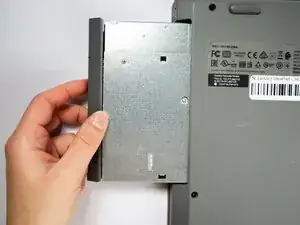
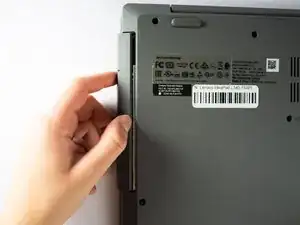
Place your thumb at the seam between the optical drive and the device.
-
Gently pull the component straight out from the device, taking care not to pull at an angle.
-

To reassemble your device, follow these instructions in reverse order. Take your e-waste to an R2 or e-Stewards certified recycler.