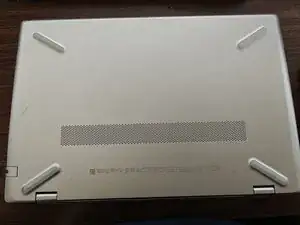
Introdução
Just showing you how to open it up for further updates or upgrades.
Ferramentas
-
-
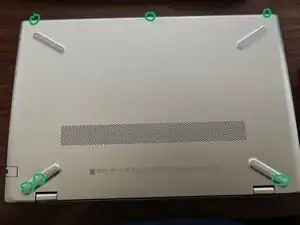
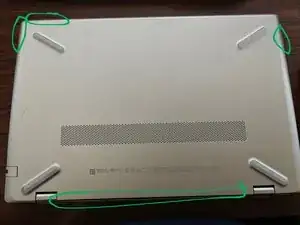
There will be about 6 screws you'll need to remove.
-
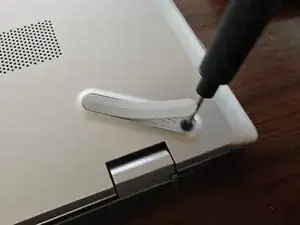
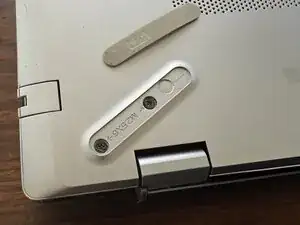
You will have to at least partially remove the rubber feet to access 3 of the screws.
-
The screws are really tiny, so I recommend putting them in a Tupperware or Ziploc if you don't have a magnetic screw tray.
-
-
-
You'll use a credit card, ID card, or pry tool to separate the bottom of the laptop from the rest of it. Make sure it's plastic, not metal.
-
You might want to use multiple to hold sections open as you work your way around.
-
Conclusão
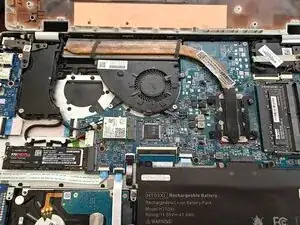
Tadaaaa! You're in, and ready for a number of easy upgrades to your laptop. Happy Fixing!
