Introdução
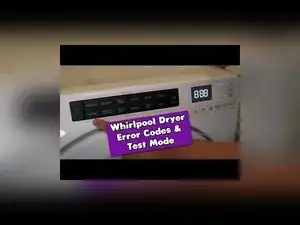
Use this guide to enter diagnostics on a Whirlpool front load dryer, retrieve and clear stored error codes, and run the built-in service test mode to check major functions like the motor and heater. The featured washer model is WED5620HW. Other Whirlpool models with a similar touchscreen layout may behave slightly differently.
-
-
Confirm the dryer is plugged into a working outlet and has power.
-
Put the dryer in standby so there are no lights on the interface.
-
If the panel won’t respond, press the Power button to wake the UI, press Power again to turn it back off, and try entering diagnostics.
-
-
-
Pick any three buttons from the black button group that are not the Start or Power buttons.
-
You can also pick any three buttons from the bottom row of the white button group.
-
-
-
Press the three chosen buttons in order three times within eight seconds.
-
Use a steady, rapid rhythm like 1-2-3, 1-2-3, 1-2-3.
-
When it works, all the lights flash and the dryer may chime.
-
-
-
Look at the display and note what appears.
-
The display may show 888, or it may flash a stored code such as PF, F1, or E1.
-
-
-
Press and hold the third button from your entry sequence for five to six seconds.
-
Release the button when the display resets to 888, indicating the code list was cleared.
-
-
-
Put the dryer in standby with no lights on the interface.
-
Enter diagnostic mode using the same 1-2-3, 1-2-3, 1-2-3 button sequence.
-
Press the second button from your entry sequence to switch into service test mode.
-
-
-
Press the Start button to begin the test run.
-
Let the dryer run until the display shows BUT.
-
-
-
Press the temperature key on the far right corner of the screen to advance the service test.
-
Press the temperature key again to continue advancing through the service test stages.
-
-
-
Press the temperature key until DRS appears on the screen.
-
Open the door to stop the dryer and advance the test to the STR stage.
-
Locate the moisture strip inside the dryer on the front or back wall.
-
Touch the moisture strip with your fingers for five seconds to trigger the next test.
-
Confirm the display shows PAS if the moisture test completes correctly.
-
-
-
Wait for the dryer to reset after the moisture test completes.
-
Press the Power button to turn the dryer off when testing is complete.
-
If you cleared codes, run the dryer normally and recheck diagnostics if a new code appears. If the control is hard to trigger, use a lighter touch on the keys and power cycle the dryer before trying the button sequence again.
