Introdução
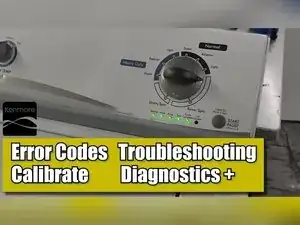
Use the washer’s built-in service software to pinpoint why it may not spin, drain, or complete cycles. This guide shows you how to open the top panel, pull the hidden technician sheet, enter diagnostic mode, read and clear error codes, run automatic and manual component tests, and finish with the required recalibration. No special skills are needed—just a few hand tools and careful attention to the safety notes.
Ferramentas
-
-
Remove the harness plate screw and the two top panel screws from the rear of the washer with the quarter-inch hex driver.
-
-
-
Pull the lid toward you, lift it upward, then push it back to let the top panel pivot on its rear hinges.
-
-
-
Remove the technician sheet from the front left corner inside the cabinet and keep it handy for code reference.
-
-
-
With power connected rotate the cycle knob counter-clockwise until it reaches the 12 o’clock position completing one full turn.
-
-
-
Turn the knob right three clicks, left one click, then right one click, pausing about half a second between each movement.
-
-
-
Rotate the knob clockwise to scroll through Error Code, Automatic Test, Manual Test, and Recalibration modes.
-
-
-
After the fourth code turn the knob once more, then press and hold Start for about five seconds while all LEDs flash to erase the memory.
-
-
-
Rotate to Automatic Test and press Start; the washer will fill, agitate, drain, and spin through every major function in roughly three minutes.
-
-
-
Remove the two Torx screws securing the lid striker, slide the striker off, and insert it into the lid lock.
-
-
-
Watch and listen as the washer moves through each step to identify any component that fails to actuate, fill, drain, or spin.
-
-
-
Select Manual Test, press Start, then rotate the knob to the function you wish to test individually.
-
-
-
Press Start to begin the selected action and press it again to stop when finished.
-
Hold Start for three to four seconds to cancel manual mode and return the control to standby.
-
-
-
From diagnostics rotate the knob four clicks clockwise until only the Rinse LED remains lit, then press Start.
-
-
-
Lower the top panel onto the cabinet, slide it forward to seat the hinges, and tighten the two top panel screws and harness plate screw.
-
-
-
Remove the tape, move the washer back into place, and resume normal use with diagnostics complete.
-
Your Kenmore washer now has a clean fault log, fully proven components, and a fresh calibration. If problems such as no-spin or no-drain persist, use the codes you recorded and the tech sheet you pulled to focus further troubleshooting.
