Introdução
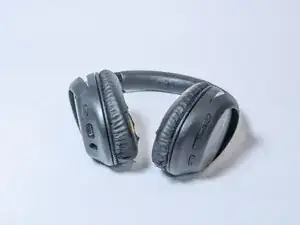
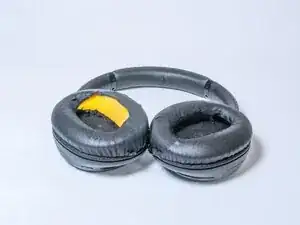
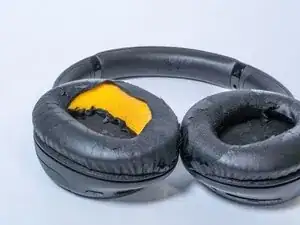
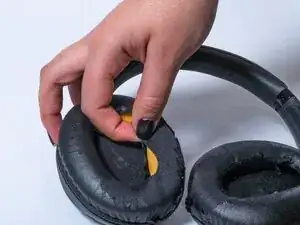
Our guide is proposed to help anyone to easily fix an earpad from SONY WH-CH710N headphones with materials commonly found at home. After long-term use, the material of the earpad begins to rip, exposing the yellow cushion underneath. This can create discomfort for the user, which signifies the need for repair.
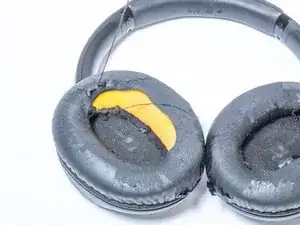
This repair fixes fabric tears around the earpads and not any leather deterioration. It is important to know that this repair will not fix any internal damage to the headphones, including issues with the speakers, audio quality, and bluetooth connection.
This repair guide eliminates the need for replacing the earpad or the entire set of headphones, which promotes sustainability, as well. Through our easy-to-follow guide, we will be able to facilitate repair experience with images and step-by-step instructions, helping to repair the item as close to new.
Ferramentas
-
-
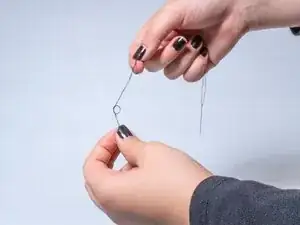
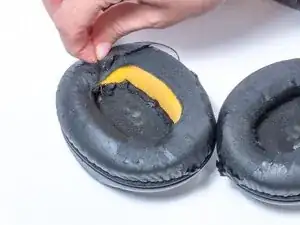
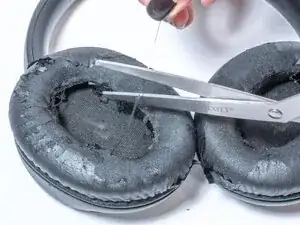
Insert the needle through the inside of the bottom tear.
-
Insert the needle above the first insert, half a centimeter to the right.
-
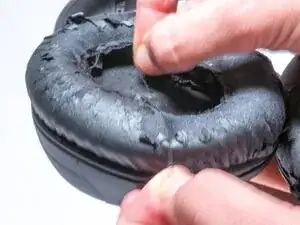
Insert the needle through the other piece of fabric, directly across.
-
Insert the needle across from the previous insert.
-
-
-
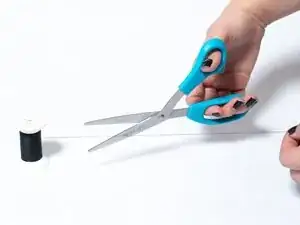
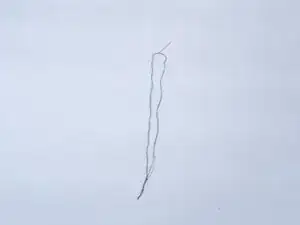
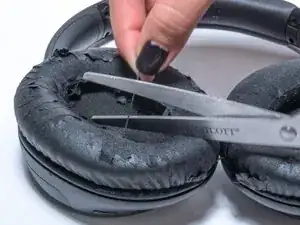
Cut the thread.
-
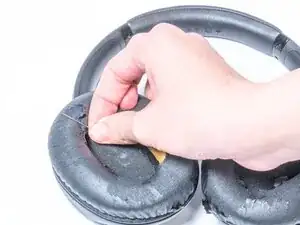
Create a knot at the end of the stitch and repeat 2 times.
-
Cut the remaining thread, above the knot.
-