Introdução
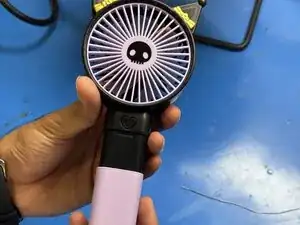
This guide will show you how to fix a Kuromi XJD-181 Mini Handheld Fan by resoldering a loose white wire inside the fan. This problem usually happens if the fan gets dropped or the wire comes loose over time, and it can stop the fan from turning on.
You only need basic soldering skills and a few simple tools to do this repair. Just be careful when opening the case because the plastic clips can break easily, and make sure you’re working somewhere with good airflow since the soldering iron gets really hot. Follow the steps slowly and you’ll be able to get your fan working again.
-
-
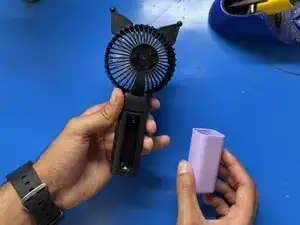
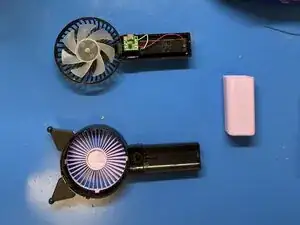
Remove the pink plastic holder from the fan.
-
Remove the battery to prevent accidental short circuits.
-
-
-
Use a Phillips #00 screwdriver to remove the 6 mm screws from the bottom of the fan.
-
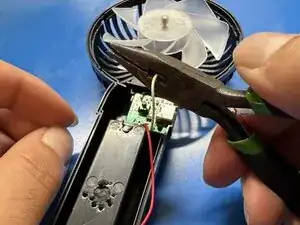
Remove the plastic clips on the back of the fan using a spudger.
-
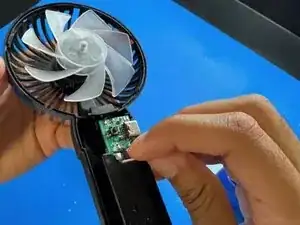
Gently lift off the plastic cover to expose the internal wiring.
-
-
-
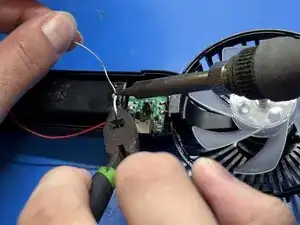
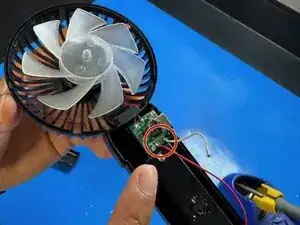
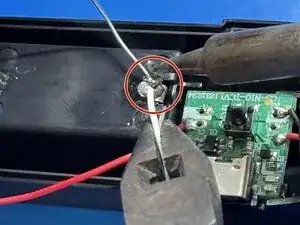
Using wire pliers, cut off any damaged part of the wire to expose a clean section.
-
Tin both the wire end and the solder point with a small amount of solder.
-
-
-
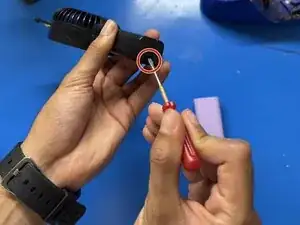
Carefully solder the white wire back to its original connection point.
-
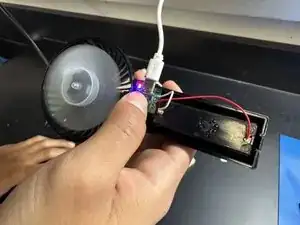
Reinsert the battery and charge the fan briefly.
-
If the LED indicator or circuit lights up, the connection was successful. If it does not power on, remove the battery and recheck your solder joint before trying again.
-
-
-
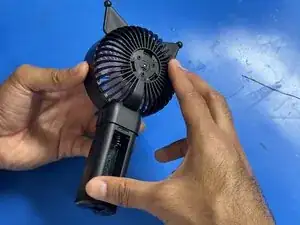
Reattach the back plastic housing and secure it with the 6 mm Phillips screws.
-
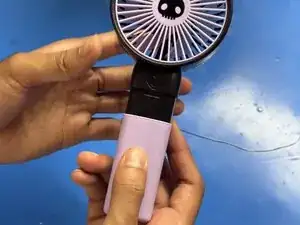
Snap the pink plastic cover back into place. Your fan should now be fully repaired and functional!
-


You have successfully resoldered a loose cable on your Kuromi XJD-181 Mini Handheld Fan. This simple repair helps extend the life of your fan and saves it from being discarded.