Introdução
Headphones are one of those everyday essentials that always seem to break at the worst possible moment—usually from a loose wire or a bent jack. Instead of tossing them out or buying a new pair, this guide will walk you through how to repair your headphones using basic soldering techniques. Whether you're dealing with a frayed cable, a silent earbud, or an unresponsive plug, a little patience and the right tools can bring your sound back to life. This guide is beginner-friendly and focuses on safe, practical steps to help you get your headphones working again.
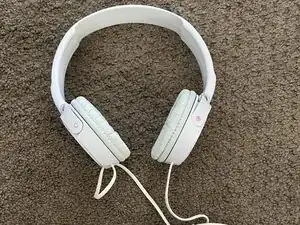
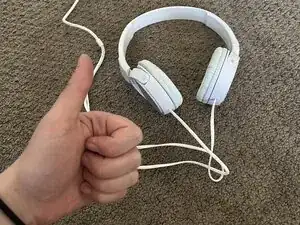
Today, we will be working on Sony ZX series, wired on-ear headphones, white MDR-ZX1110. The damage done to these headphones is a loose wire, so you will need to know how to strip wires and solder connections prior to starting this guide.
-
-
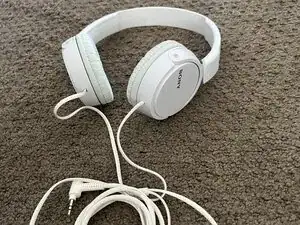
Inspect your headphones for any physical damage first.
-
If there is no physical damage, move onto the next step.
-
-
-
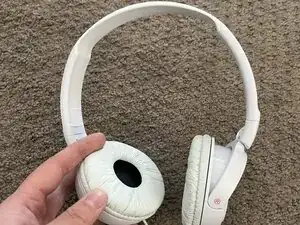
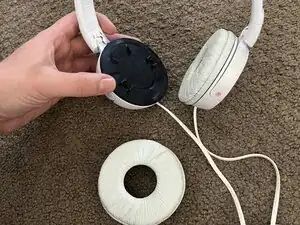
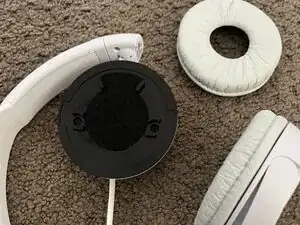
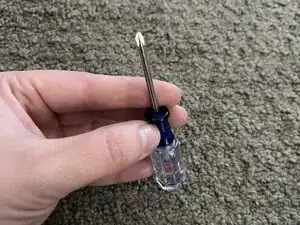
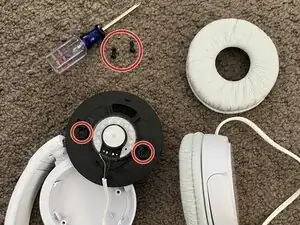
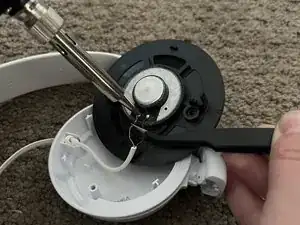
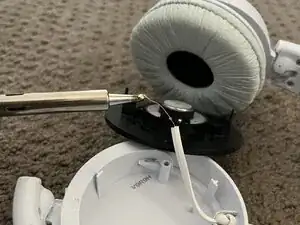
Remove the headphone ear pad by gently pulling it off, and grab your Phillips head screwdriver.
-
-
-
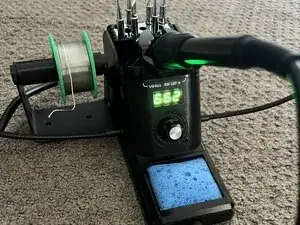
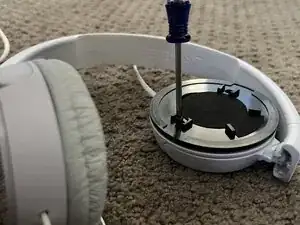
Warm up the iron to the appropriate temperature for fine electronics work (about 350°C/662°F).
-
-
-
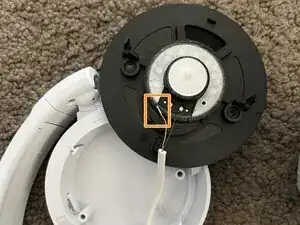
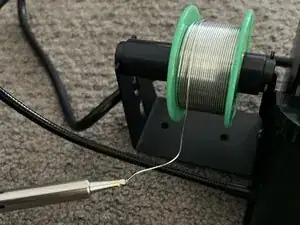
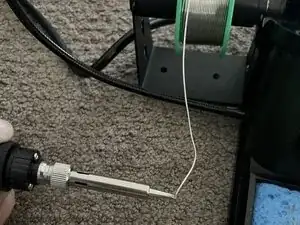
After melting a small amount of solder onto the wire, solder the wire to the connection point to reestablish a secure joint.
-
-
-
Congratulations! You have successfully fixed your headphones by soldering the wire back onto the connection point.
-