Introdução
Use this guide to shorten the long sleeves of a knit sweatshirt or jacket.
Only basic hand-sewing techniques are required, making this project accessible even for beginners. The guide includes instructions for two simple stitches, so no prior sewing experience is necessary—though having some experience may help you complete the task more quickly.
As with any sewing project, use caution when handling tools such as scissors and needles. Sewing needles are small and easy to misplace, which can be dangerous. Be sure to keep them stored safely when not in use.
Ferramentas
-
-
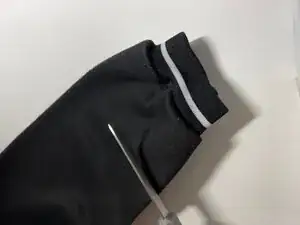
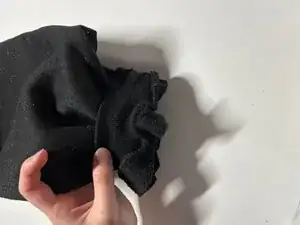
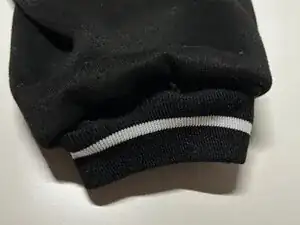
Mark the length you want your sleeve to be, and cut off 1/2 an inch less for wiggle room.
-
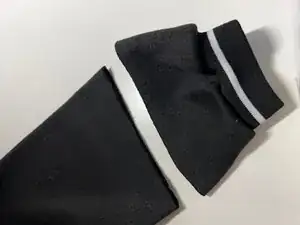
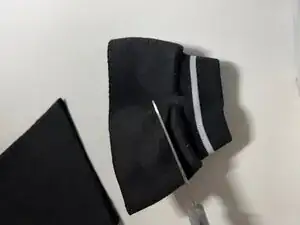
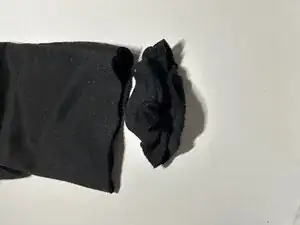
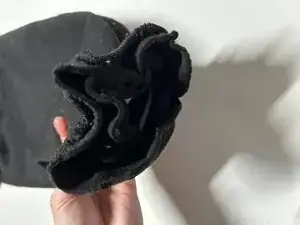
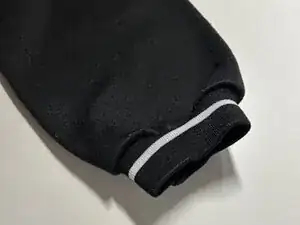
Use scissors to cut off the sleeve and excess cloth.
-
-
-
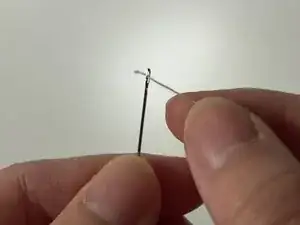
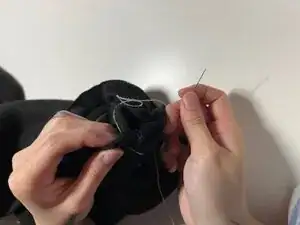
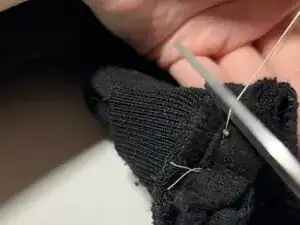
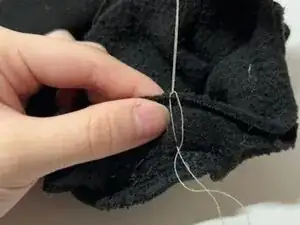
Thread the needle by inserting the thread into the eye (or hole) of the needle.
-
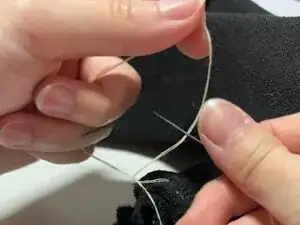
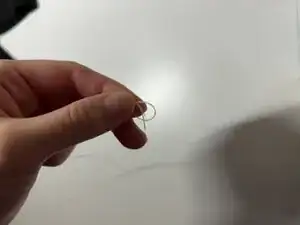
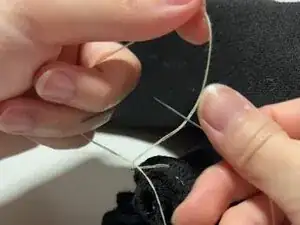
Tie the thread end by creating a loop at the end of the thread, then pulling the end of the thread through the loop and pulling tightly to create a knot.
-
-
-
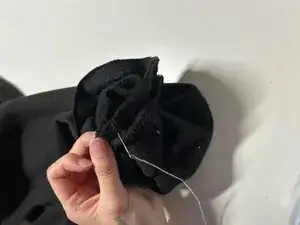
Use a regular stitch to sew the sleeve back on.
-
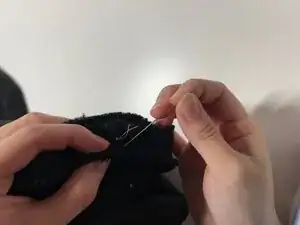
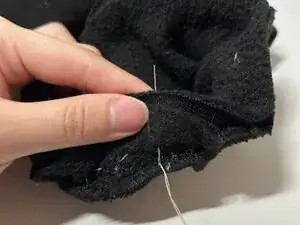
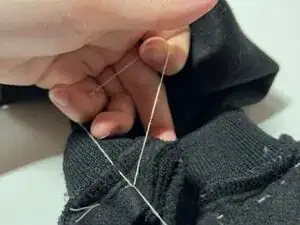
Insert the needle into the two layers (sleeve and sleeve cuff).
-
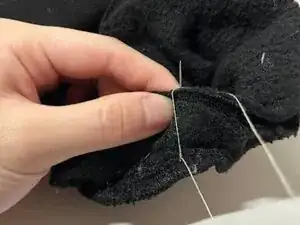
Pull the thread all the way. Do the same a centimeter next to the previous stitch, pulling the needle and thread through to the other side.
-
Do the same a centimeter next to the previous stitch, pulling the needle and thread through to the other side.
-
Repeat along the edge of the sleeve cuff.
-
-
-
Tie the thread end by creating a loop and pulling the needle through until a knot is formed. Repeat 3 times.
-
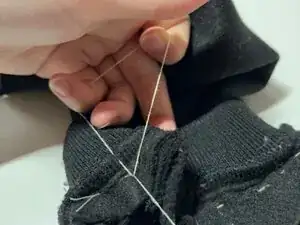
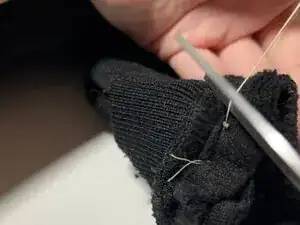
Cut the excess thread.
-
-
-
Use a double thread stitch.
-
Pull the needle upwards until it is halfway through both layers.
-
Loop the thread around the needle before pulling it all the way through.
-
Do the same stitch a centimeter next to it.
-
Repeat along the edge of the sleeve cuff.
-