Introdução
Knowing how to sew a buttonhole by hand is a handy skill to have if you don't own a sewing machine and don't want to pay a tailor. If you can sew a basic straight stitch, you can make a buttonhole. Pull that old favorite shirt out of the discard bag and give it a new life. Your small but mighty needle will help you keep the clothes in your closet instead of in the landfill.
Ferramentas
-
-
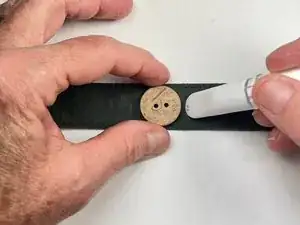
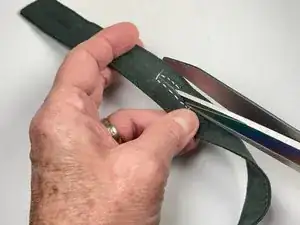
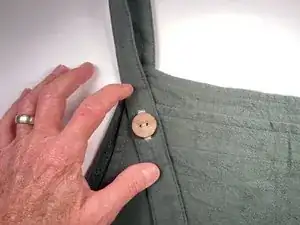
Place your button where you want the buttonhole.
-
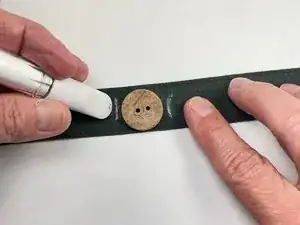
Use a chalk marker or washable fabric marker to make a vertical line just to the right of the button.
-
Use your marker to make a vertical line just to the left of the button.
-
-
-
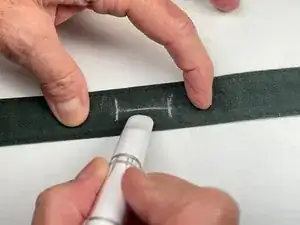
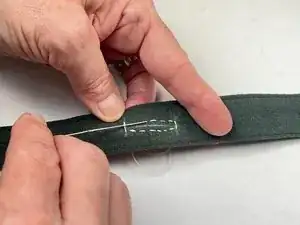
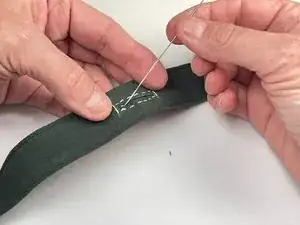
Sew your first stitch from the top to the bottom of the vertical chalk line on the left.
-
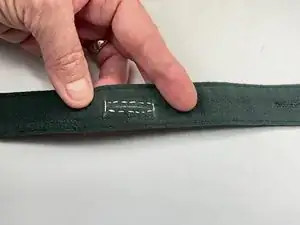
Continue by sewing a running line of small stitches underneath the horizontal chalk line, up the right side, then above the horizontal line.
-
-
-
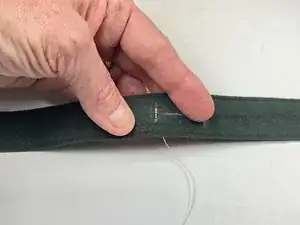
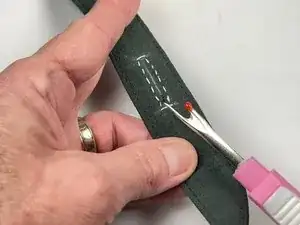
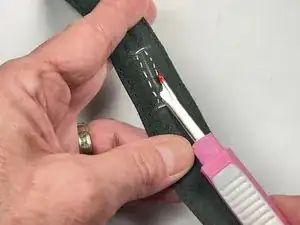
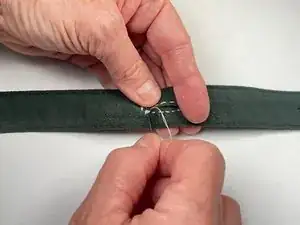
Use a seam ripper to poke a hole in the fabric that is large enough for your scissors.
-
Use your scissors to cut a slit along the horizontal chalk line in the middle of your stitched outline.
-
-
-
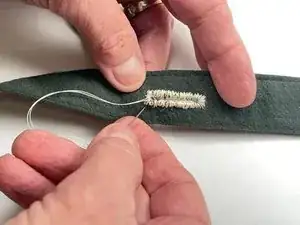
Bring your threaded needle up through the slit.
-
Push the needle back down through the fabric just to the outside of your first outline stitch.
-
Bring the needle back up through the slit and continue making a row of small, tight, vertical stitches along the bottom edge of the slit.
-
-
-
When you get to the right edge of the slit, continue by making a small row of horizontal stitches around that end of the buttonhole.
-
-
-
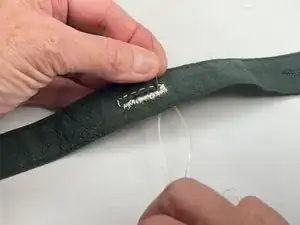
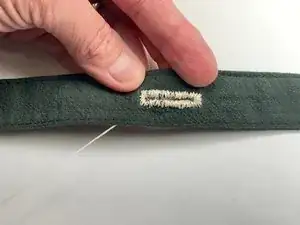
Working from right to left, continue sewing small, tight, vertical stitches along the top side of the buttonhole slit.
-
When you get to the left edge, make a row of small horizontal stitches around that end, until you arrive back where you began.
-
Push your needle through to the back and tie it off with a knot.
-