Introdução
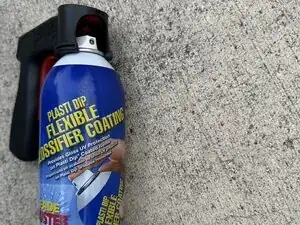
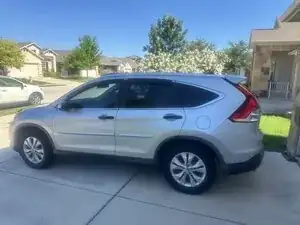
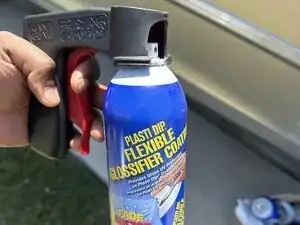
If you want to protect or customize the rims on your car, use Plasti Dip. Plastidip is a rubber spray available in many colors and offers a peelable, non-slip, and durable layer that resists moisture, impact, and weathering.
Plasti Dip is a specialty rubber coating that can be used for several months and then you can rip it off. There's no need to shop for expensive rims when you can use Plasti Dip to change how your vehicle looks. This guide will walk you through the steps to make the process simple for you to follow.
- Caution! We will be using a spray can! Depending on where you are setting up (garage, warehouse, or anywhere that is partially enclosed), there will be fumes, so you may want to wear a mask. I conducted my project in my driveway with breezy wind conditions.
- Weather plays a factor here! Don't expect good results on a cloudy or rainy day. You need, at the very least, a sunny day to dry the rims.
This really isn't as difficult as it sounds. Expect to mess up a little; it's okay. If you seriously mess up, you could always rip it off and start again. You'll want to do even sprays from a distance, to spray even coatings.
Ferramentas
-
-
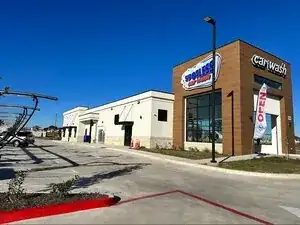
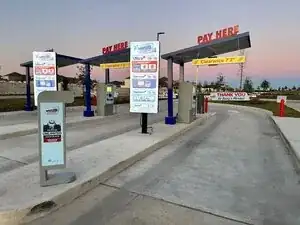
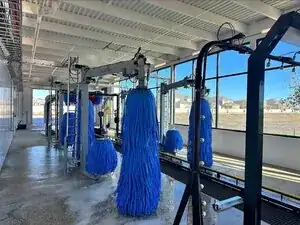
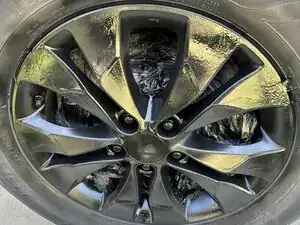
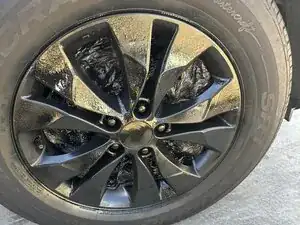
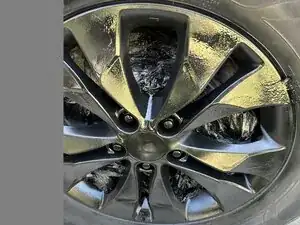
First, you will need to wash your rims. I have a membership at the car wash pictured. You do not need to do the same. You just need a bucket, liquid soap, and a rag. If you want to do it personally or prefer another option other than attending a car wash.
-
-
-
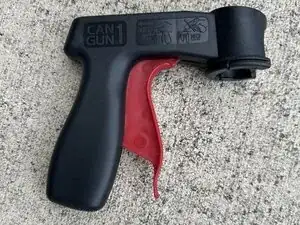
Connect the Can Gun Handle to the Spray Can Nozzle. You'll want to connect it to the Plasti Dip Color, not the Plasti Dip Glossifier.
-
-
-
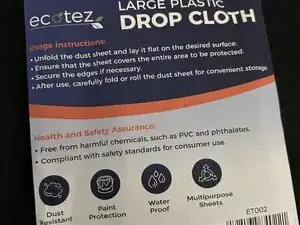
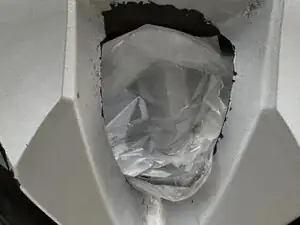
Place one of the sheets behind the rim as pictured. You want to protect your brakes, rotors, and wheel attachments. Place plastic behind all four rims.
-
-
-
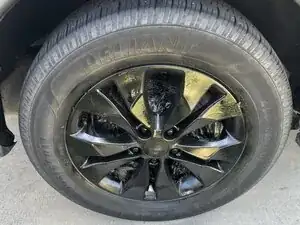
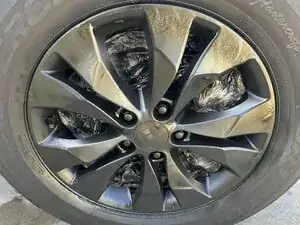
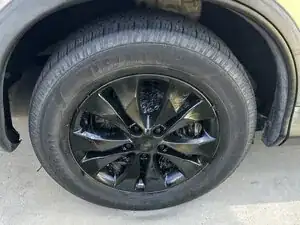
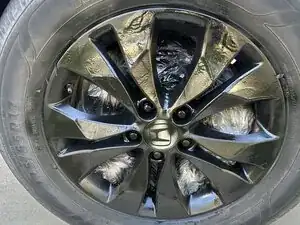
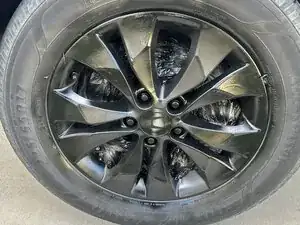
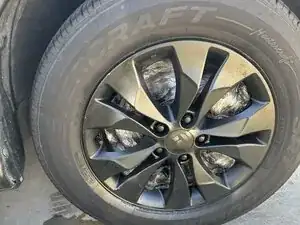
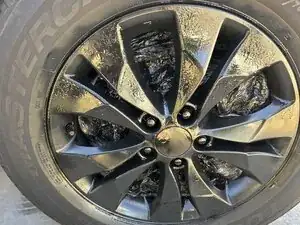
Spray your first coat of paint on the two tires on one side, then do the same on the other side of the car. Then wait 10 minutes.
-
-
-
After waiting 10 minutes, spray the second coat of paint on all four tires. Then wait 10 minutes.
-
-
-
After waiting 10 minutes, spray the third coat of paint to all four tires. Then wait 10 minutes.
-
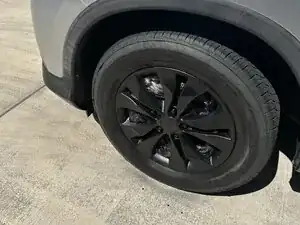
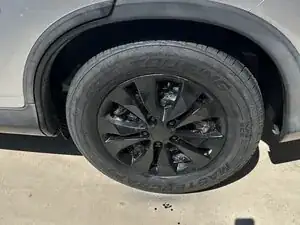

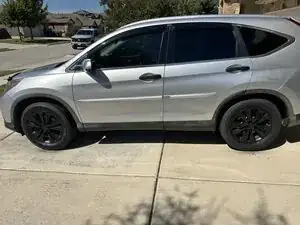
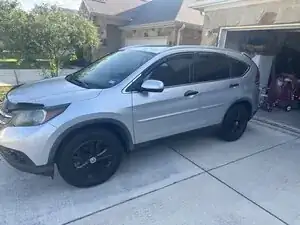
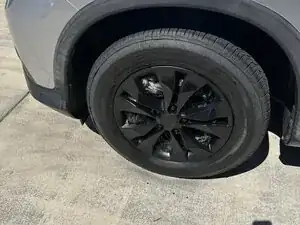
In conclusion, this is a cool way to add quick customizations without hurting your pocket. It is a removable product if you pull it off within the authorized time frame. If you do not, then the spray will begin to become gritty and will no longer peel off without a scrapper. So, either peel them off or add another couple of coats to peel off later. In no time, you were able to change the boots on your vehicle, adding a little pop to your vehicle's design. Celebrate!