Introdução

Follow this guide to reset the Mainboard in your Framework Desktop.

Resetting the Mainboard will set the Desktop's BIOS settings to their factory default. This might be necessary if your Desktop doesn't boot properly or if you're installing new hardware.

This procedure is irreversible. Make sure you have your BIOS settings documented if you want to restore them afterwards.

  1. DjDhorNOQwh3ZGMT
    DjDhorNOQwh3ZGMT
    3HVtRyLTmEtZfvCu
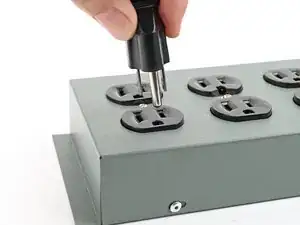
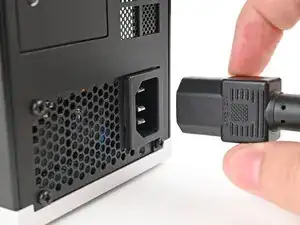
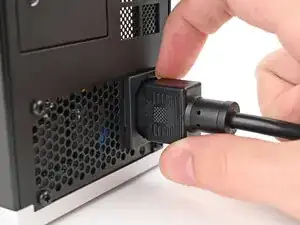
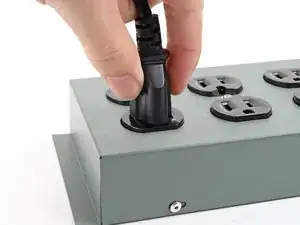
    • Before you begin repairs, shut down your Desktop from the operating system and unplug it.

    • Wait one minute before continuing to allow your Desktop to fully power down.

  2. bCnmRpDo2L1muYA5
    bCnmRpDo2L1muYA5
    PkjmE66QFWiGyJPD
    rXfwXpgdDlUm4VSA
    • If you installed the Handle on your Desktop, follow this step. Otherwise, skip it.

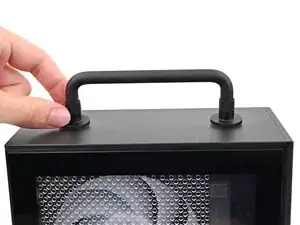
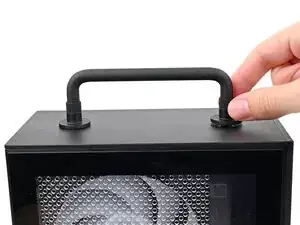
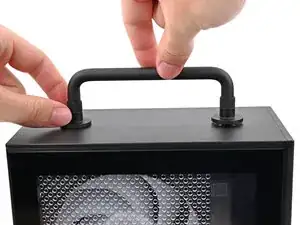
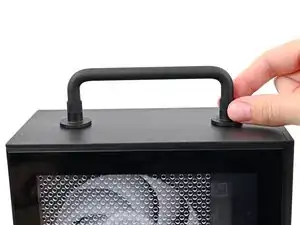
    • Rotate the Handle's screw threads counterclockwise on both sides until it comes free.
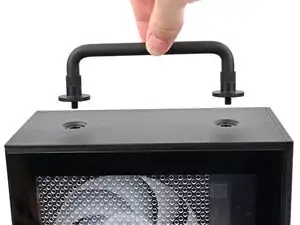
    • Remove the Handle.

  3. 25uSW5yTweC4DhJH
    25uSW5yTweC4DhJH
    NLSHNAcGIfXySxVC
    uIxWPNWJJEnVnIum
    • Use your finger to lift up the two D-rings on the Top Panel screws.

  4. BeKqSvRJr2nX2qFK
    BeKqSvRJr2nX2qFK
    odGLjCiIdEQeE2bh
    IDSwwb3LHUUaXukA
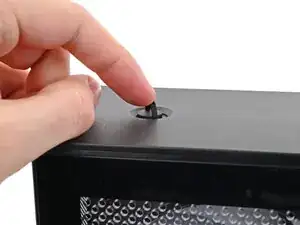
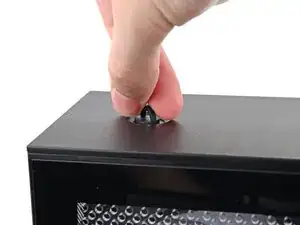
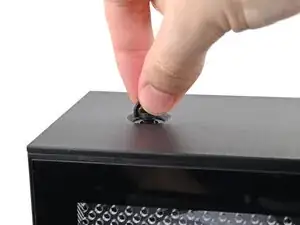
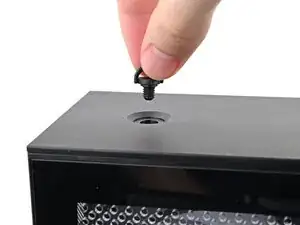
    • Use your fingers to twist the screw counter-clockwise and loosen it.

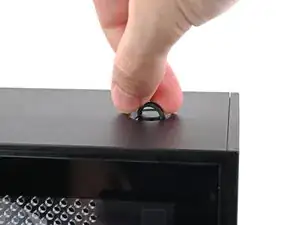
    • Remove the Top Panel screw.

  5. 4RopBQ6BtjnY1WrK
    4RopBQ6BtjnY1WrK
    ktjYiQLsGJUndqrb
    J4lBDyCSGfYoWxD4
    • Repeat the same procedure for the other Top Panel screw.

  6. jTMMgoIeaomUVn3V
    jTMMgoIeaomUVn3V
    k25EnLrWVNWIYJKF
    l1bqihYbxPsKZm41
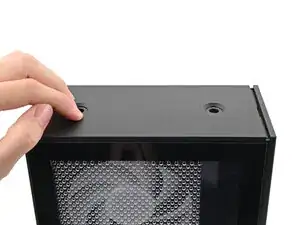
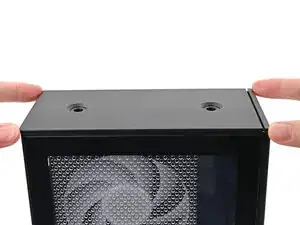
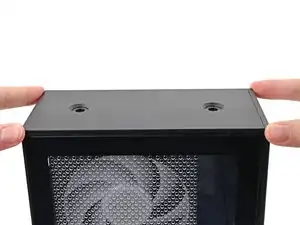
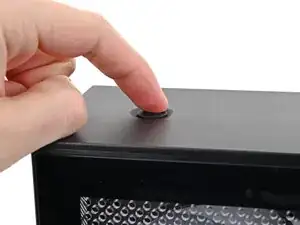
    • Slide the Top Panel towards the rear of the computer to release the clips securing it to the chassis.

    • If you're having a hard time gripping the Top Panel, use the screw holes to get a better handhold.

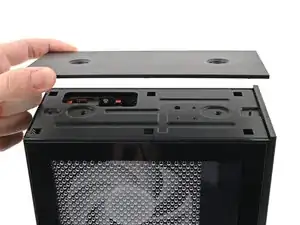
    • Lift the Top Panel off the chassis and remove it.

  7. 3WxO3pKVNDnWw3ab
    3WxO3pKVNDnWw3ab
    4Z5lDuTUqMnXYRRs
    • Lay down the Desktop on its right side.

  8. TAbEkOffvQ1hOABh
    TAbEkOffvQ1hOABh
    SKIm4KyFDafORwOB
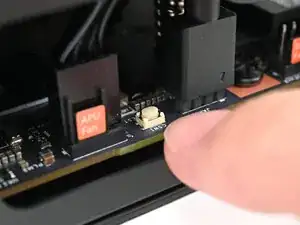
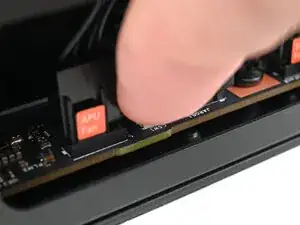
    • Press the white button labeled "CMOS RESET" next to the APU Fan connector and hold for 10 seconds.

  9. QlXa1OYDQqUWENvO
    QlXa1OYDQqUWENvO
    WhdO5FEO6RgXkbYZ
    • Lift the Desktop so it stands upright on your work surface.

  10. TspwIge4qoRM6ICj
    TspwIge4qoRM6ICj
    hXZHNWuLpvwmWfXu
    WZZnCH1O2OWASLbk
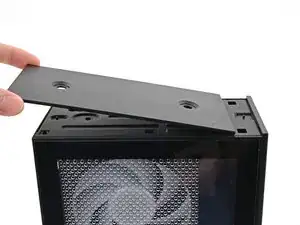
    • Orient the Top Panel so its arrow is pointing towards the rear of the computer.

    • While holding the Top Panel at a slight downward angle, slide it across the top of the chassis (from rear to front) until you feel its clips catch.

    • There should be a small gap between the Top Panel and the front of the Desktop.

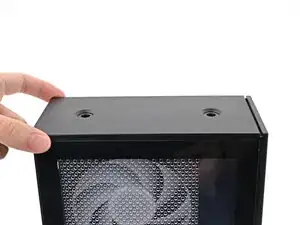
    • Lay the Top Panel flat on the chassis to align the remaining clips.

  11. OPbF4nfWLof6Ld1q
    OPbF4nfWLof6Ld1q
    LtUK51q4adlwUJVF
    • While securing the computer with one hand, use the other hand to slide the Top Panel towards the front of the computer to close the gap and engage the clips.

  12. JL5cRnDHOaFwMr6l
    JL5cRnDHOaFwMr6l
    eKPNiY6nV4uqSw51
    • If you're installing the Handle on your Desktop, follow this step. Otherwise, skip it.

    • Place the Handle over the Top Panel screw holes.

    • While holding the Handle in place, twist the screw threads on both sides clockwise until they're snug on the Top Panel.

  13. Tqs2ZGI4HXXvKbCa
    Tqs2ZGI4HXXvKbCa
    EBEPZoxwBUZVWJSv
    GbY2JgnLQAUTxau1
    • Insert the top panel screw into its hole and twist clockwise until it feels snug.

  14. WB3A2OZvcZdHPp4E
    WB3A2OZvcZdHPp4E
    dC1l2oR4q1VYLNIA
    q1qGvfwmjpsGpTsG
    • Repeat the same procedure for the other top panel screw.

  15. 2oZoKR3VyFBGLExe
    2oZoKR3VyFBGLExe
    PBaY5I6kYsAtlTiG
    fbKjDCwHxgrPeOvh
    • Use your finger to close the two D-rings on the top panel screws.

  16. hLoyZE2xytwdaICN
    hLoyZE2xytwdaICN
    bB6DUCnYZpFhKEWe
    • Plug the Desktop back in.

    • Turn on your Desktop—it should boot up normally. If your BIOS settings haven't changed, or if you're still experiencing issues, repeat the Mainboard reset procedure.

Conclusão

If you need help, contact Framework support.

Alex Diaz-Kokaisl

Membro desde: 16/01/22

227430 Reputação

0 comentários