Introdução
Replacing a worn tip is a simple process that can extend the life of your hiking pole and ensure you stay safe on your adventures. We will show you a step-by-step solution on how to get your hiking pole as good as new!
➡️Before you get started, please check the safety disclaimer at the bottom of the page.
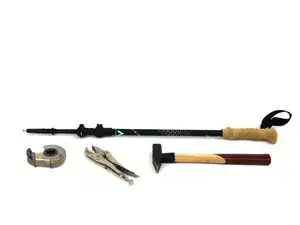
Ferramentas
-
-
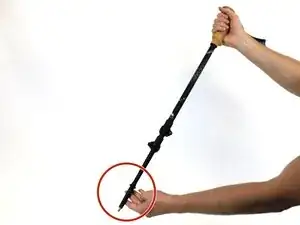
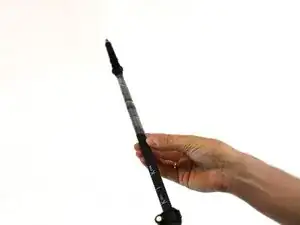
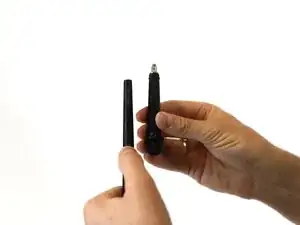
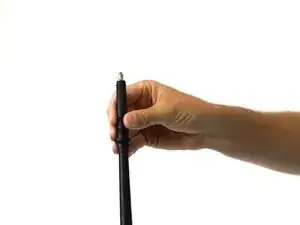
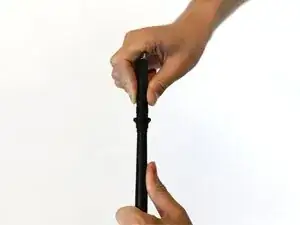
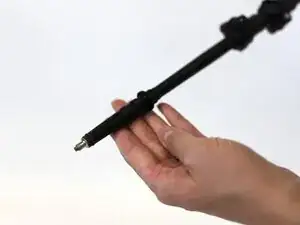
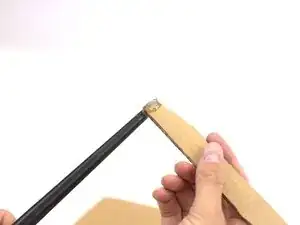
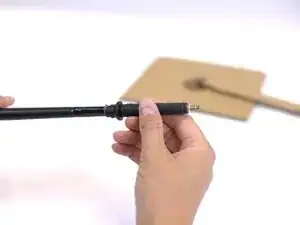
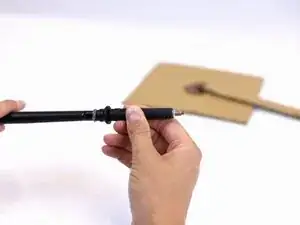
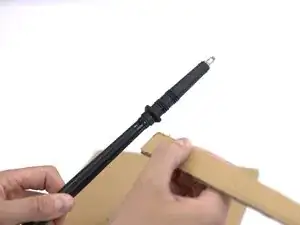
Prepare all the tools needed for the repair and locate the tip of the hiking pole that needs to be fixed.
-
-
-
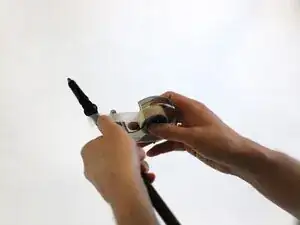
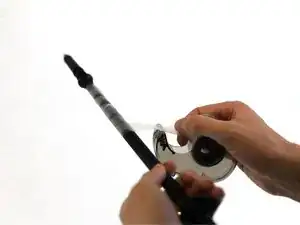
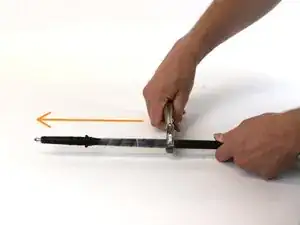
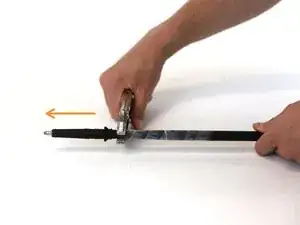
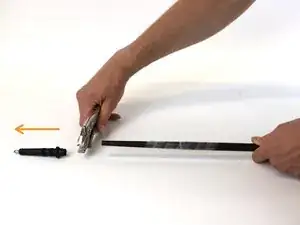
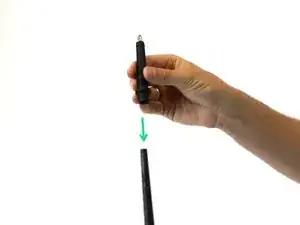
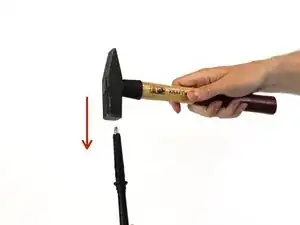
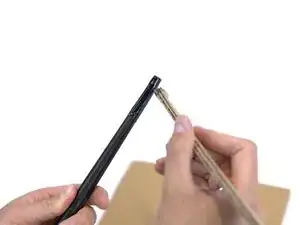
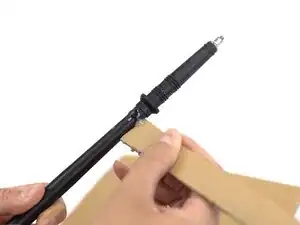
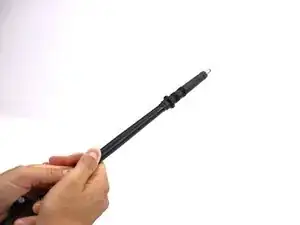
Following the direction of the orange arrows, use an adjustable wrench to slide it fast along the hiking pole and push the tip outwards.
-
-
-
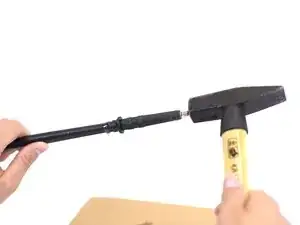
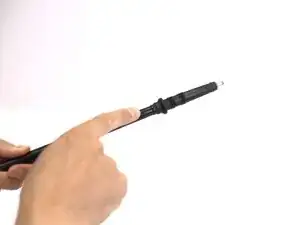
Use a hammer to secure the tip in its new position.
-
Note: only hit it once or twice with a hard tap.
-
-
-
🛠️🏆👏 Congratulations! The repair is complete, and you're ready to go!
-
...However if you need a reinforced fix, please continue on the next steps.
-
-
-
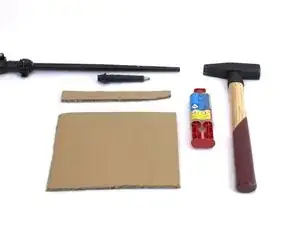
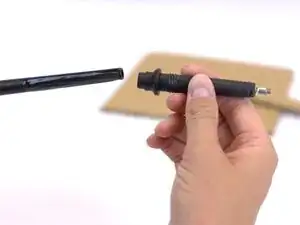
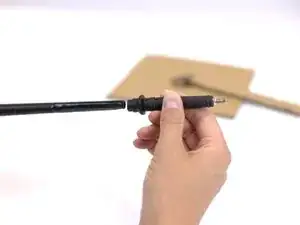
Collect the tools needed for the reinforced fix.
-
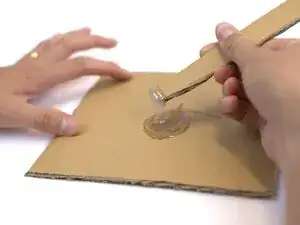
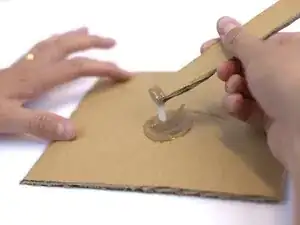
Mix the two-component glue and continue on the next step.
-
-
-
Keep mixing the glue until you notice it starts to change texture.
-
The texture should be "thick" and the color should change from transparent to white.
-
-
-
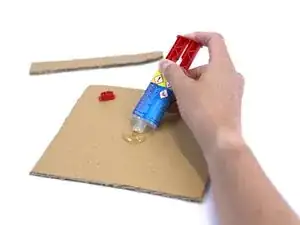
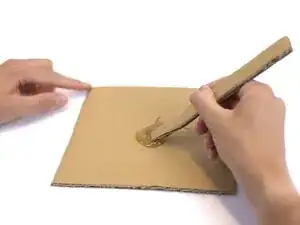
Use a piece of cardboard to apply the mixed glue on the top of the tip of the hiking pole.
-
Spread the glue evenly over the surface of the tip.
-
-
-
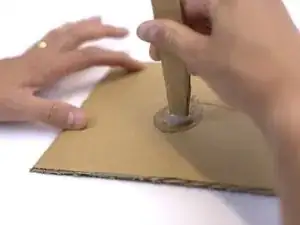
Like in "Step 5", use a hammer to secure the tip in its new position.
-
Clean the excess glue with a spare piece of cardboard.
-

In need of another repair? Don't worry! Check out our other guides to find quick solutions for your favourite clothing, footwear and equipment!
----------------------------------------
🚨🛠️🩹 IMPORTANT SAFETY NOTICE:
The repair guides provided on this site are intended to help you repair products on your own. While we have put a lot of care into them, all repair work carries some risk:
- Safety Precautions: When repairing your product, take all necessary precautions to ensure your safety. Use appropriate tools and follow the instructions carefully.
- Product Condition: Once your product has been repaired, it may not meet original compliance guidelines anymore and could potentially have issues.
- Liability: We are not responsible for any damage or injury that may occur during the repair process or as a result of using a repaired product. You, as the repairer, assume all risks and responsibilities associated with the repair.
By using these repair guides, you fully acknowledge and accept the potential risks and responsibilities involved.