Introdução
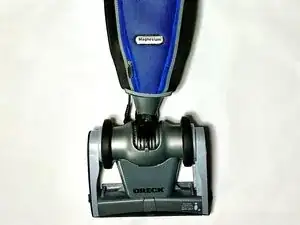
This guide will walk you through replacing the motor assembly (ORE-83001-01) on the Oreck Magnesium LW100 vacuum cleaner.
A failing motor can cause symptoms such as loud noise, loss of suction, overheating, or the head no longer resting flat. These issues often occur after debris clogs or damages to the fan housing, which puts strain on the motor.
By following these steps, you’ll learn how to safely disassemble the vacuum, remove the motor and fan housing, and prepare for installation of a replacement unit. Reassembly is simply the reverse of disassembly.
Warning: This repair involves handling electrical components. Be sure the vacuum is unplugged before beginning, and work carefully to avoid damaging wiring or plastic housings.
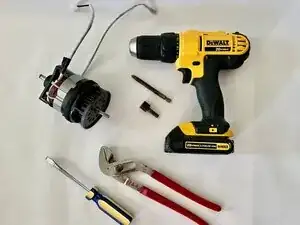
Ferramentas
Peças
-
-
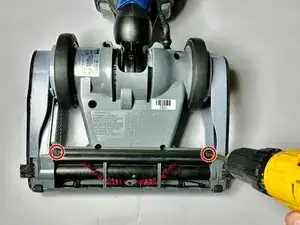
Use a Phillips #2 screwdriver to remove the two #6-32 × 7/16″ Phillips screws securing the squeegee to the base.
-
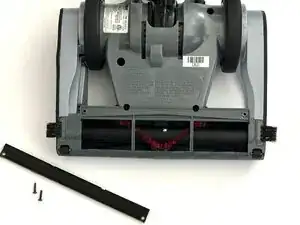
Lift the squeegee off.
-
-
-
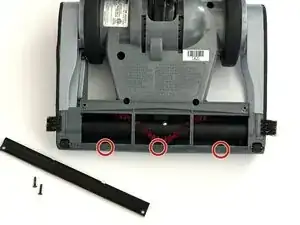
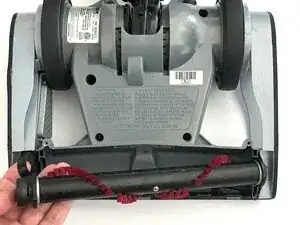
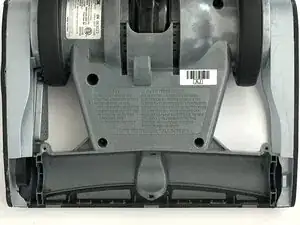
Using your fingers, gently pry up at the tab slots to release the sole plate from the base. Work along the edge until it unsnaps, then lift the plate straight off to expose the brush roll.
-
-
-
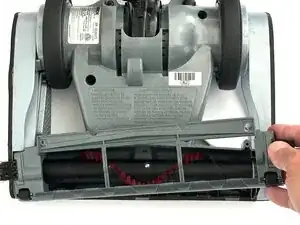
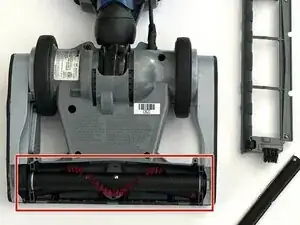
Grasp the brush roll at both ends and lift one end straight up to unseat it from the side pocket.
-
Slip the belt off the center groove of the brush roll and lift the brush roll out of the housing.
-
-
-
Place the vacuum on its right side (operator right) with the wheel assembly up.
-
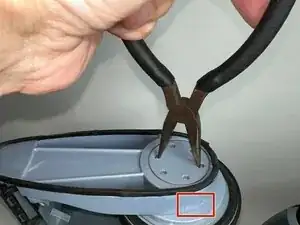
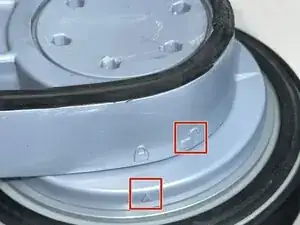
Use needle-nose pliers to rotate the wheel lock tab counterclockwise from the locked position to the unlocked position.
-
-
-
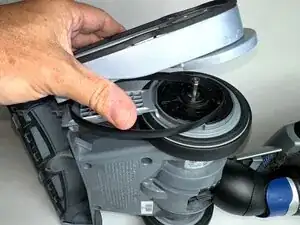
Lift the left track belt cover hub straight up and off the assembly.
-
Slip the belt off the wheel assembly.
-
-
-
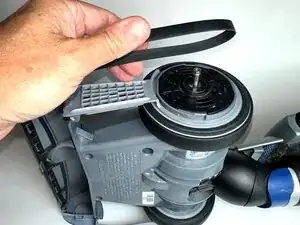
Lift off the belt cover with slots to expose the left rear wheel assembly. Remove the wheel by pulling it straight up and away from the housing.
-
-
-
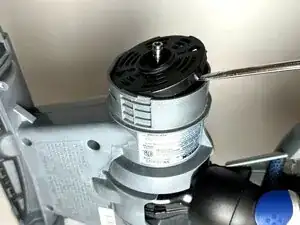
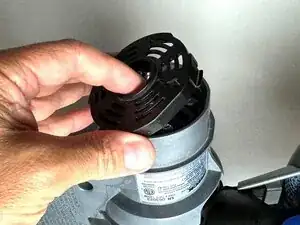
Insert a flathead screwdriver into the two clip slits on each side of the motor support disk, then gently pry to release the clips.
-
-
-
Left track belt cover hub
-
Left rear wheel assembly
-
Belt
-
Belt cover with slots
-
Motor support disk
-
Checkpoint: Compare your parts to the photo. If something is missing or still attached, retrace your steps before continuing.
-
-
-
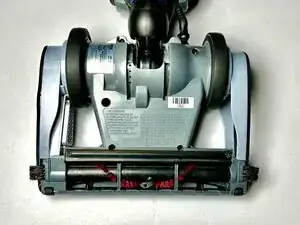
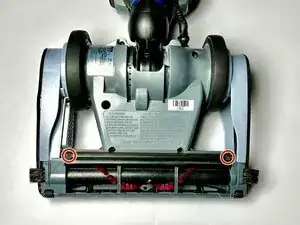
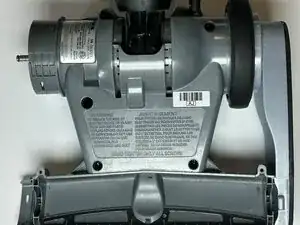
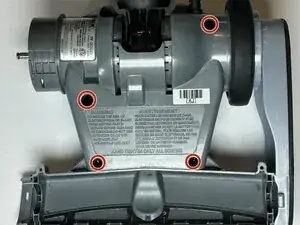
Lay the vacuum flat with the bottom facing up and the handle pointing away.
-
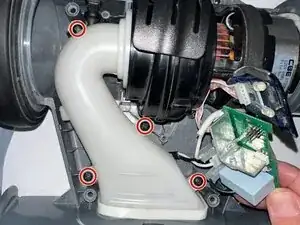
Remove the four Phillips #2 screws securing the base plate.
-
-
-
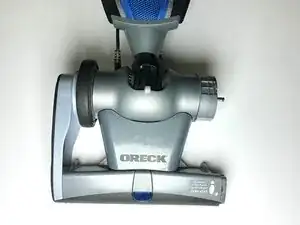
Set the vacuum upright in its normal position, with the bag and handle pointing away from you.
-
Lift the tunnel top cover (with the ORECK label) straight up to remove it. It should lift free since you removed the screws in the previous step.
-
Lift the motor top cover straight up and remove it the same way.
-
-
-
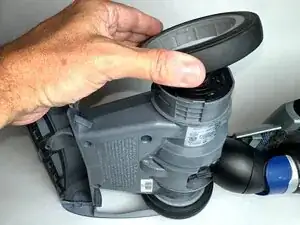
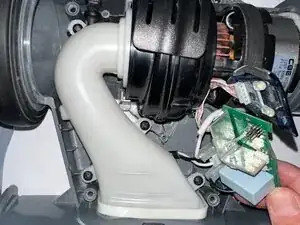
Gently lift the sensor attached near the top of the motor housing and shift it aside, as shown in the photo.
-
Leave the wiring connected. The goal is only to move the sensor out of the way before removing the air duct inlet in the next step.
-
-
-
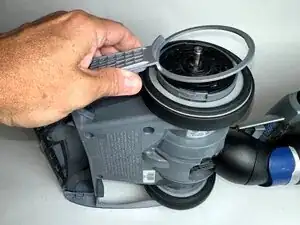
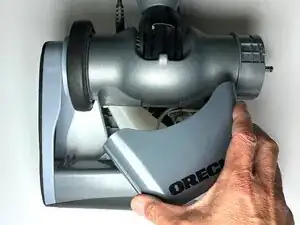
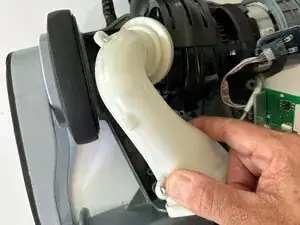
From the the left side, lift the left edge of the air-duct inlet to unseat it, pivot it away from the housing, then lift straight up to remove
-
Set it aside in a safe place for reassembly.
-
-
-
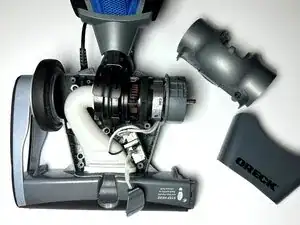
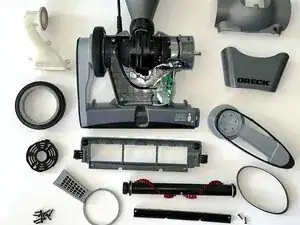
At this stage, all previously removed parts should be laid out, including the wheel, belt, covers, air duct inlet, and motor support disk.
-
Checkpoint: Compare your layout with the photo. If something is missing or still attached, retrace your steps before continuing.
-
-
-
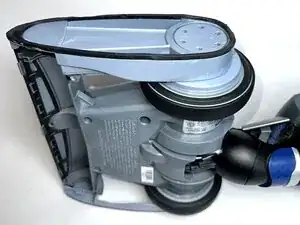
Turn the vacuum over and lay it flat with the bag and handle facing you and the bottom pointing away.
-
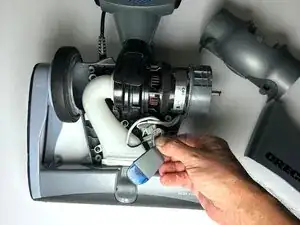
Loosen the dirt tube collar where the dirt tube connects to the fan housing.
-
Hold the dirt tube handle with one hand and gently twist and pull with the other to detach the dirt tube from the fan housing.
-
The vacuum separates into two assemblies: the dirt tube with bag and handle and the fan housing base.
-
-
-
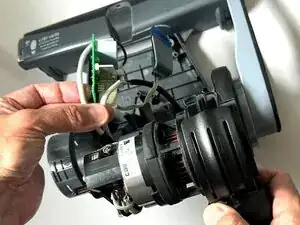
Position the vacuum so the base faces away from you and the motor faces toward you.
-
With your left hand, hold the area where the wheel and motor support disk were removed.
-
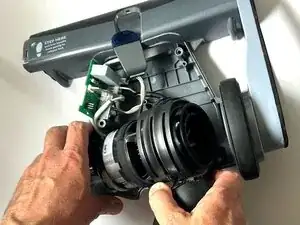
With your right hand, gently rock the motor and fan housing to the side, then lift it upward to remove it from the base.
-
The motor and fan housing will come out together as one assembly.
-
-
-
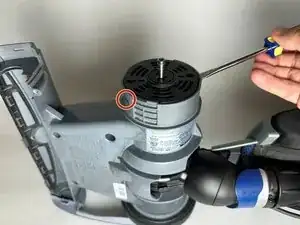
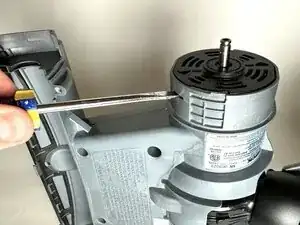
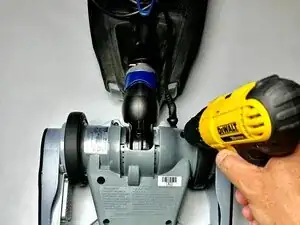
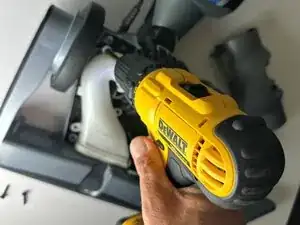
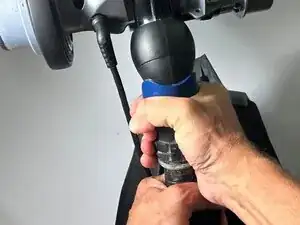
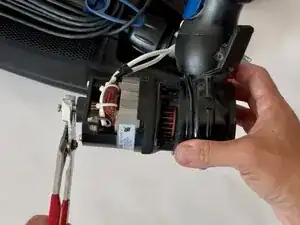
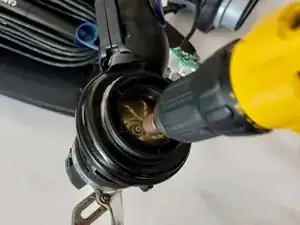
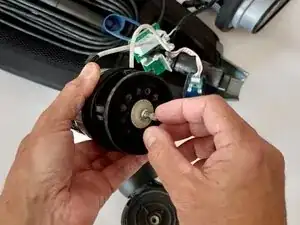
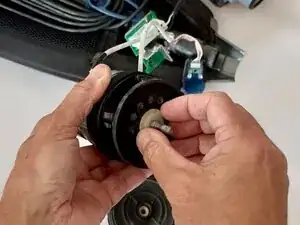
Hold the motor shaft securely with pliers to keep it from rotating.
-
With the motor shaft held securely, use a nut driver or wrench to loosen the nut on the opposite side securing the fan housing to the motor.
-
-
-
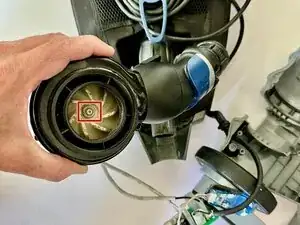
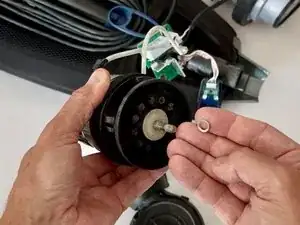
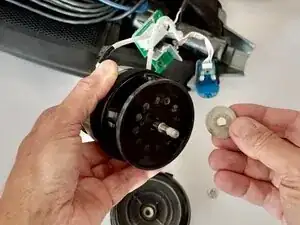
Lift off the small metal washer that sits on top of the felt motor seal gasket.
-
Set the washer aside in a safe place for reassembly.
-
-
-
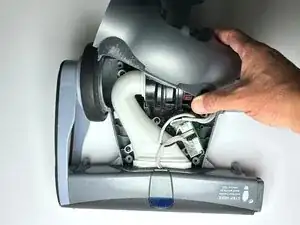
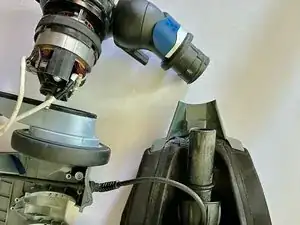
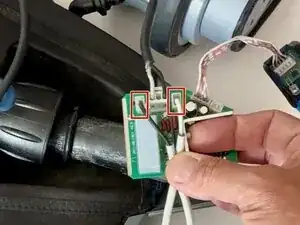
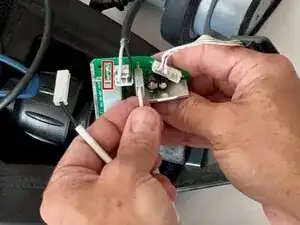
Locate the PCB board inside the motor housing. The sensor, power outlet, and motor wires should still be attached.
-
Carefully detach the black side cable and the white side cable from the PCB board.
-
Once these are removed, the PCB board is fully detached from the motor.
-
-
-
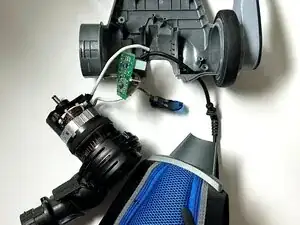
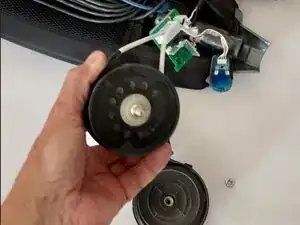
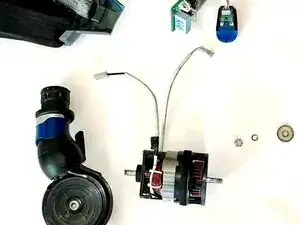
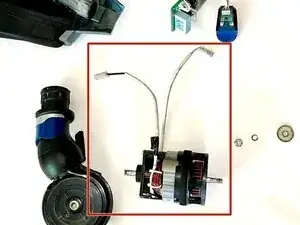
At this stage, the motor is completely detached from the PCB board and fan housing, as shown in the photo. This is the point to swap the old motor with the replacement motor before reassembly.
-
To reassemble, follow these steps in reverse order, making sure all wires, covers, and screws are reconnected securely.
-


To reassemble your device, follow the above steps in reverse order.
Take your e-waste to an R2 or e-Stewards certified recycler.
Repair didn’t go as planned? Try some basic troubleshooting or ask our Answers community for help.